Busa Upgrades: V-meter, switches, TPMS, etc.
Summary
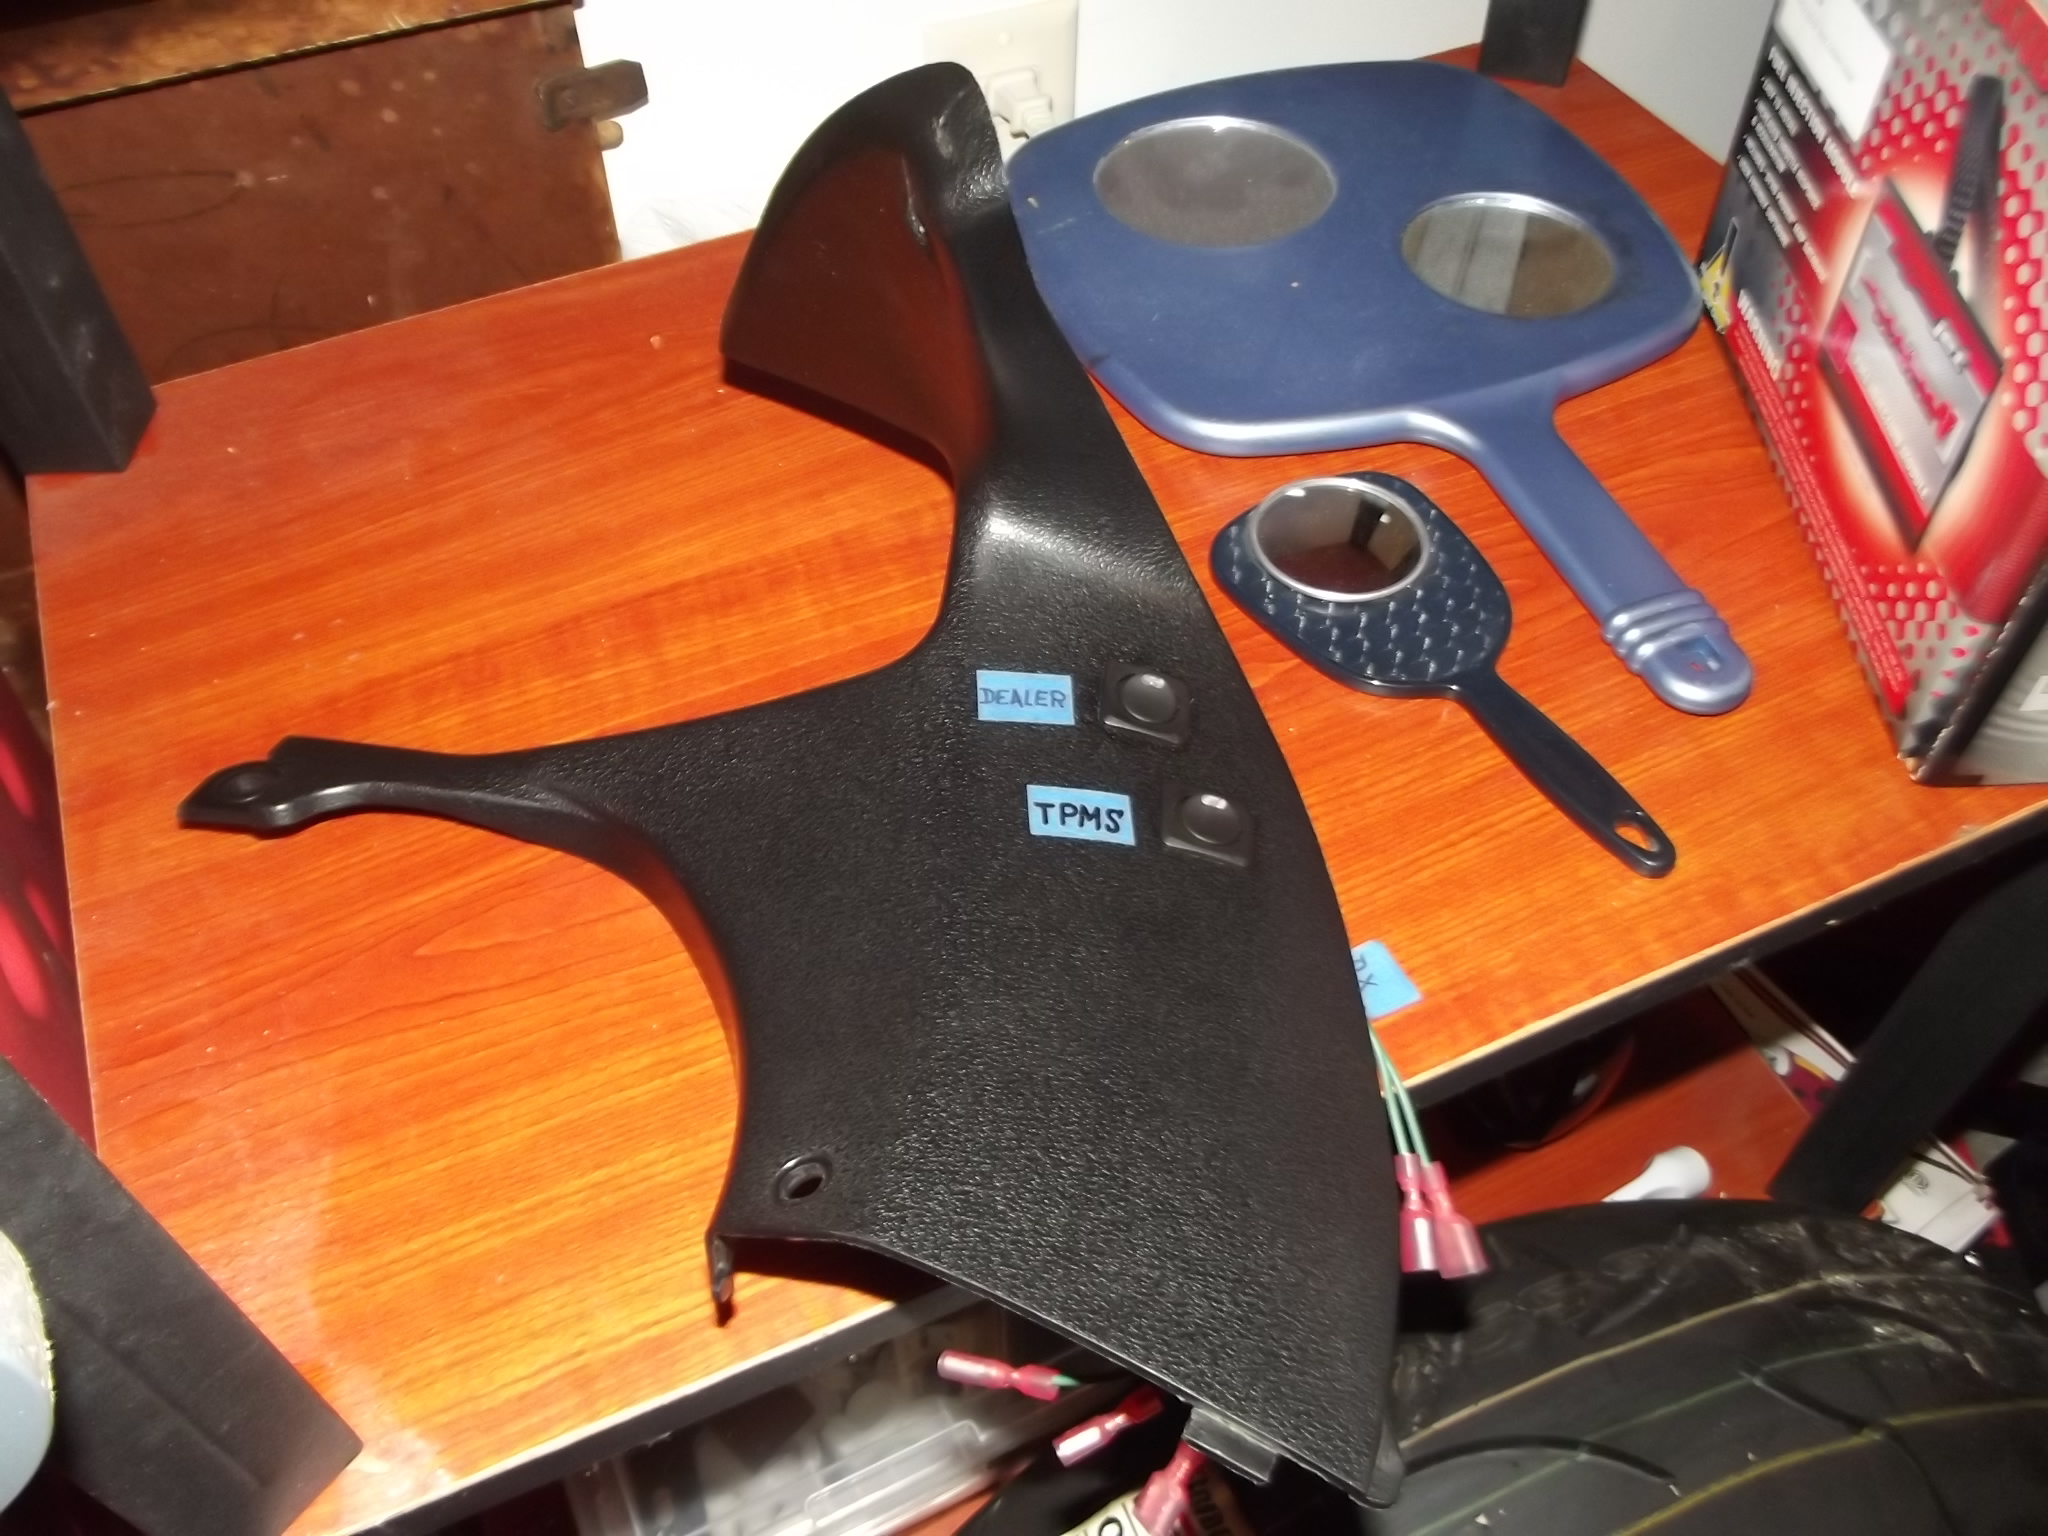
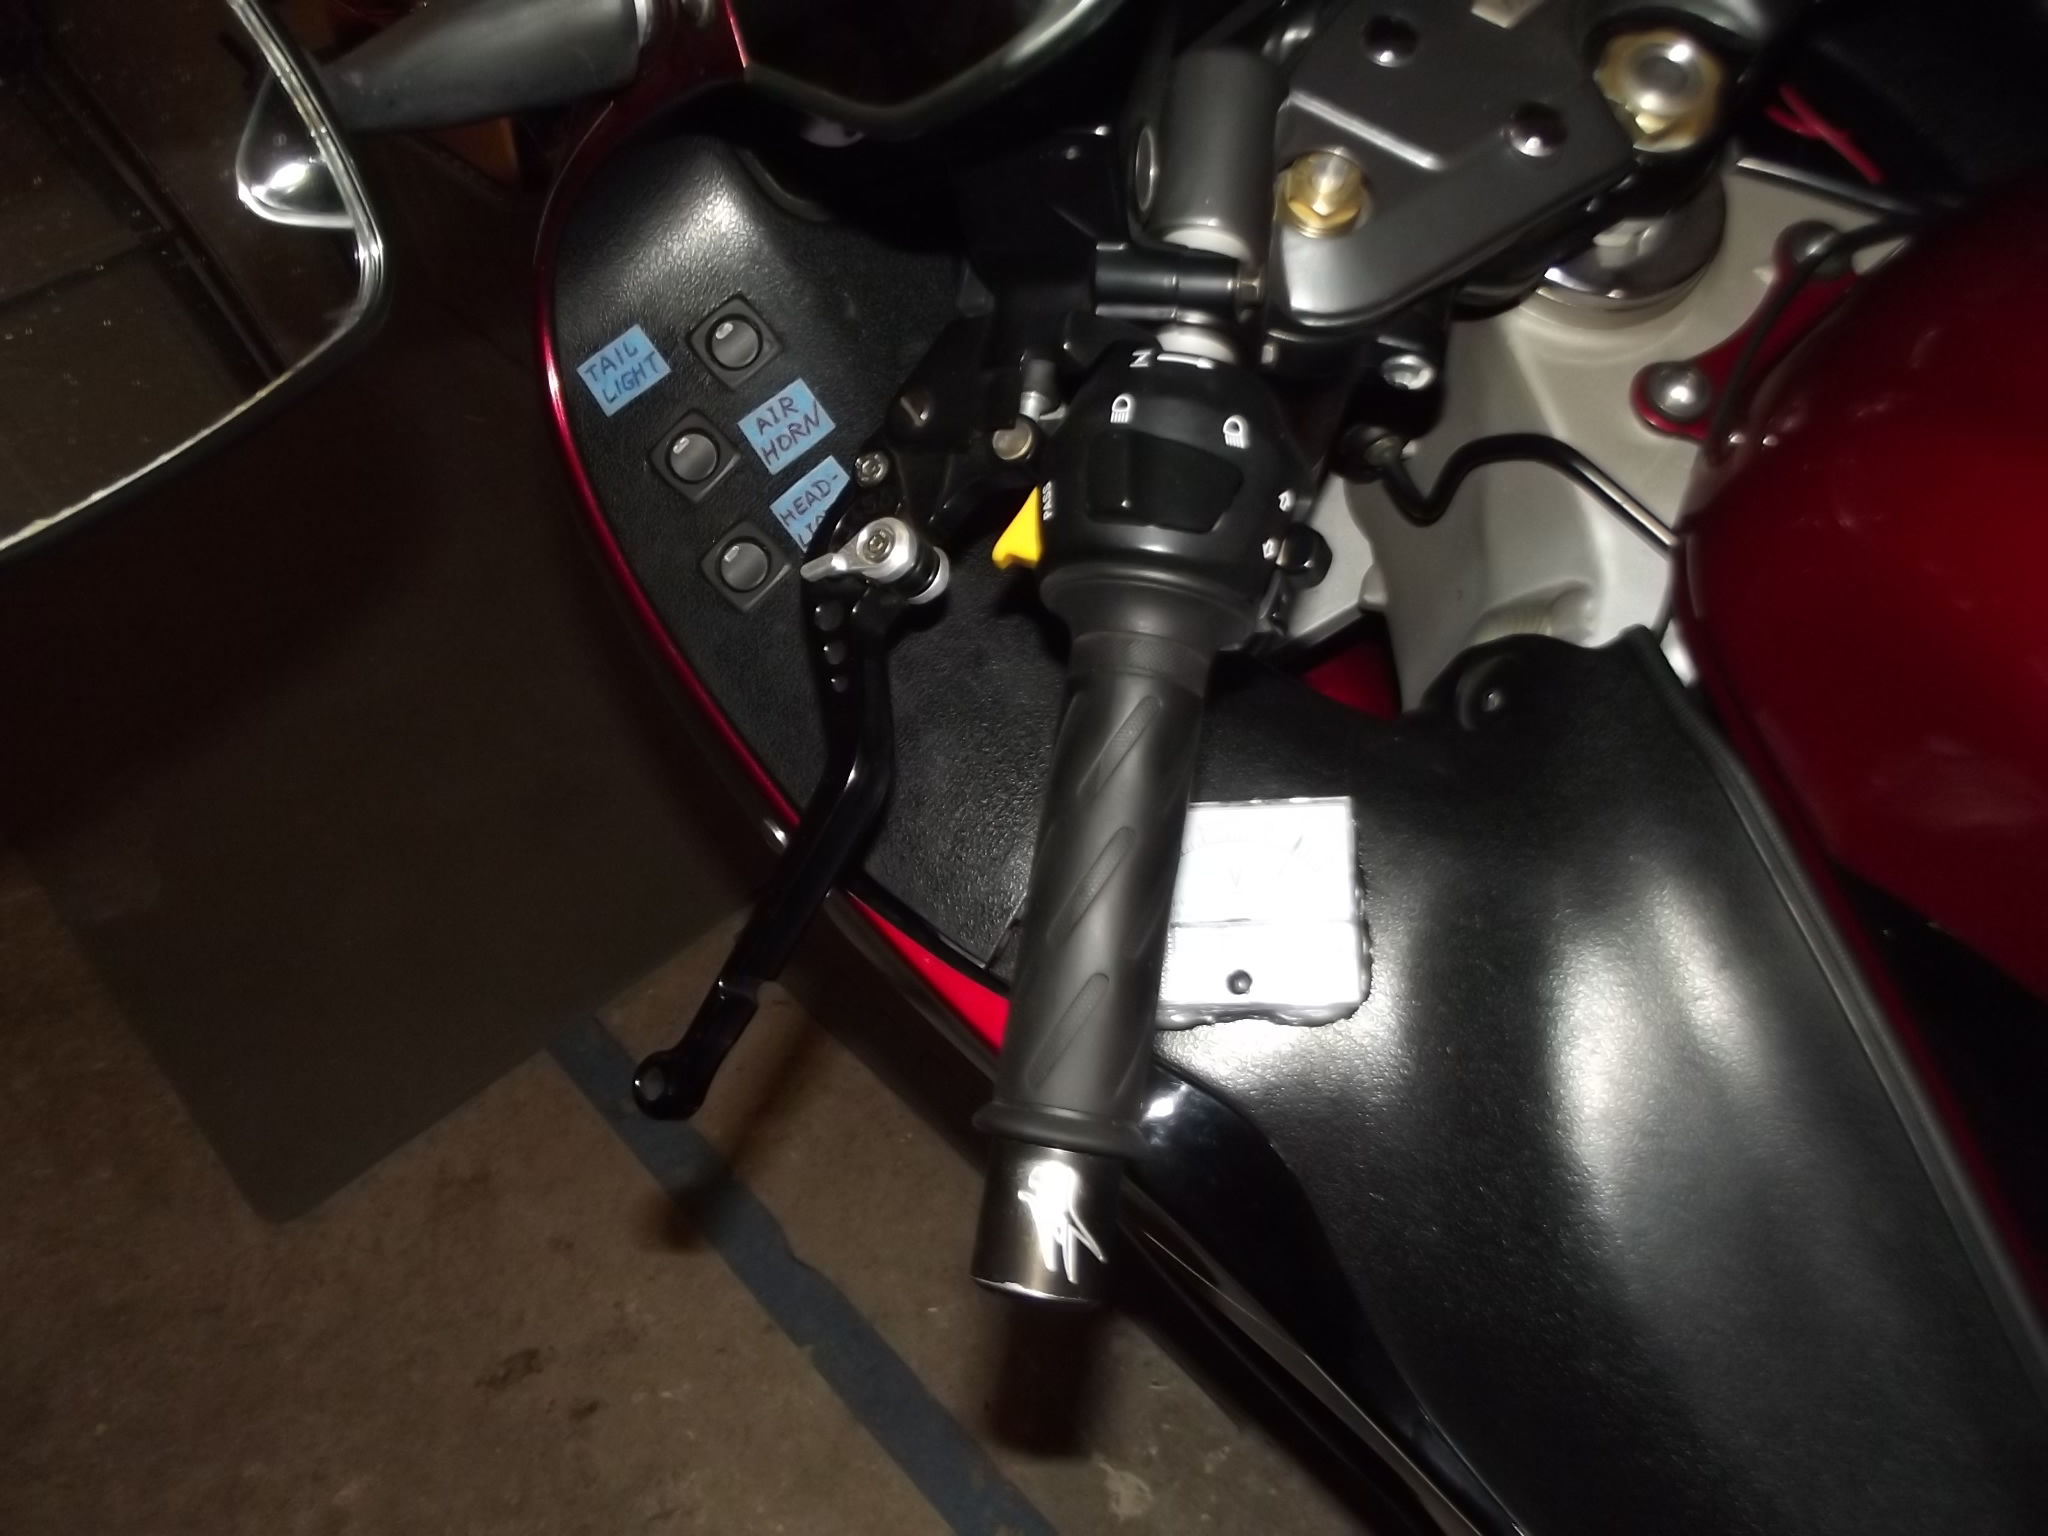
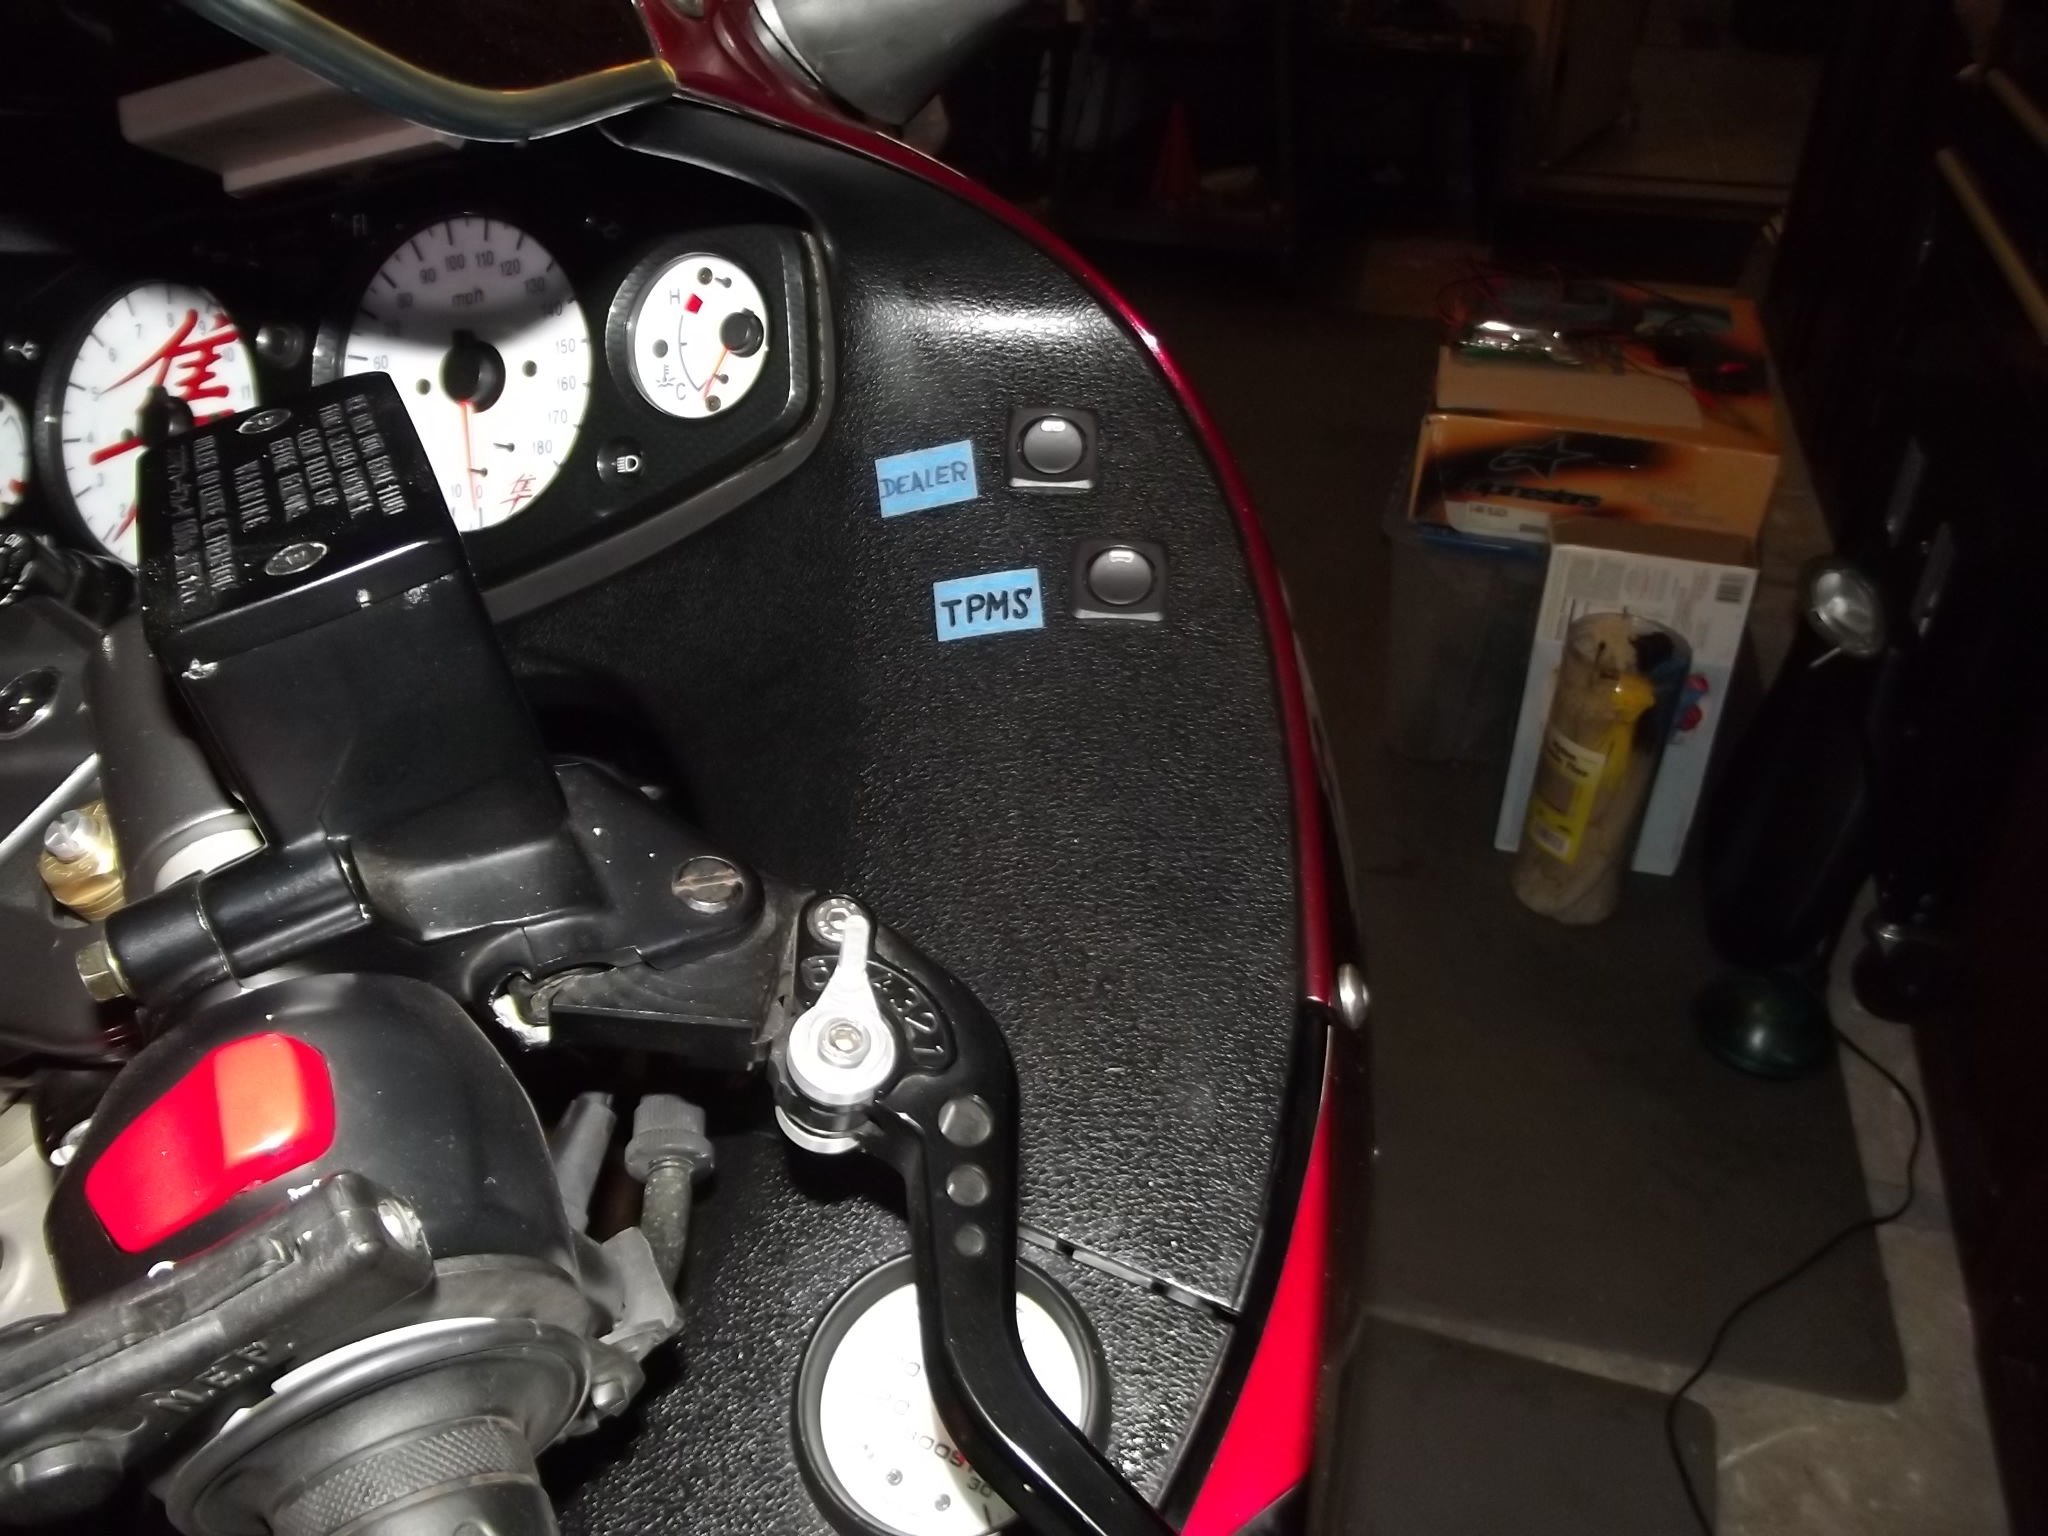
Installed Volt-meter, Headlight switch, Taillight Switch, Air Horn switch, TPMS along with the switch, and the dealer mode switch, metal valve stems.
Details
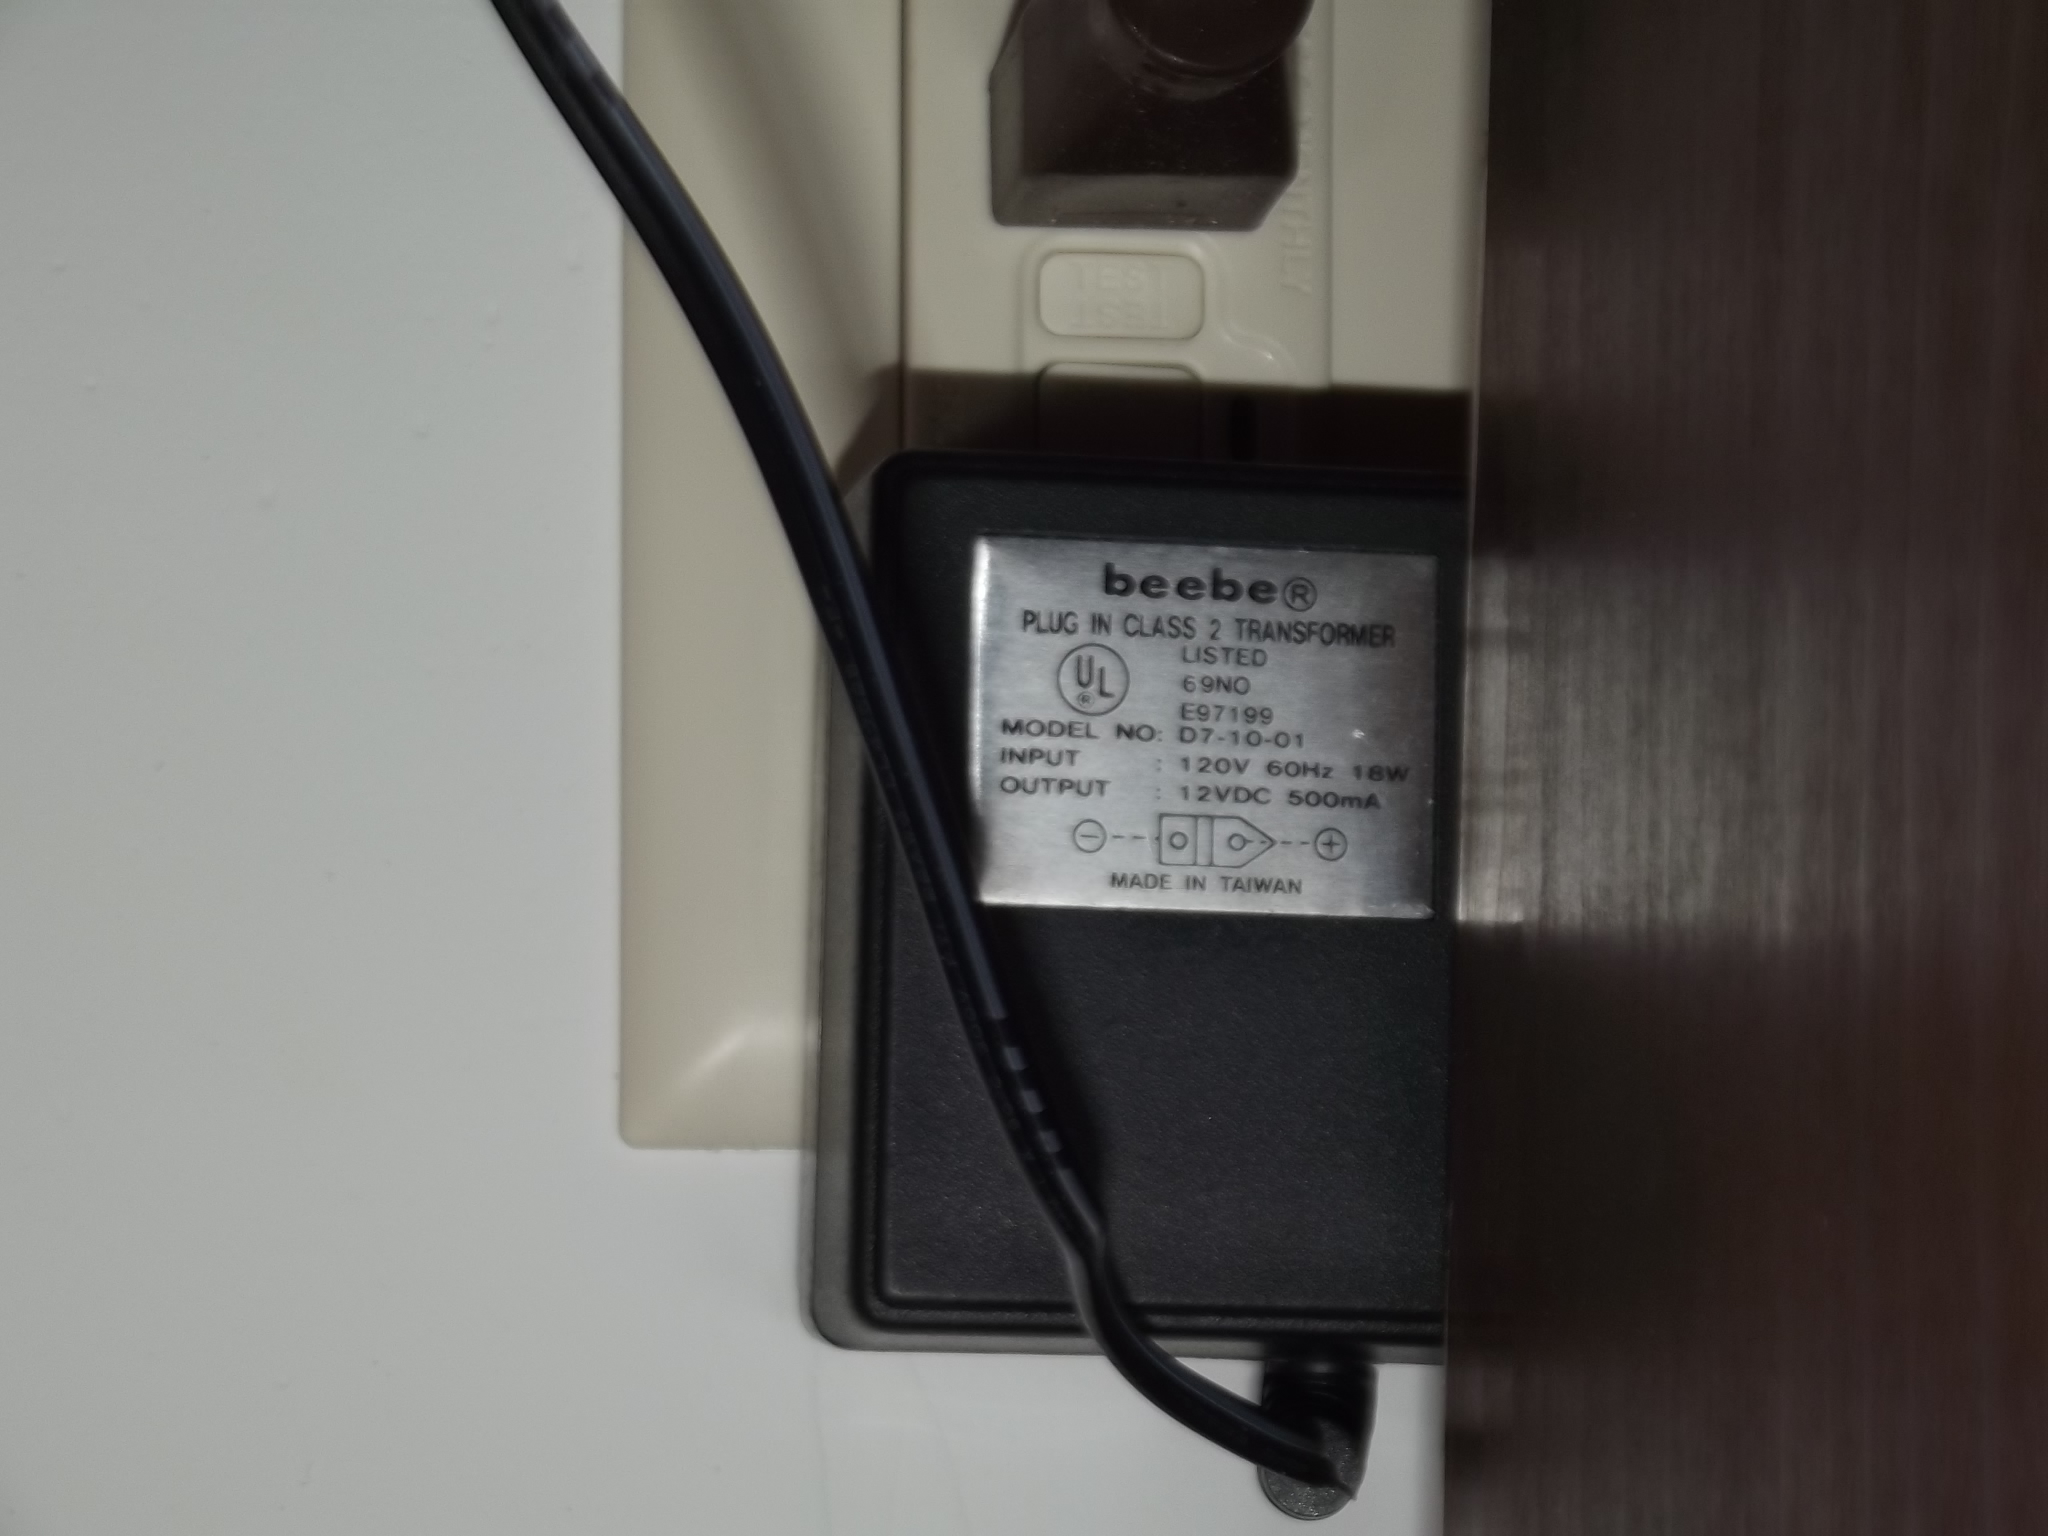
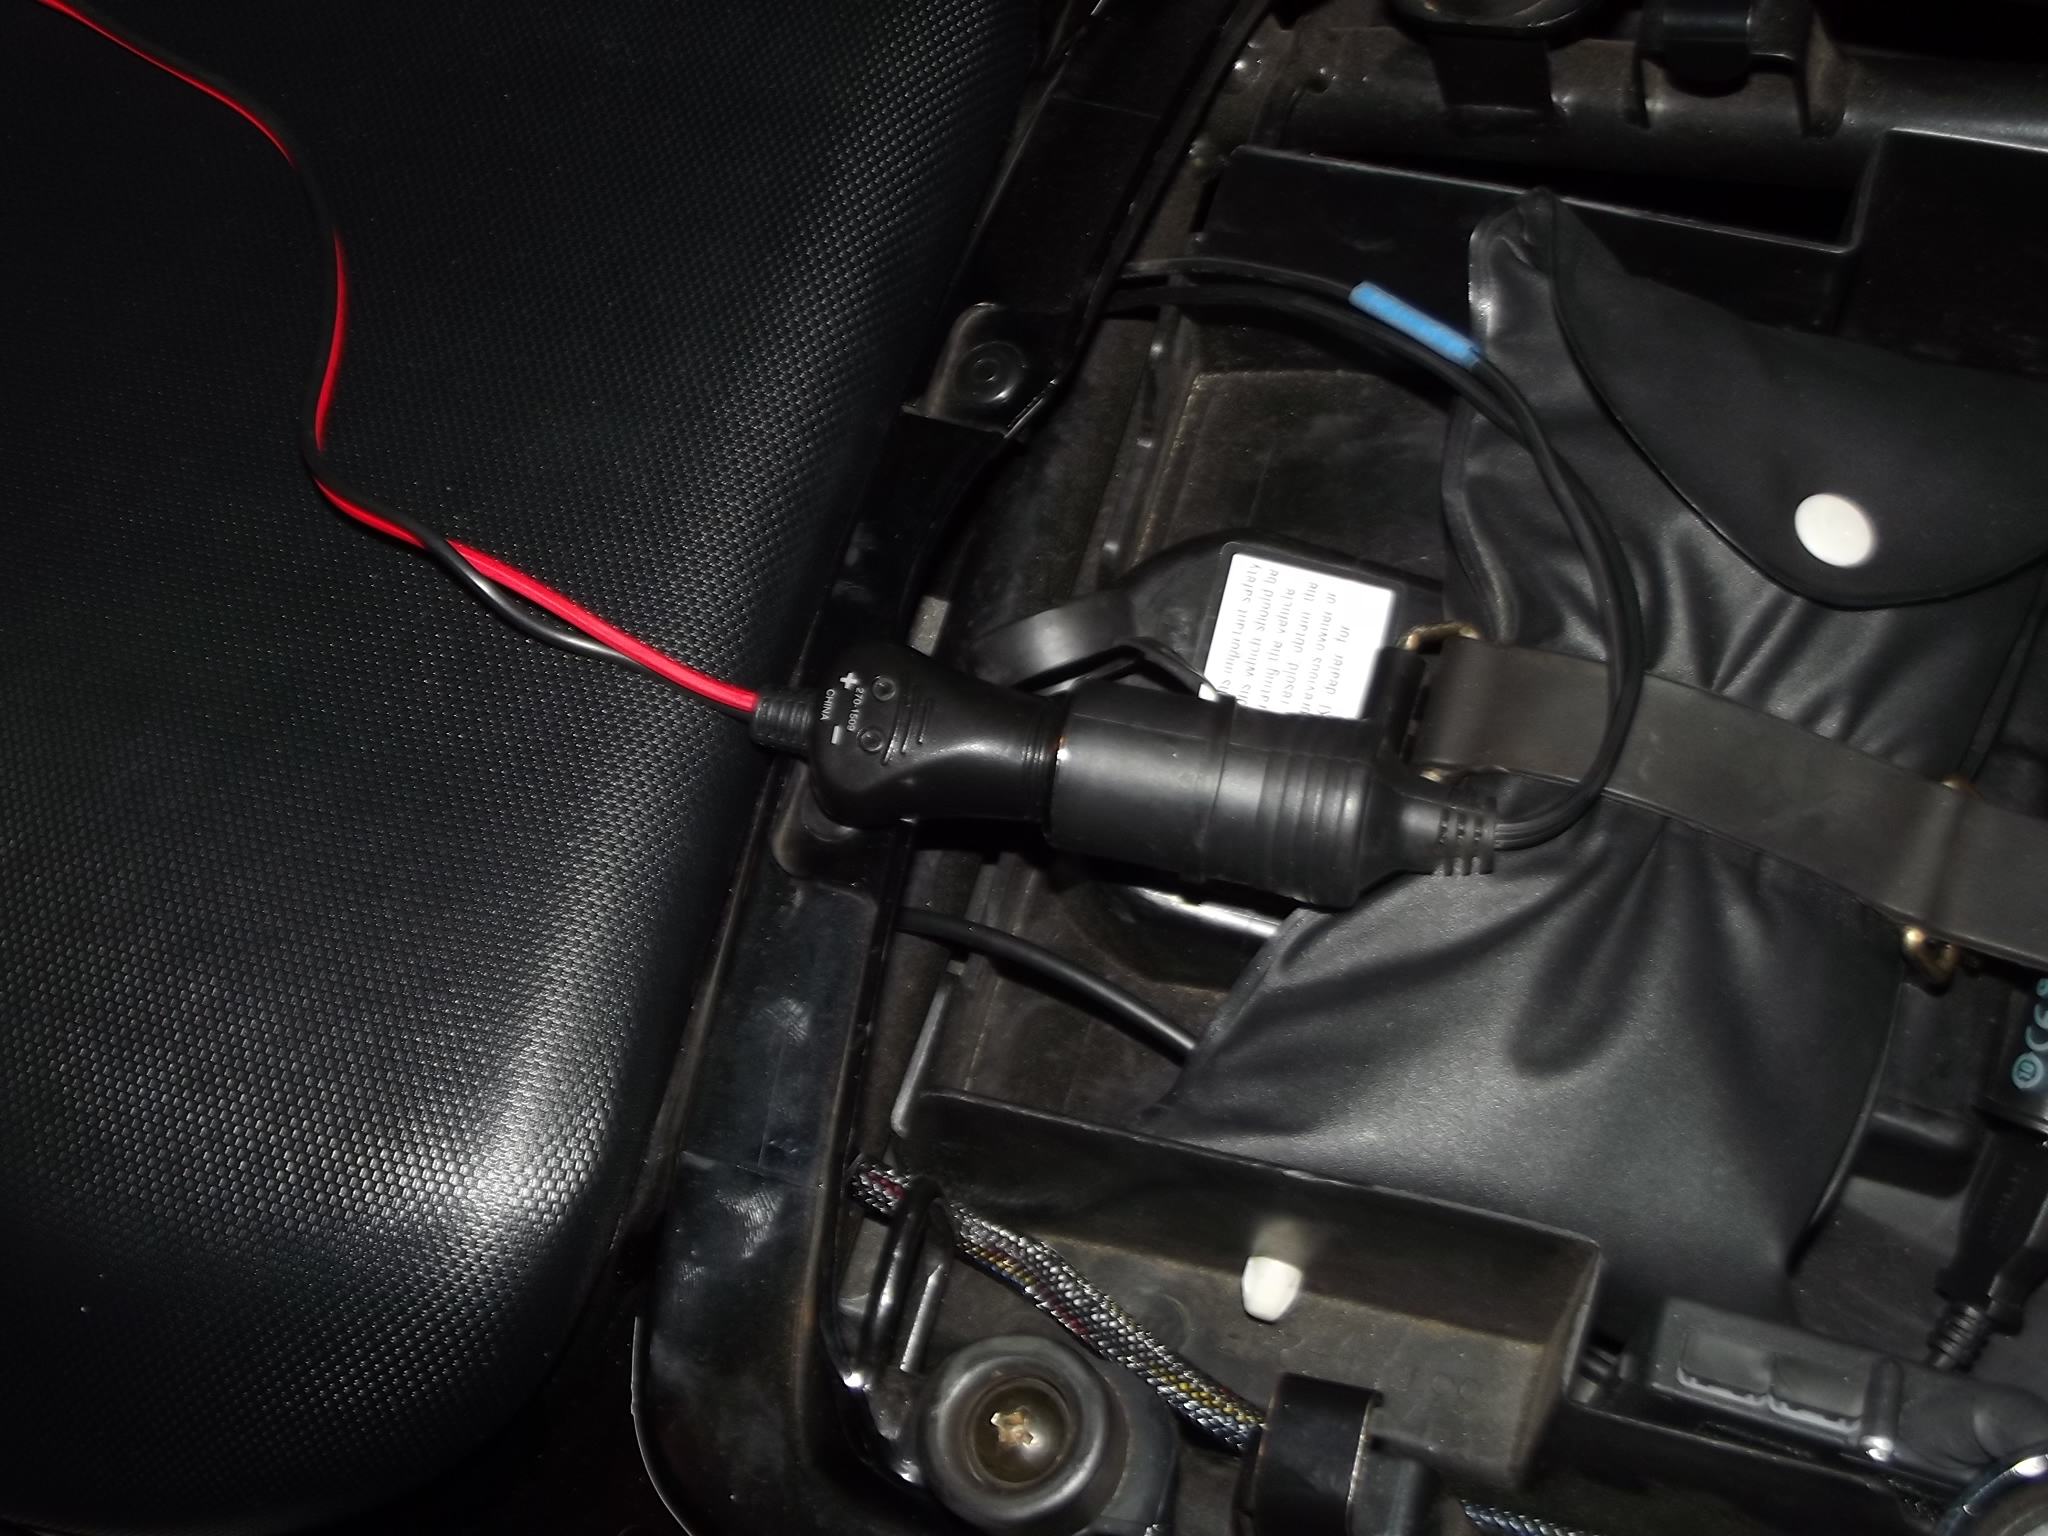
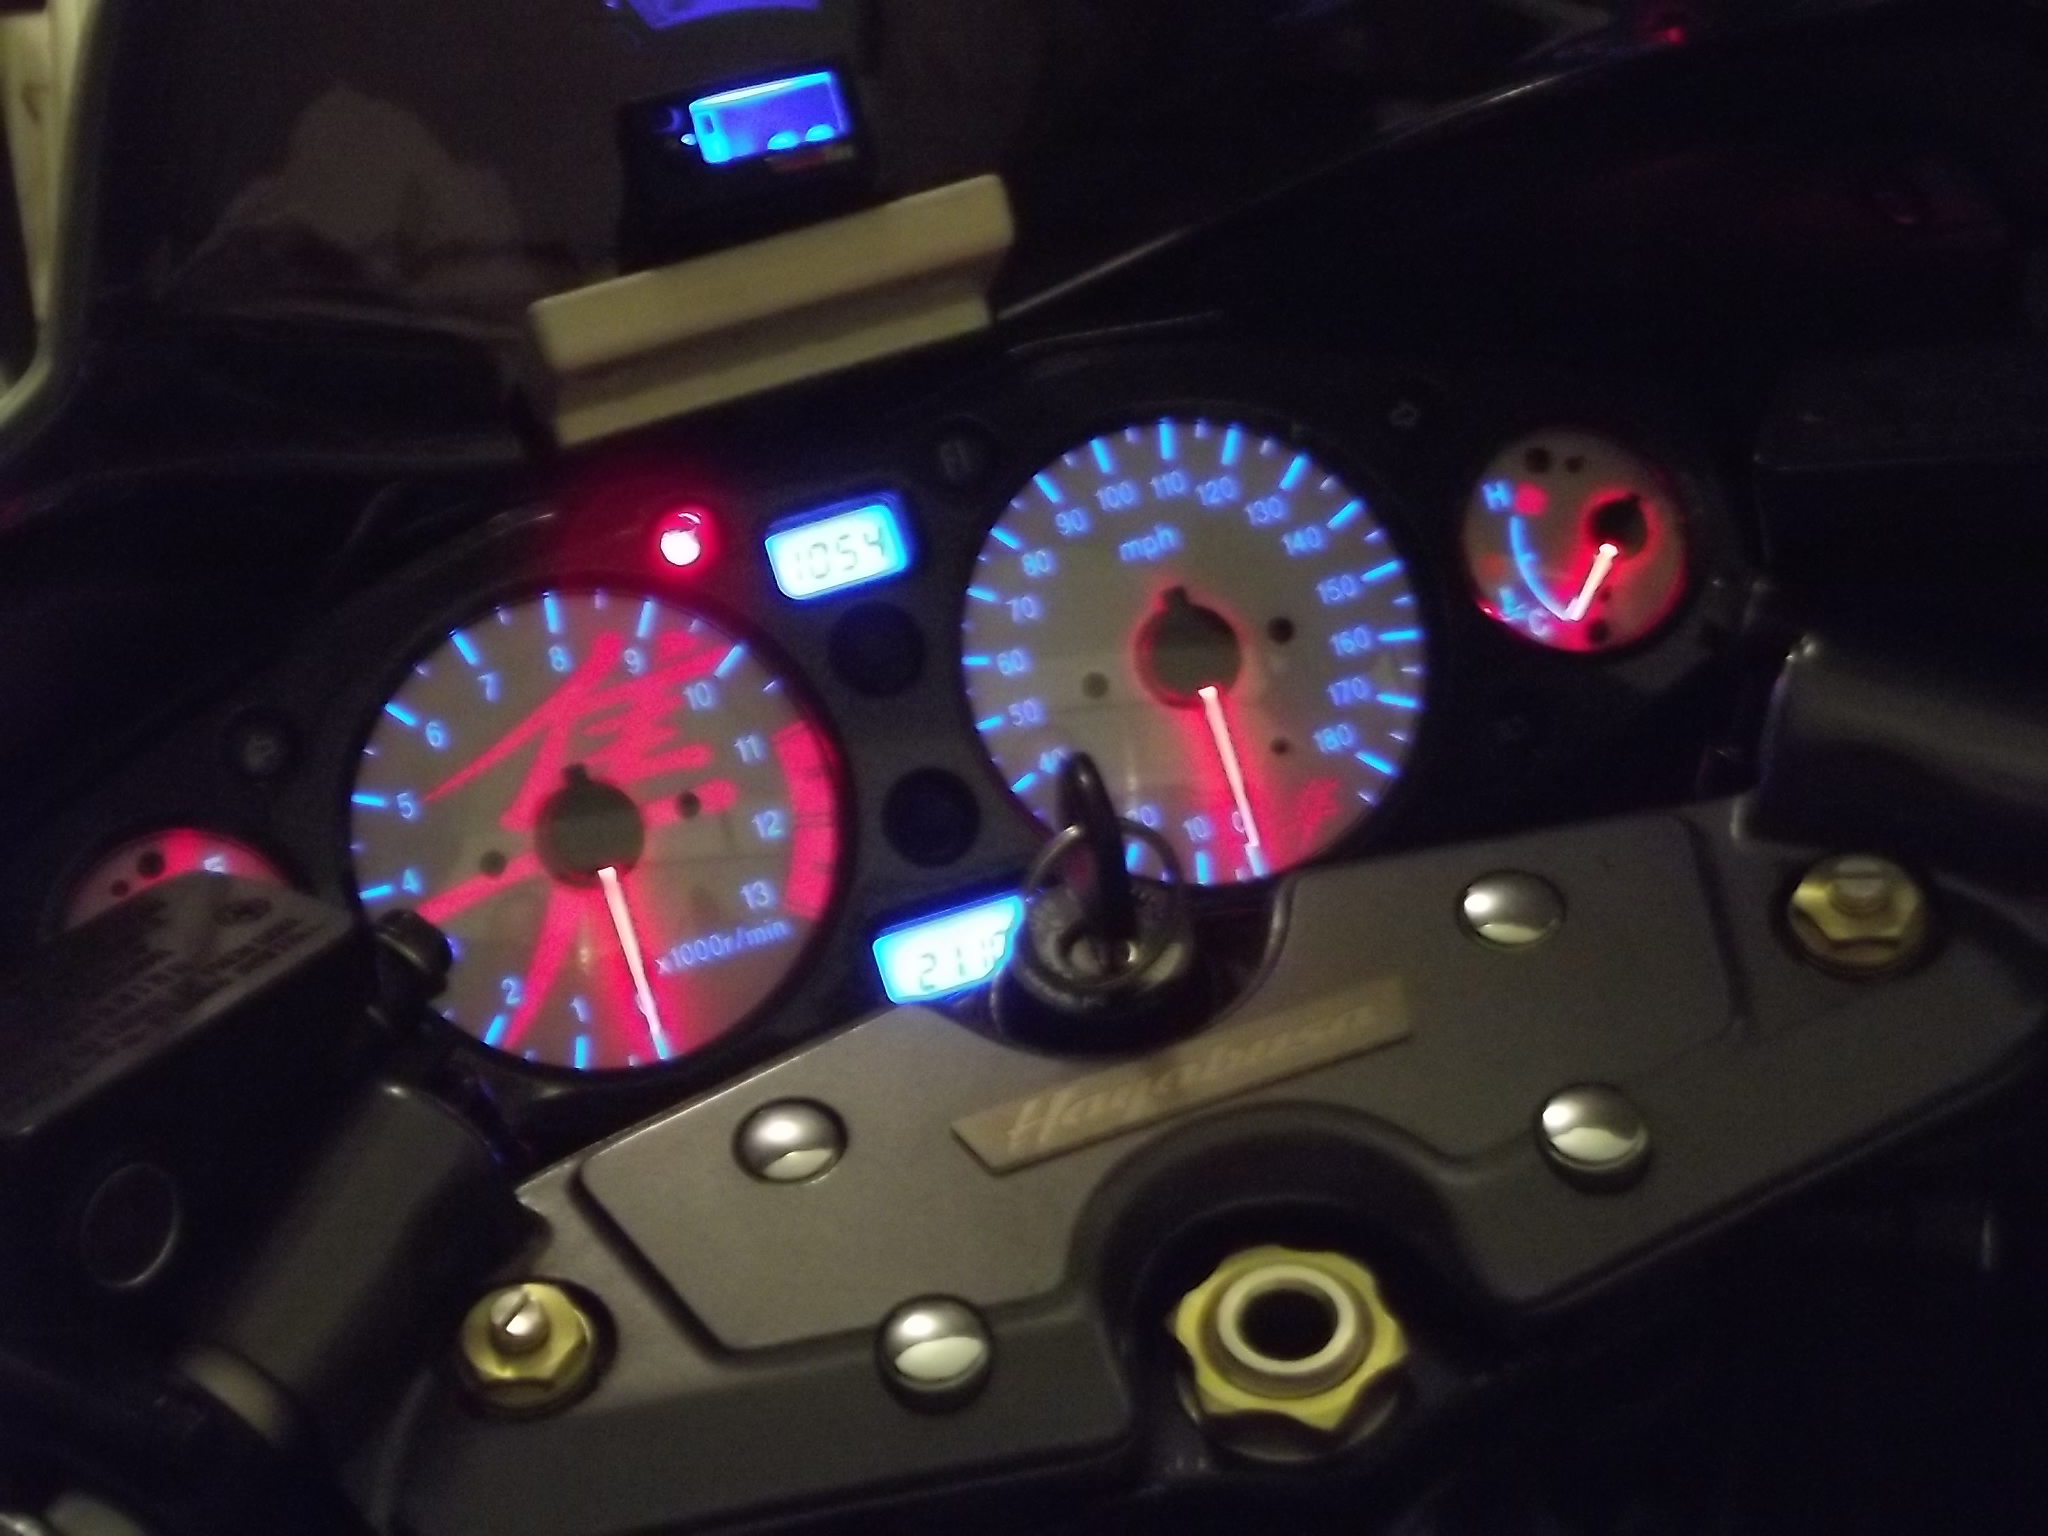
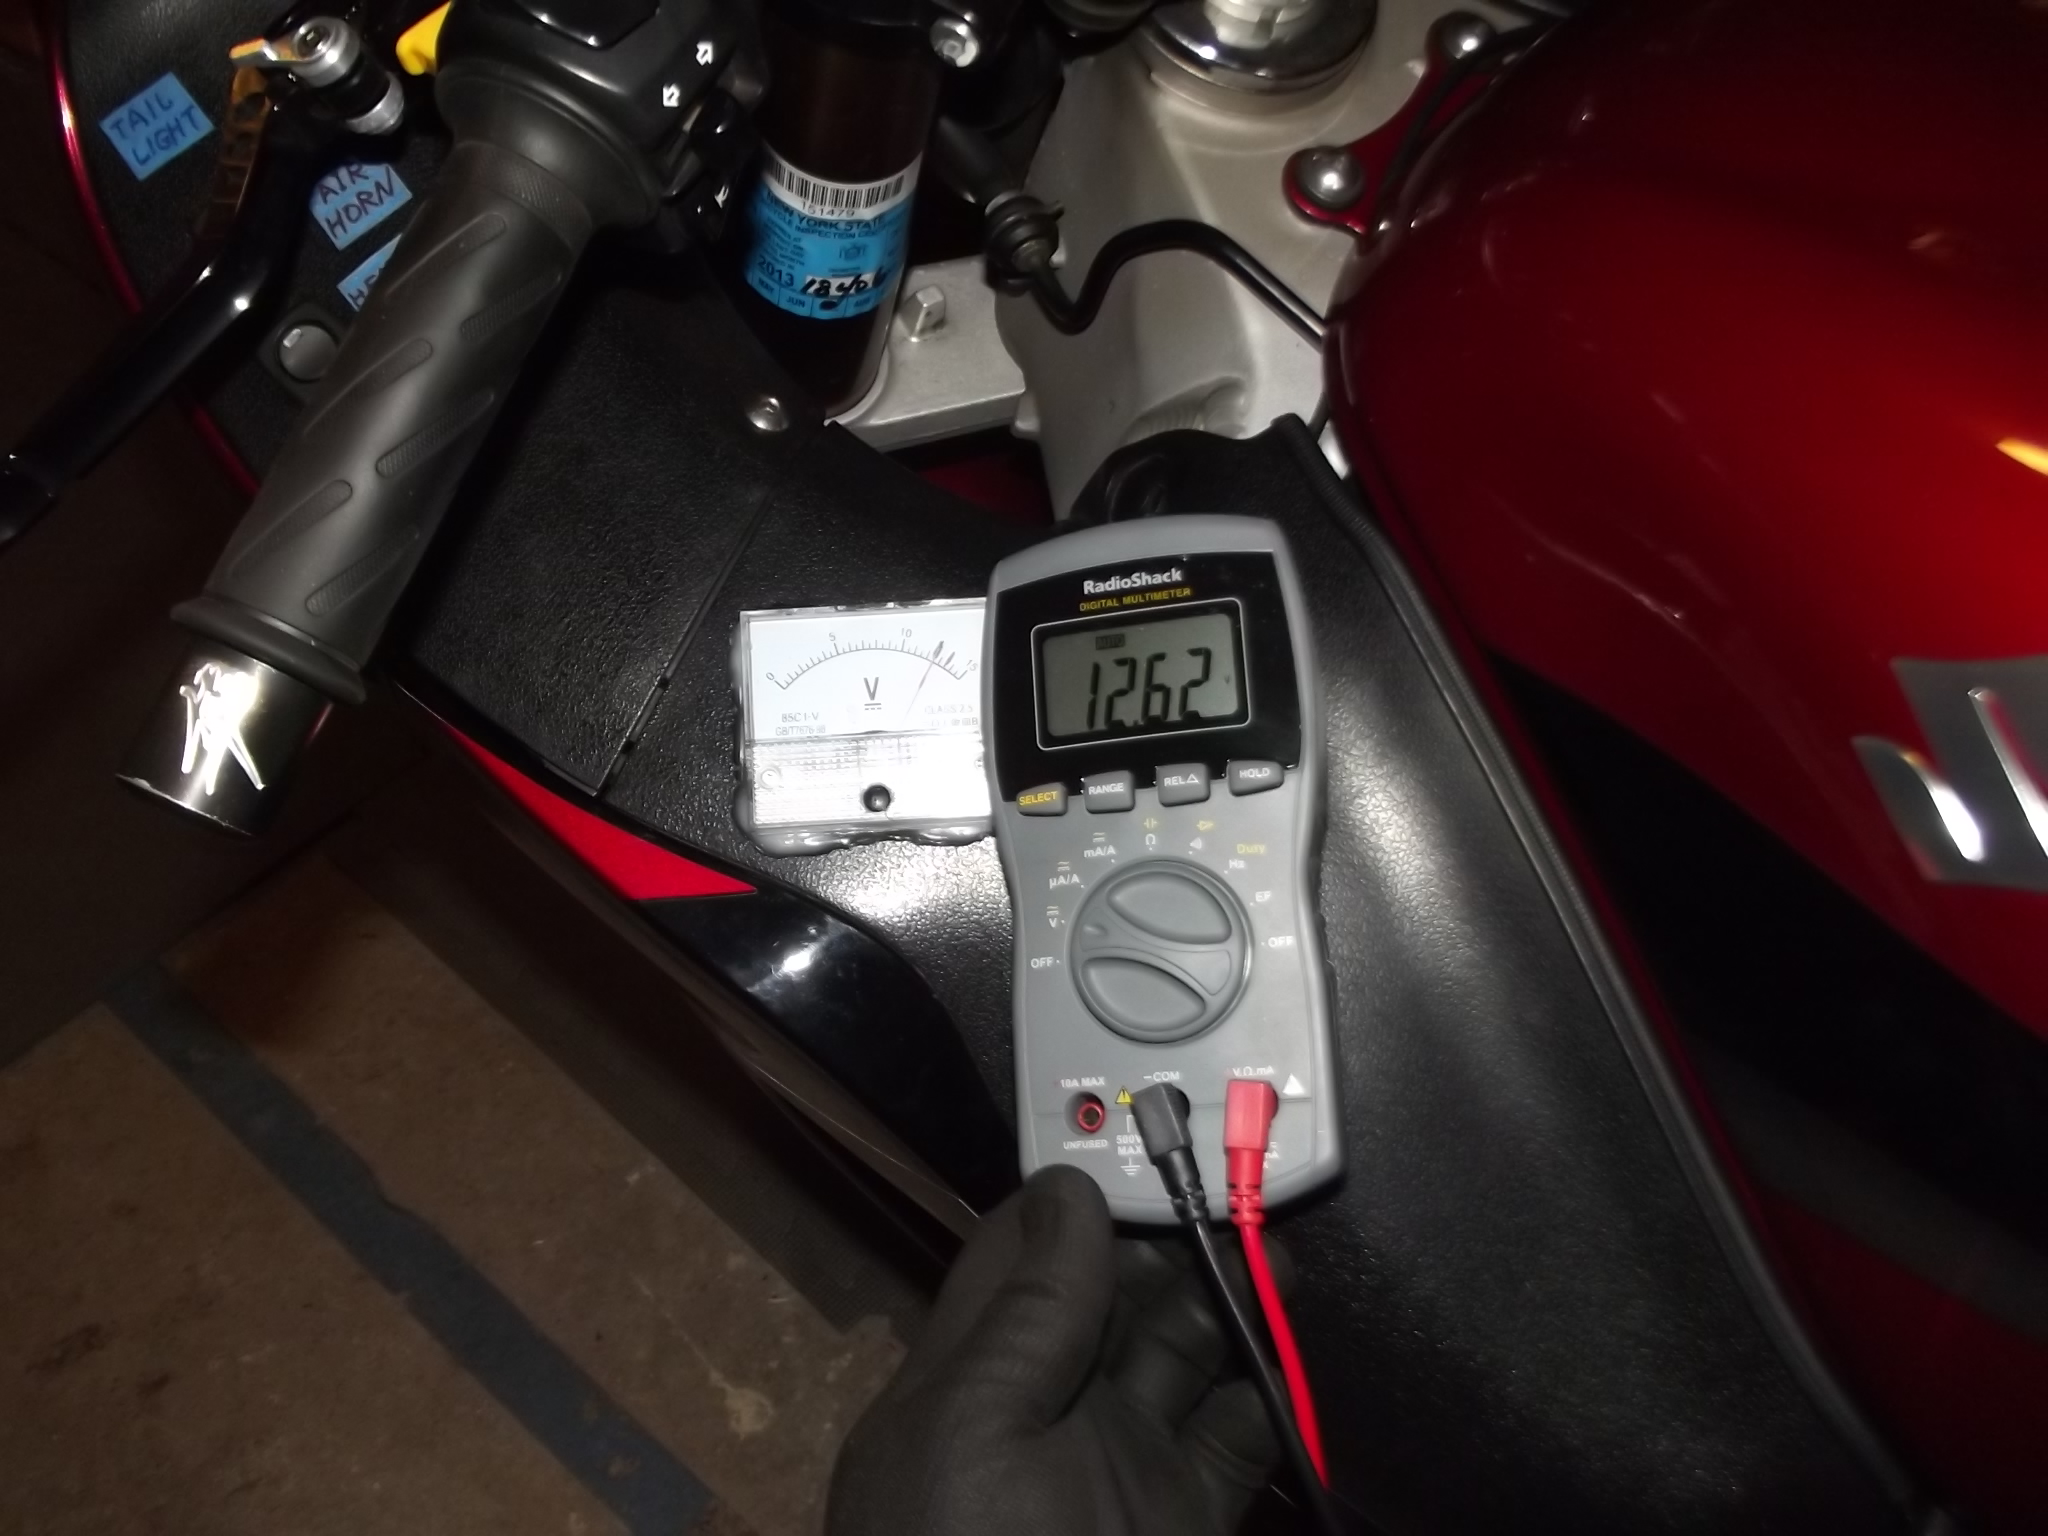
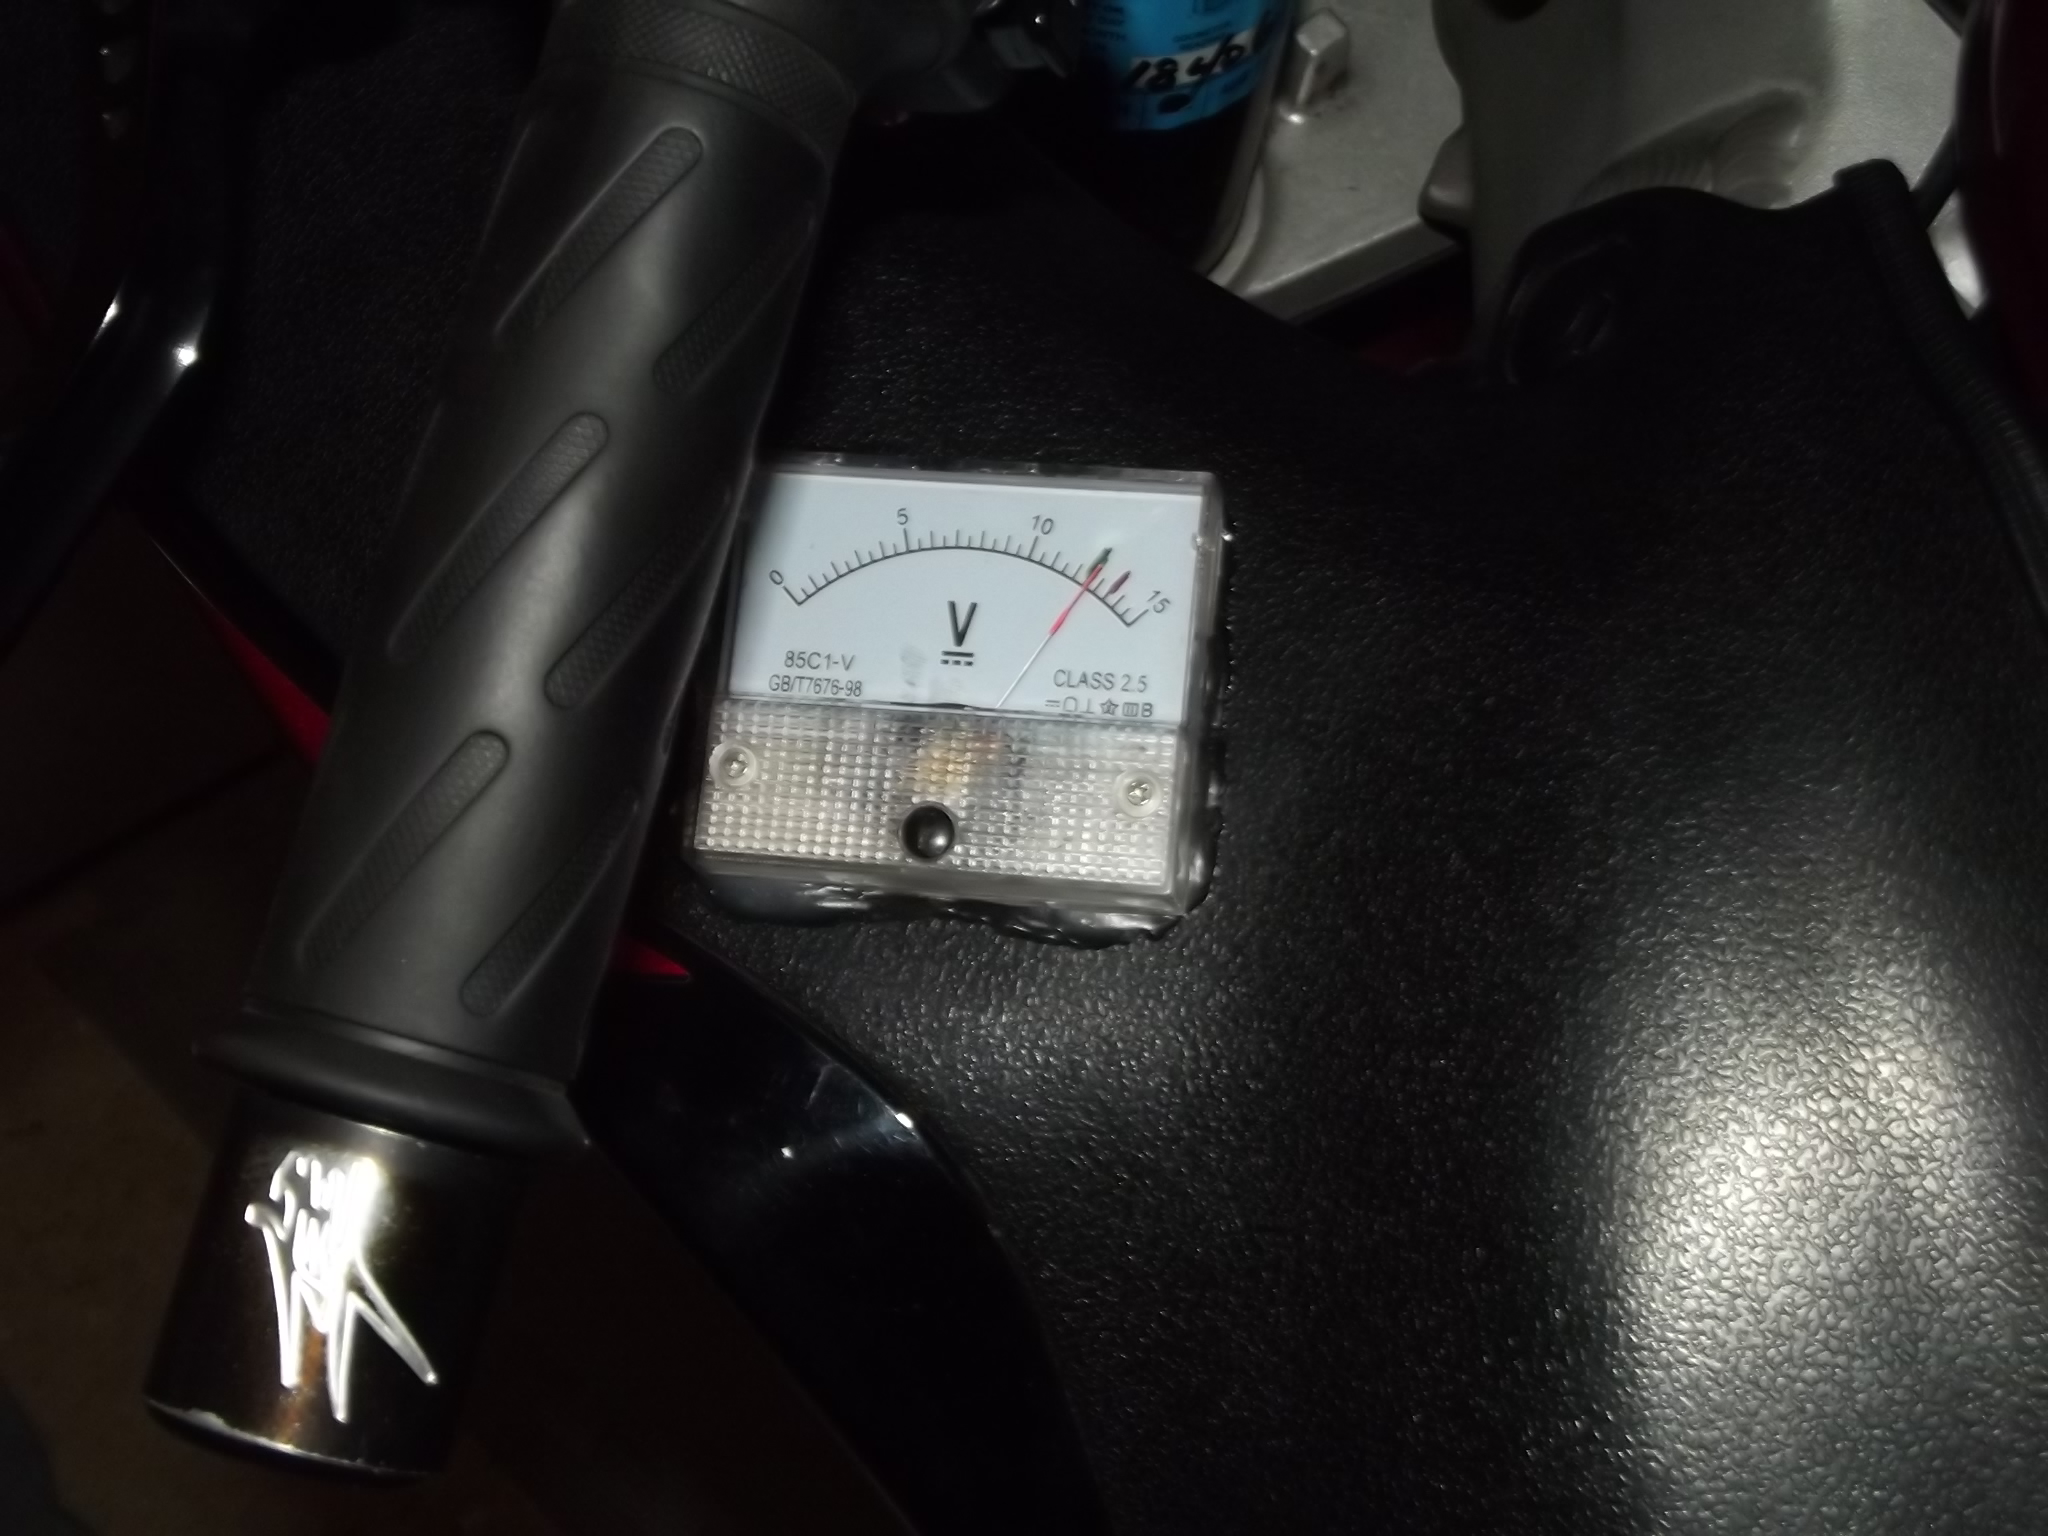
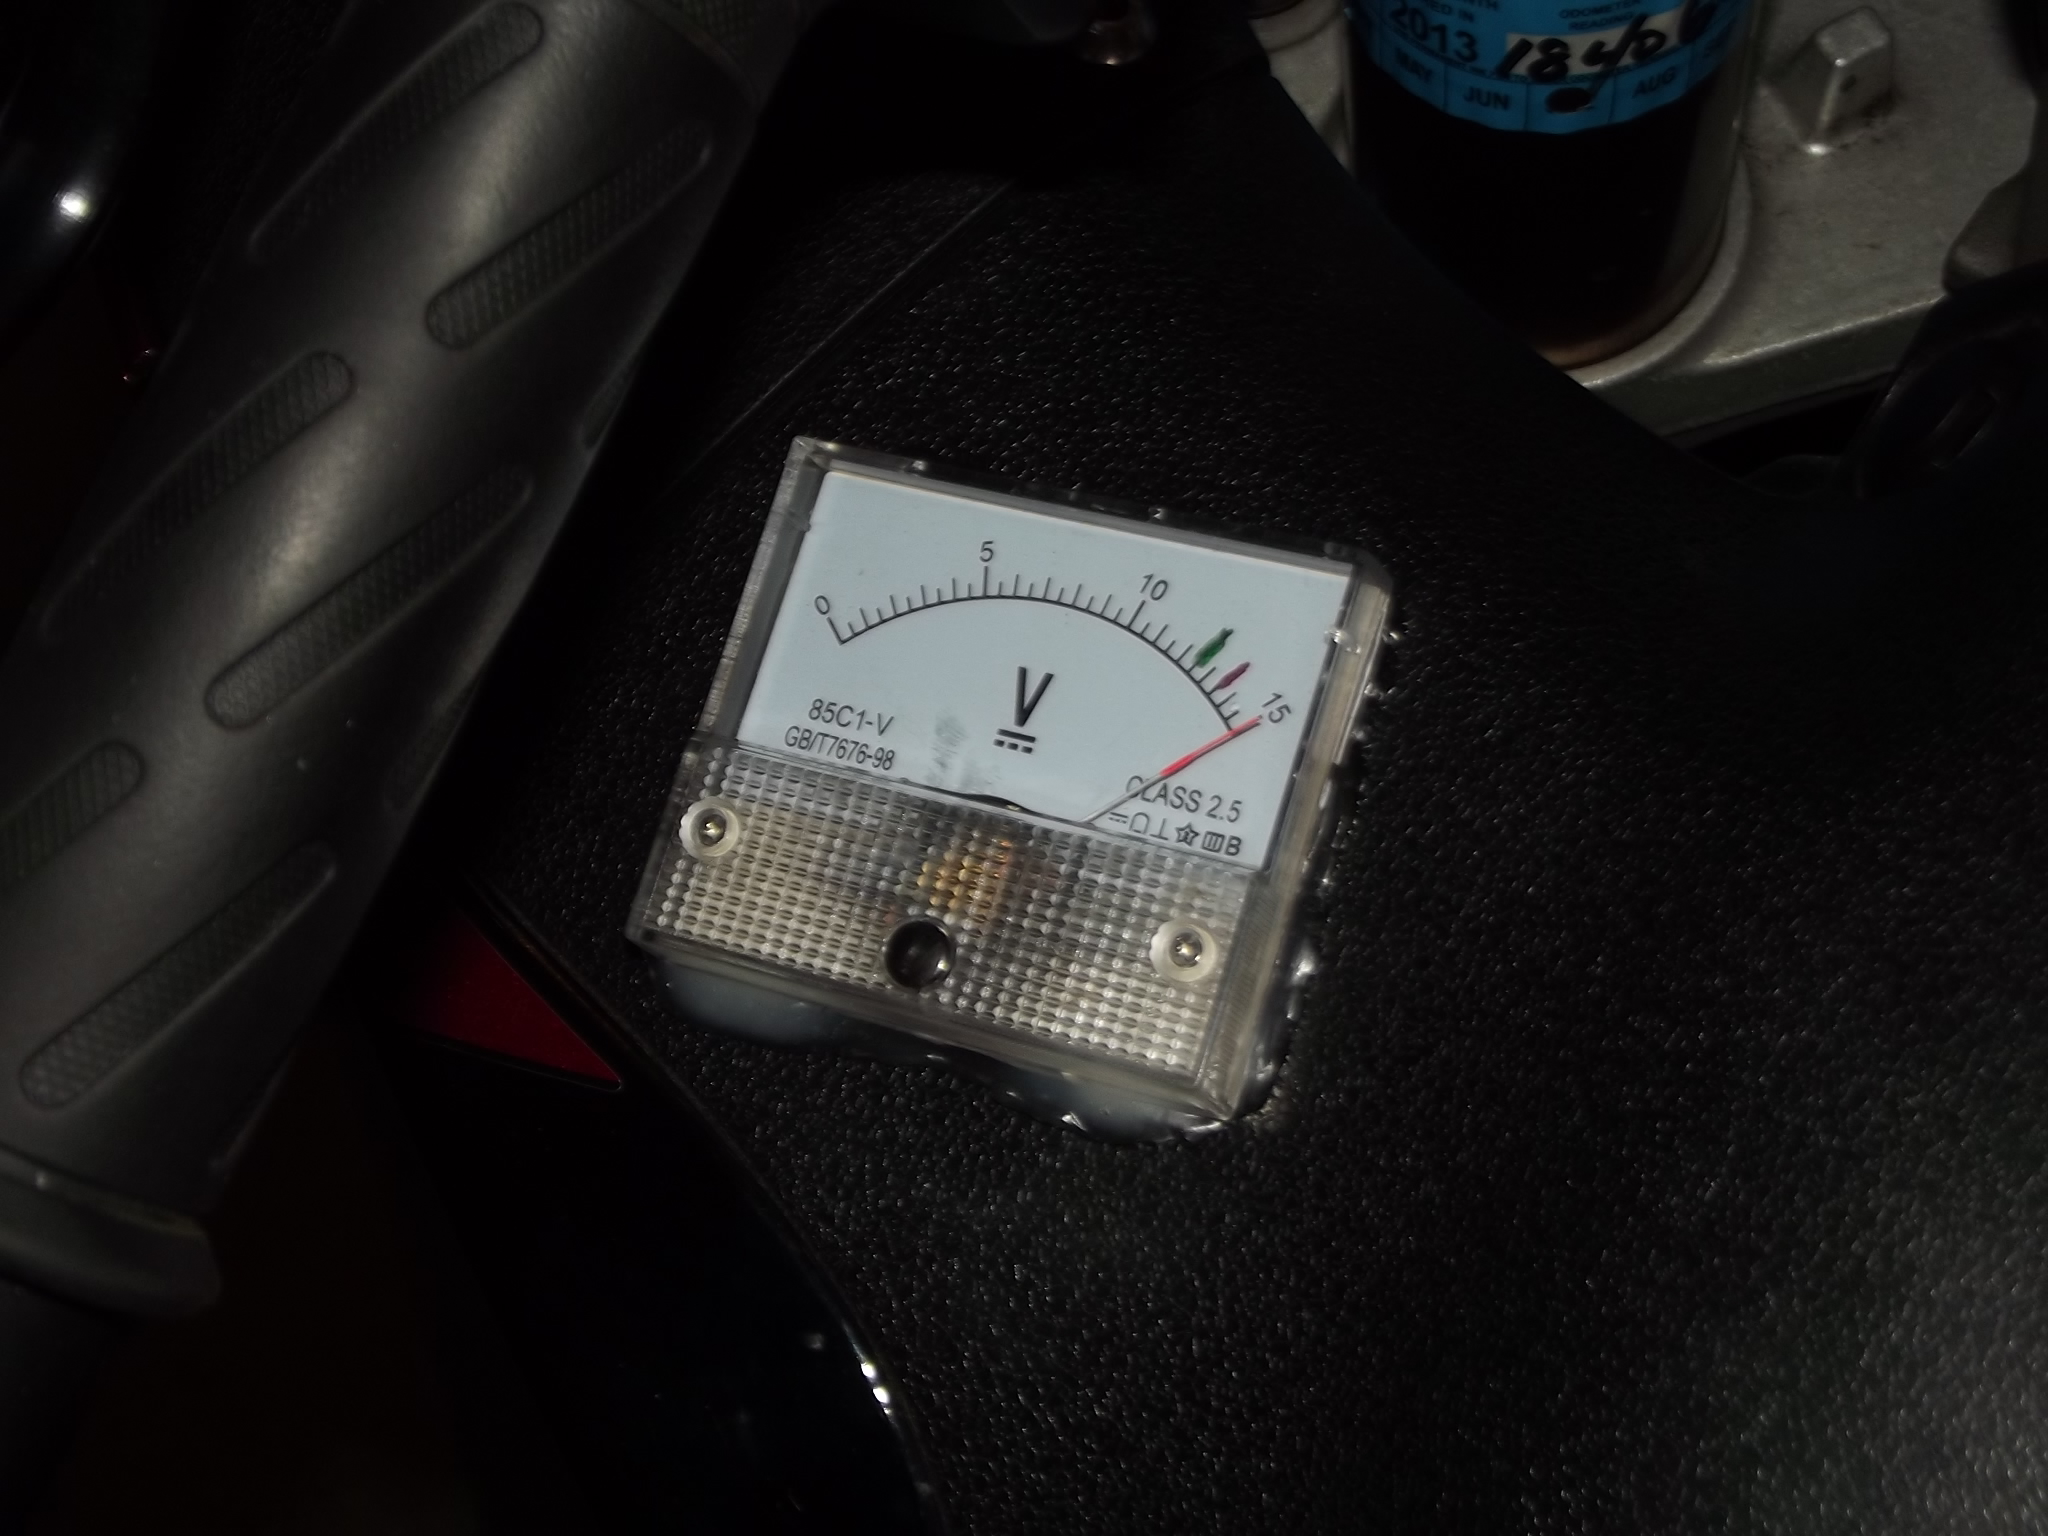
Analog Volt-meter is permanently connected to the battery via a fuse. Can be purchased at RadioShack or ebay. The one shown is from ebay. It draws less than 1 mA which is less than what the battery is losing by itself, and therefore makes no sense to connect via a switch. A casual glance at the V-meter lets you know how is your battery doing when the bike is off, and how is your charging system doing when the bike is on. I put the green mark at 12.5V, and the red mark at 13.5V. Any change is easily noticeable. For example, if the bike sits for a while and the voltage drops below 12.5V, it's a good idea to charge the battery overnight with the simplest dummy charger. If you ride, and the voltage starts dropping below 13.5V at mid rpm, you may have a problem with the charging system, or that newly installed HID may be drawing too much current, or your stator connection is going bad. Whatever the problem is developing, you would know way ahead of time - many months before the bike would not start or would stall on you.
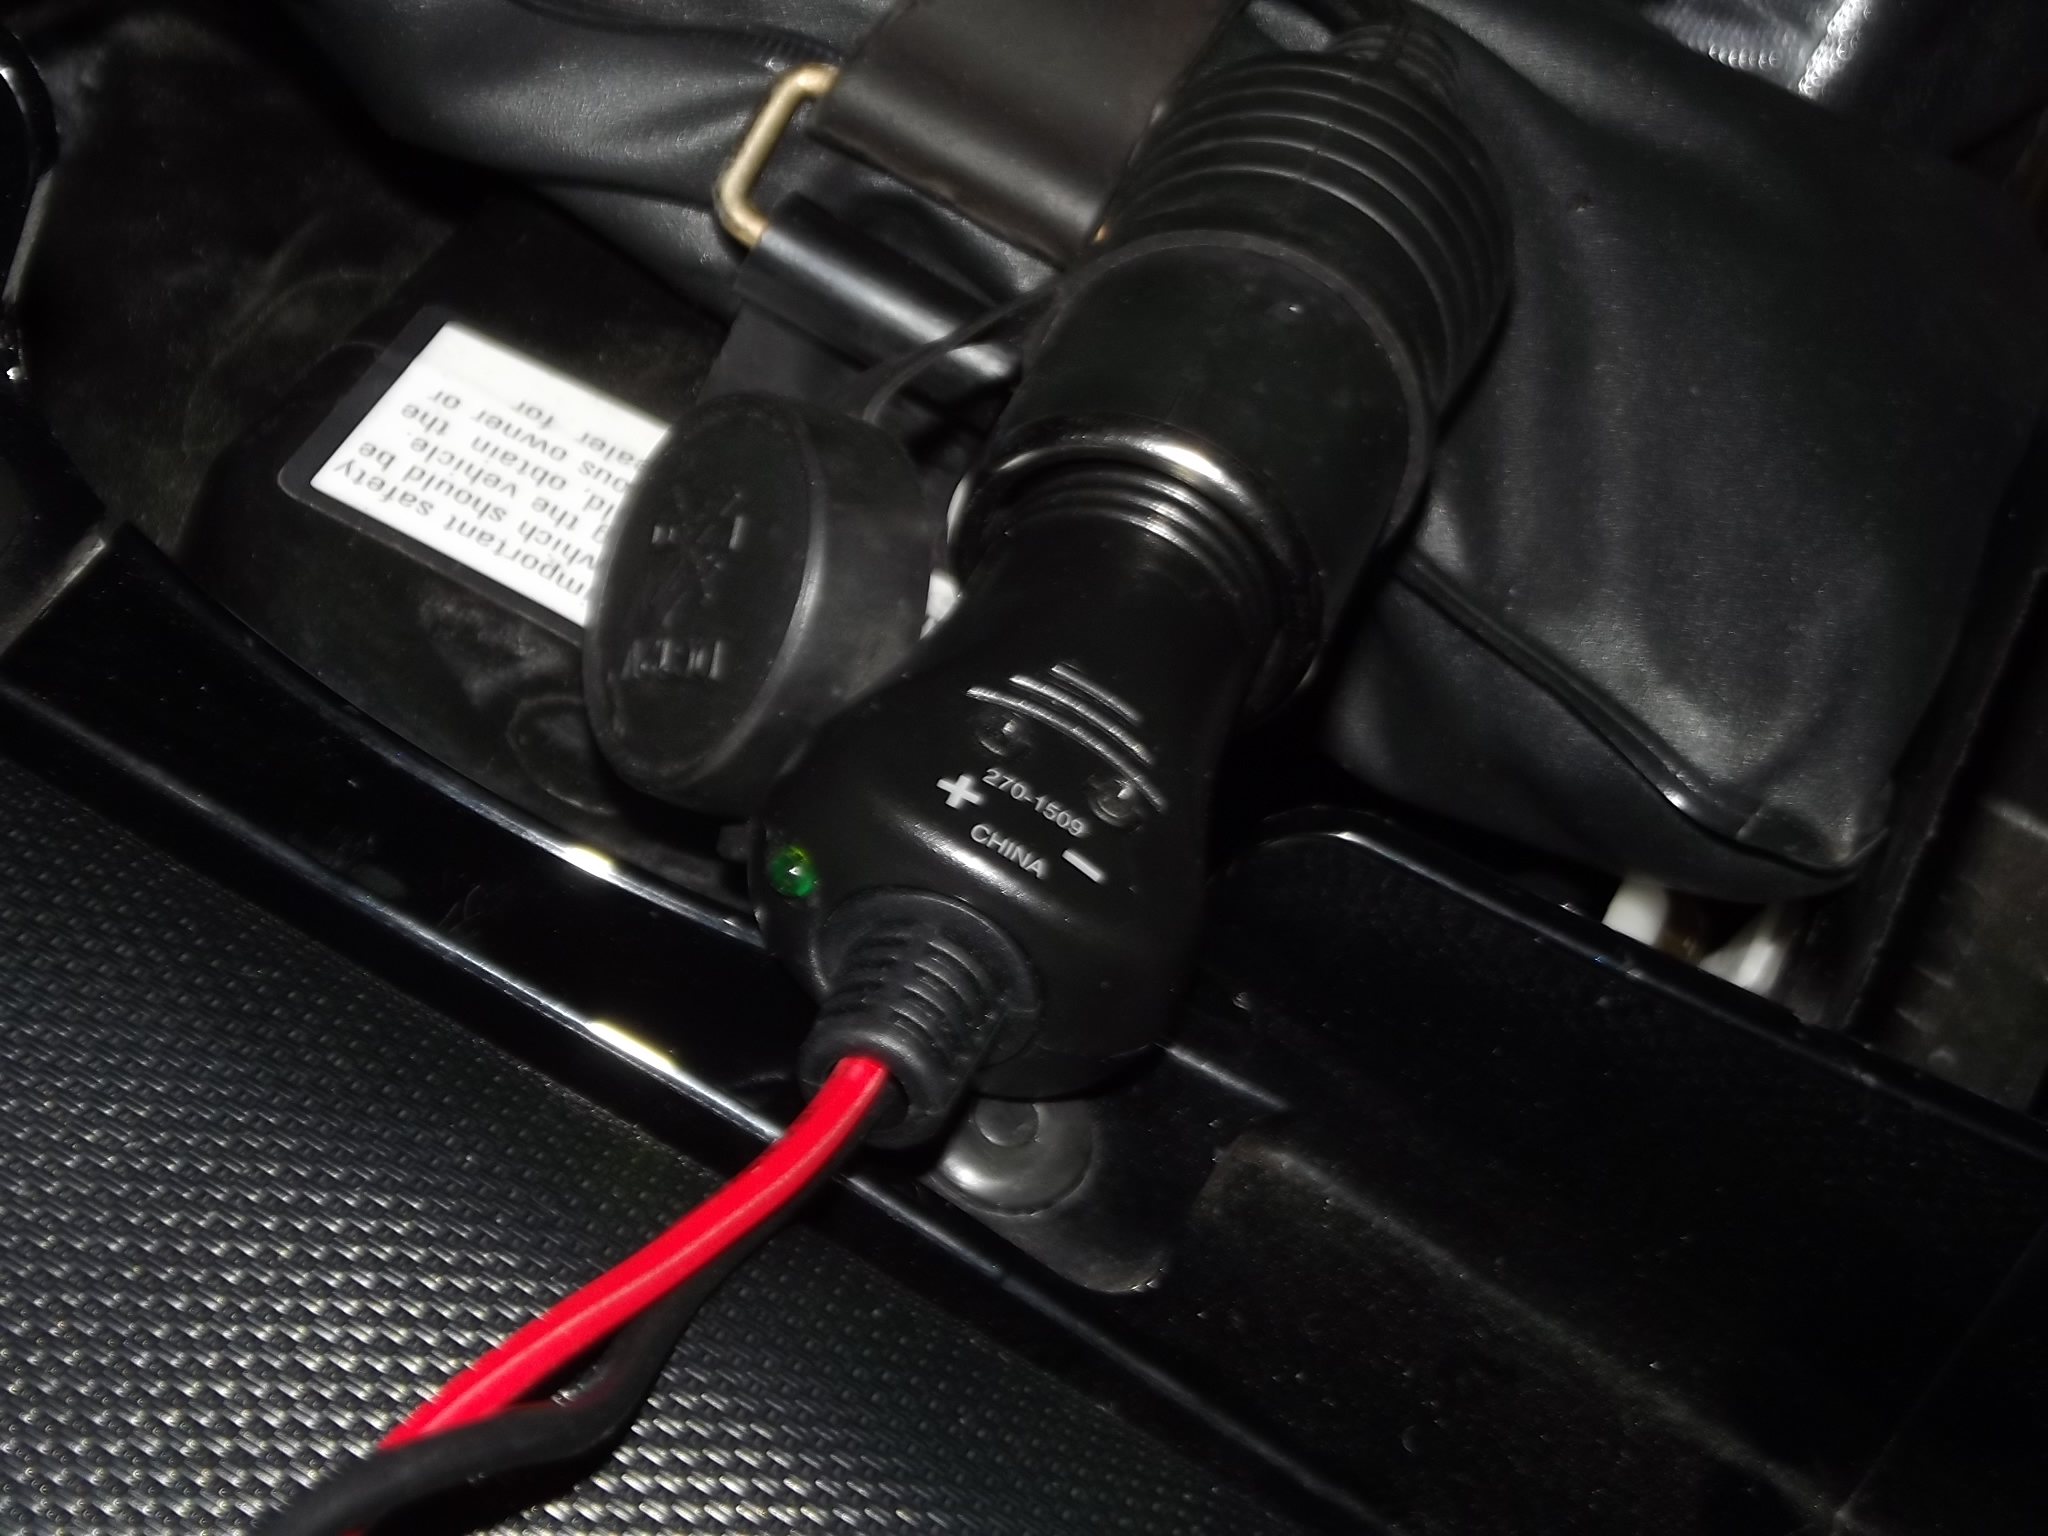
Here is the voltage with the engine OFF and ON.
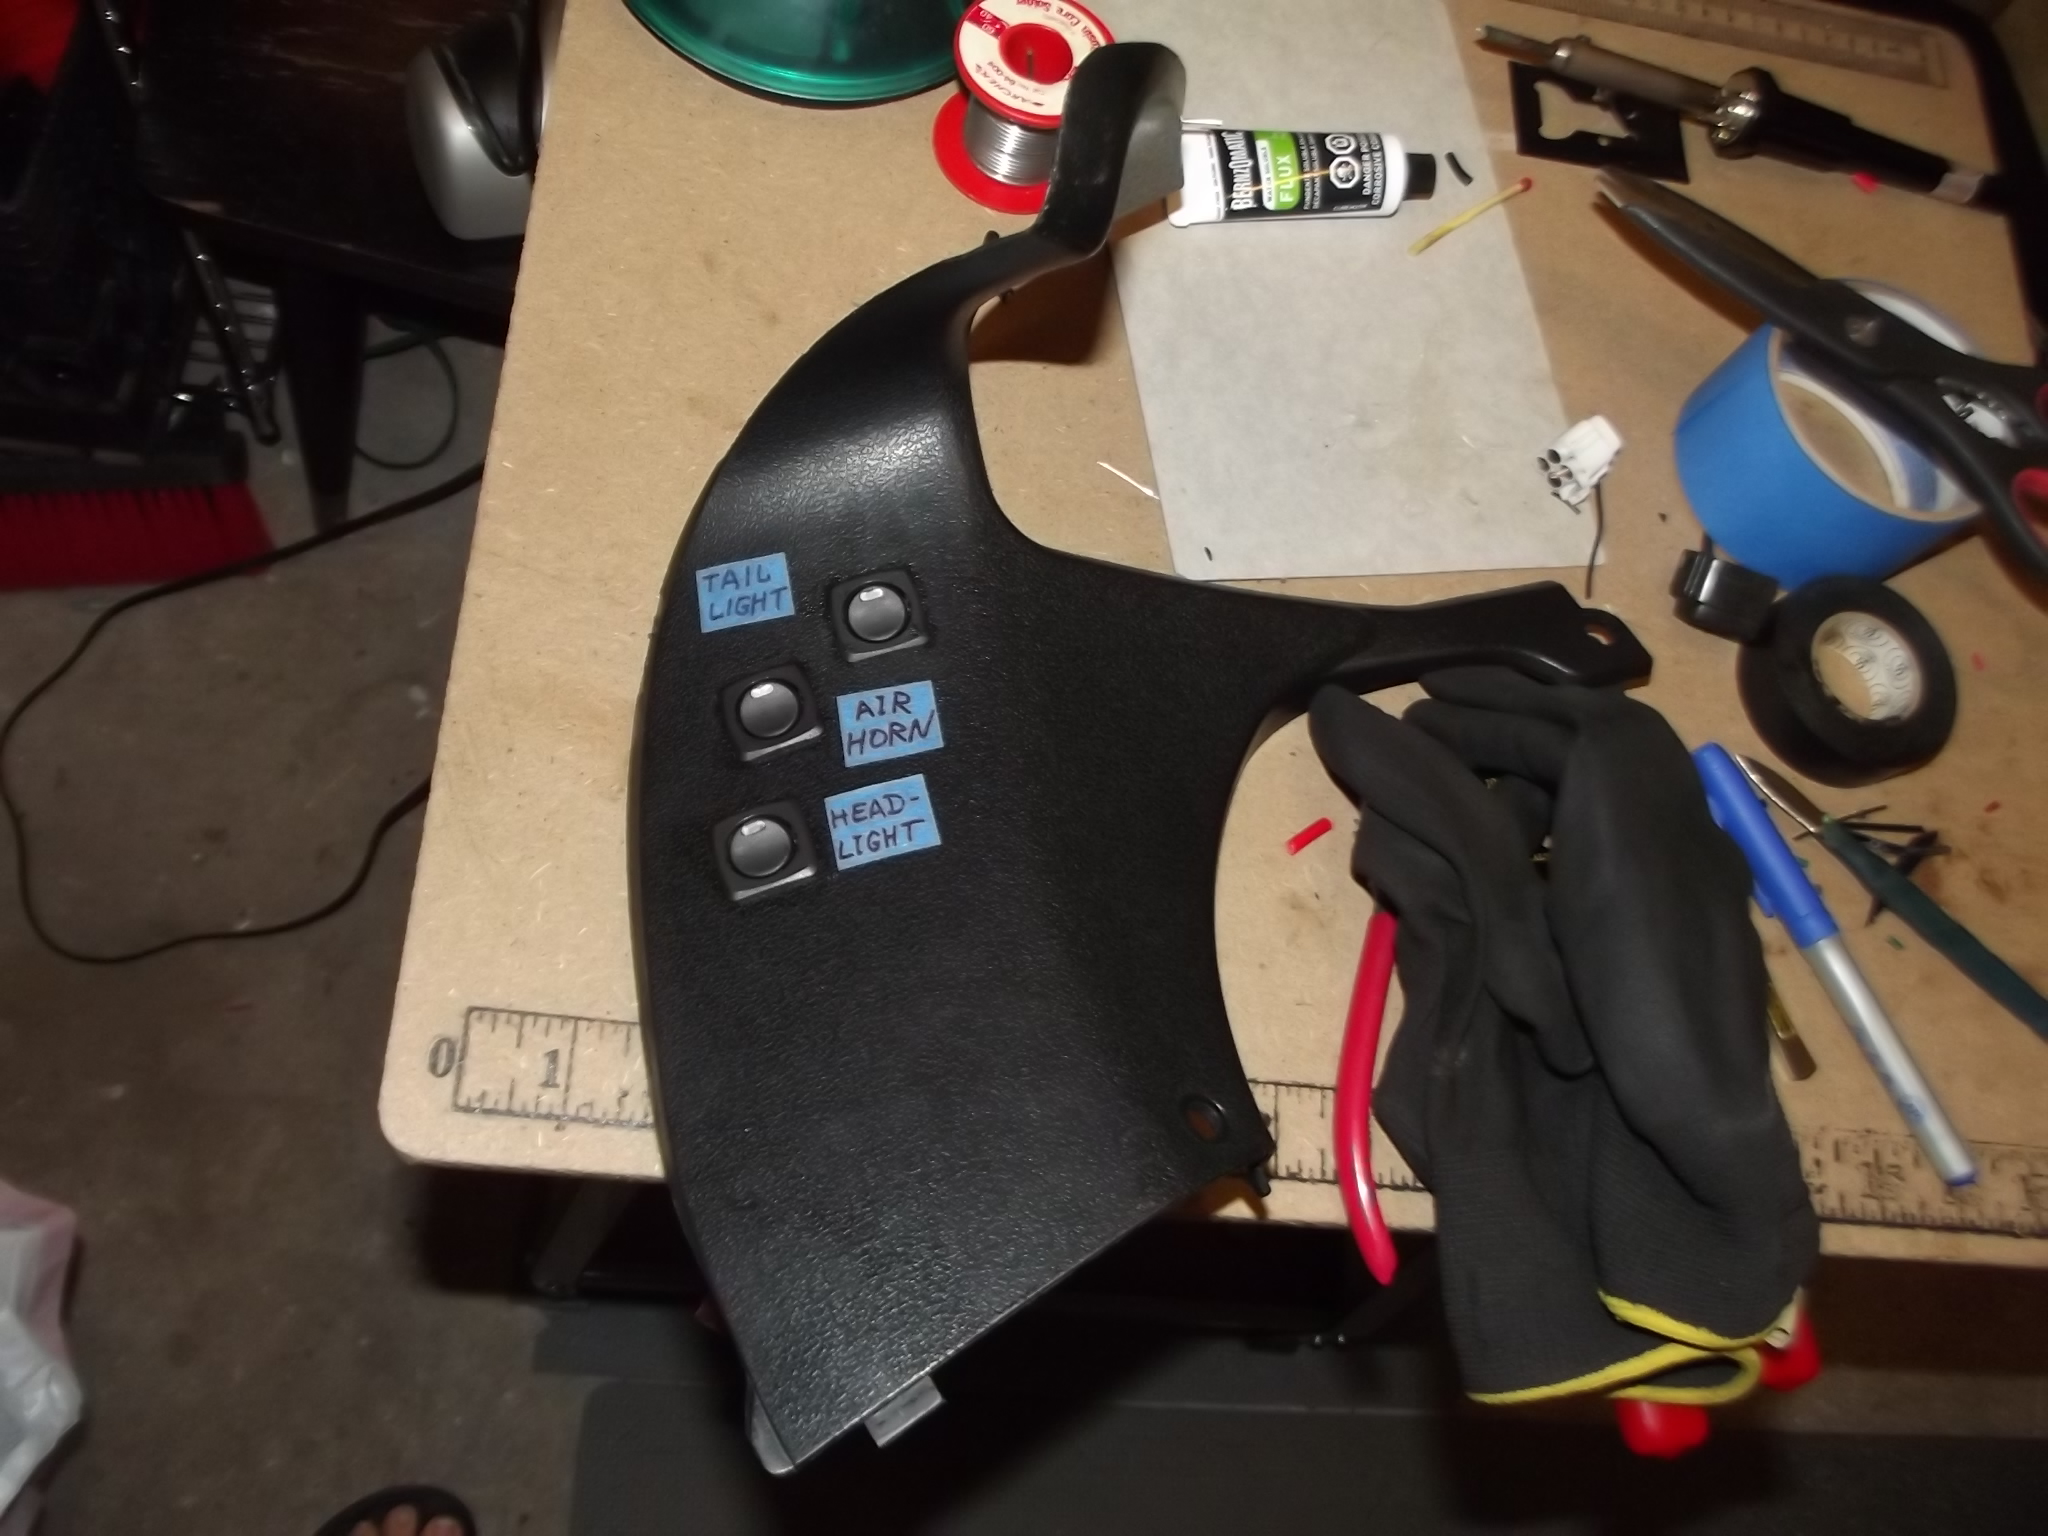
The Headlight switch is very convenient for a number of reasons. If you need to start your bike, and the battery is weak - all you need is the headlight to be on and taking away that valuable juice needed to crank the engine. If you do track days and need to disconnect the headlight - flipping a switch is all it takes. I also prefer to ride without the headlight when on the highway and the traffic is light. A lot of riders opt for bright HID lights. The bright light gets noticed, but other drivers are completely unable to judge the speed of the bike. Also, that LEO hiding under the tree will notice your headlight from a mile away and will get his radar or laser gun ready to greet you.
The Taillight switch is another convenience for the track. Both the headlight and the taillight switches allow you to keep the bike ON when you need to fiddle with the bike, but without the fear for draining the battery. Keep in mind that ordinarily if the bike stays on for even a few minutes, but without the engine running - the headlight may drain the battery significantly and you may not be able to start the bike.
The Air Horn switch allows me to disconnect the air horn only while the stock horn stays connected all the time. There are times when you don't want the crazy loud sound of the air horn. So, flipping the switch allows me to fall back on the stocker.
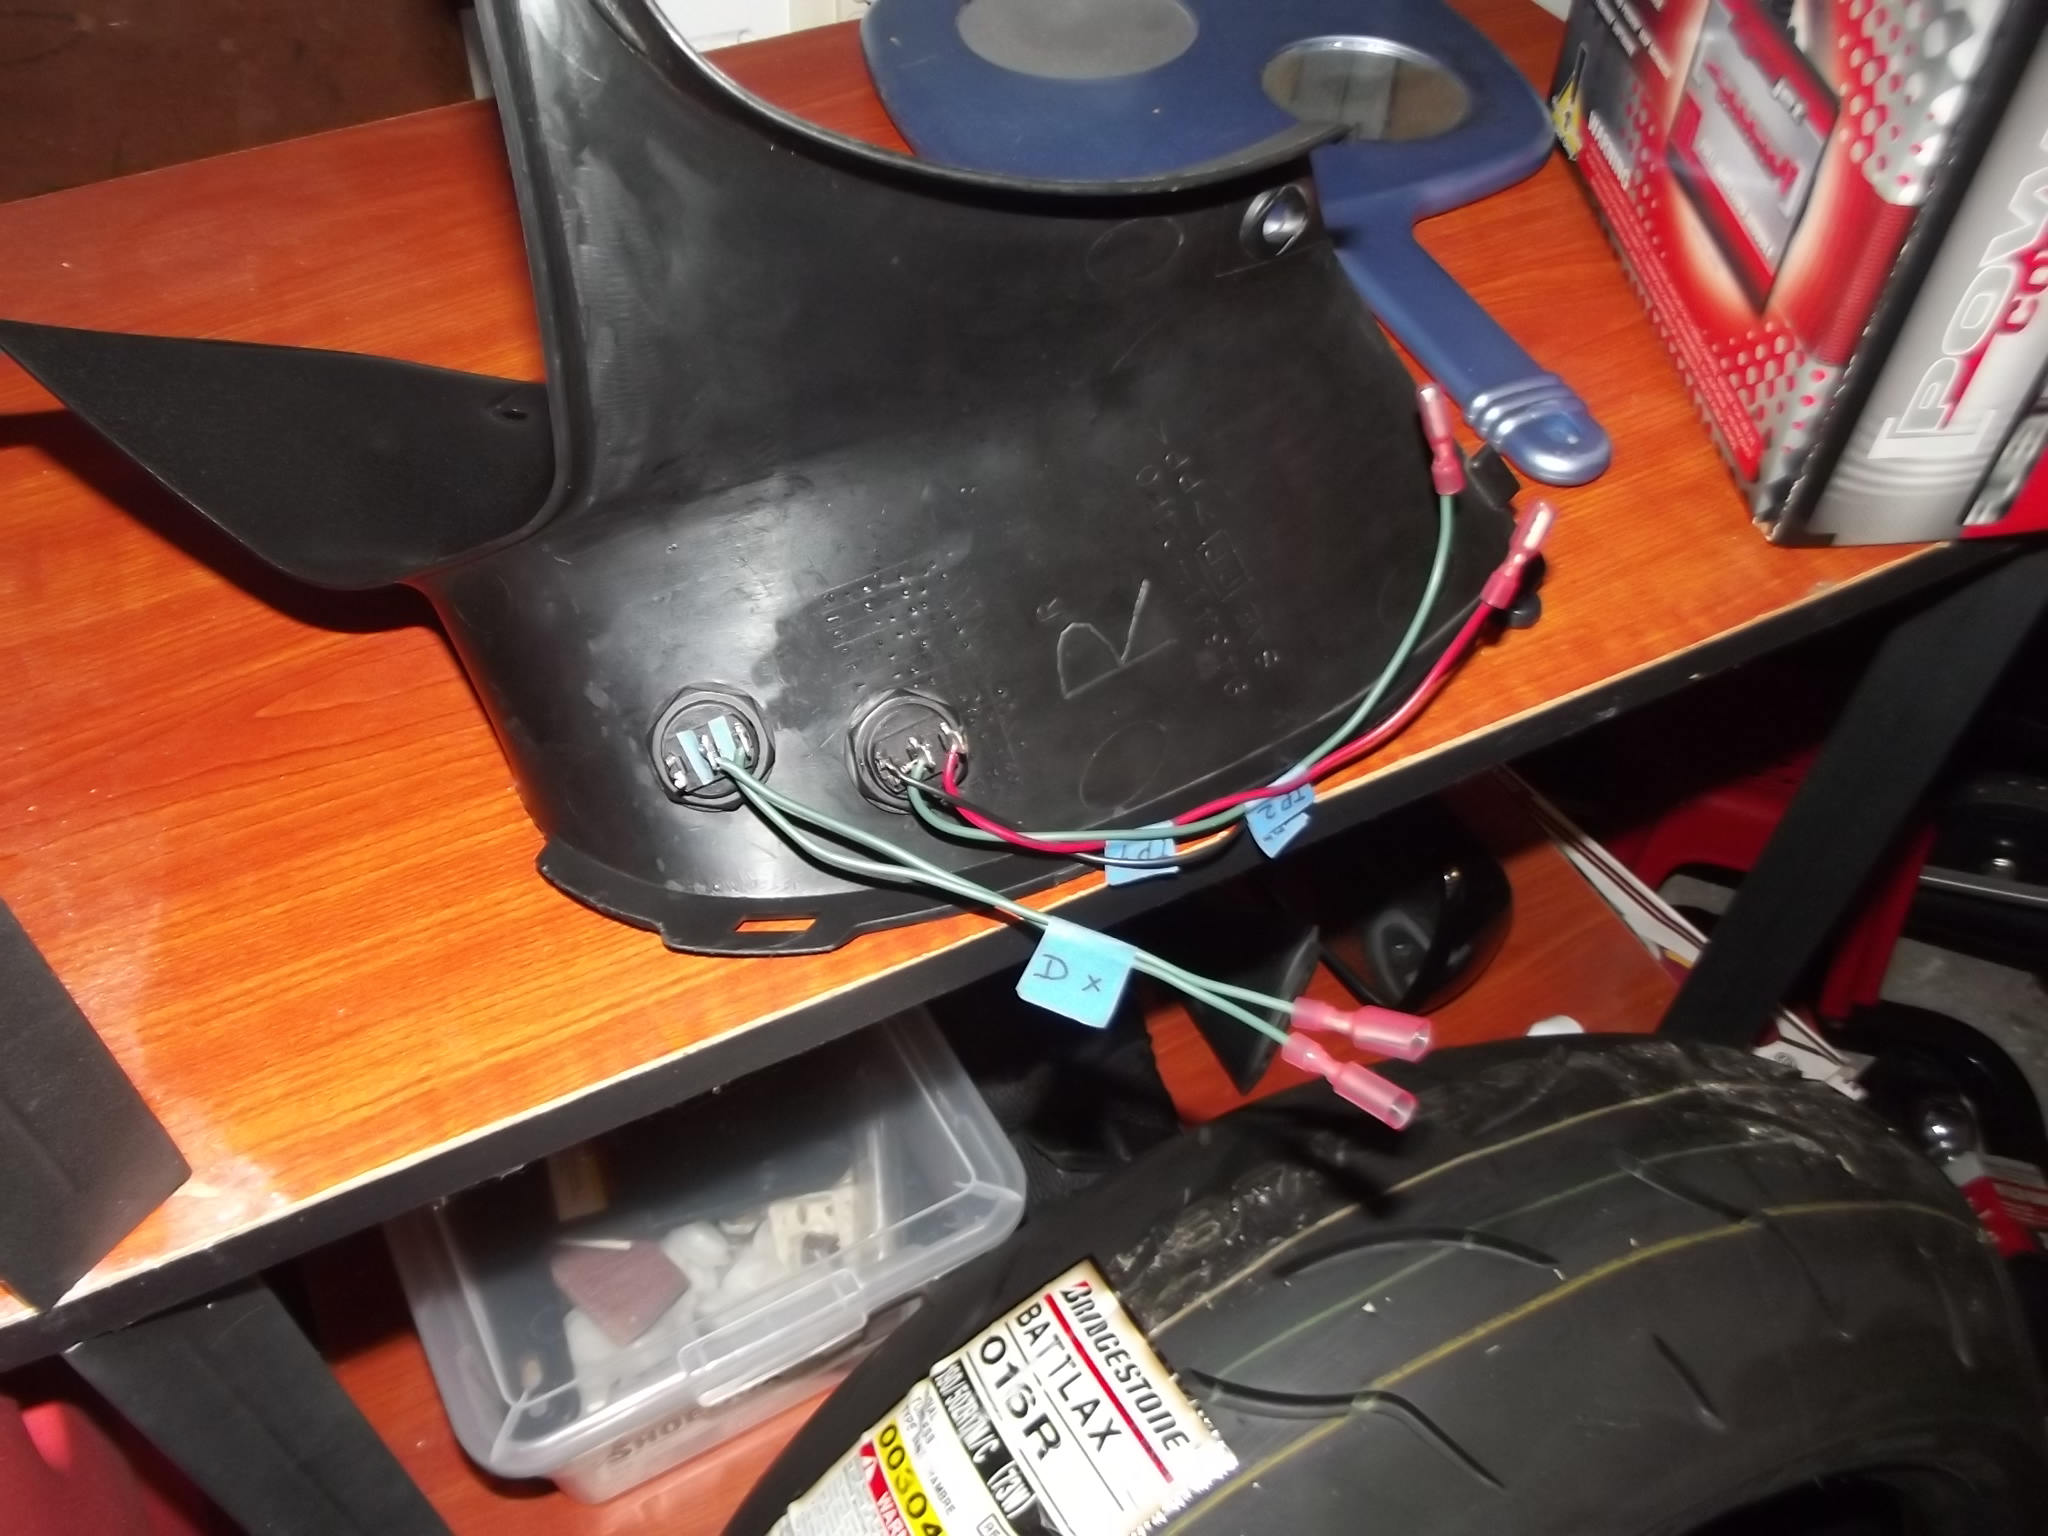
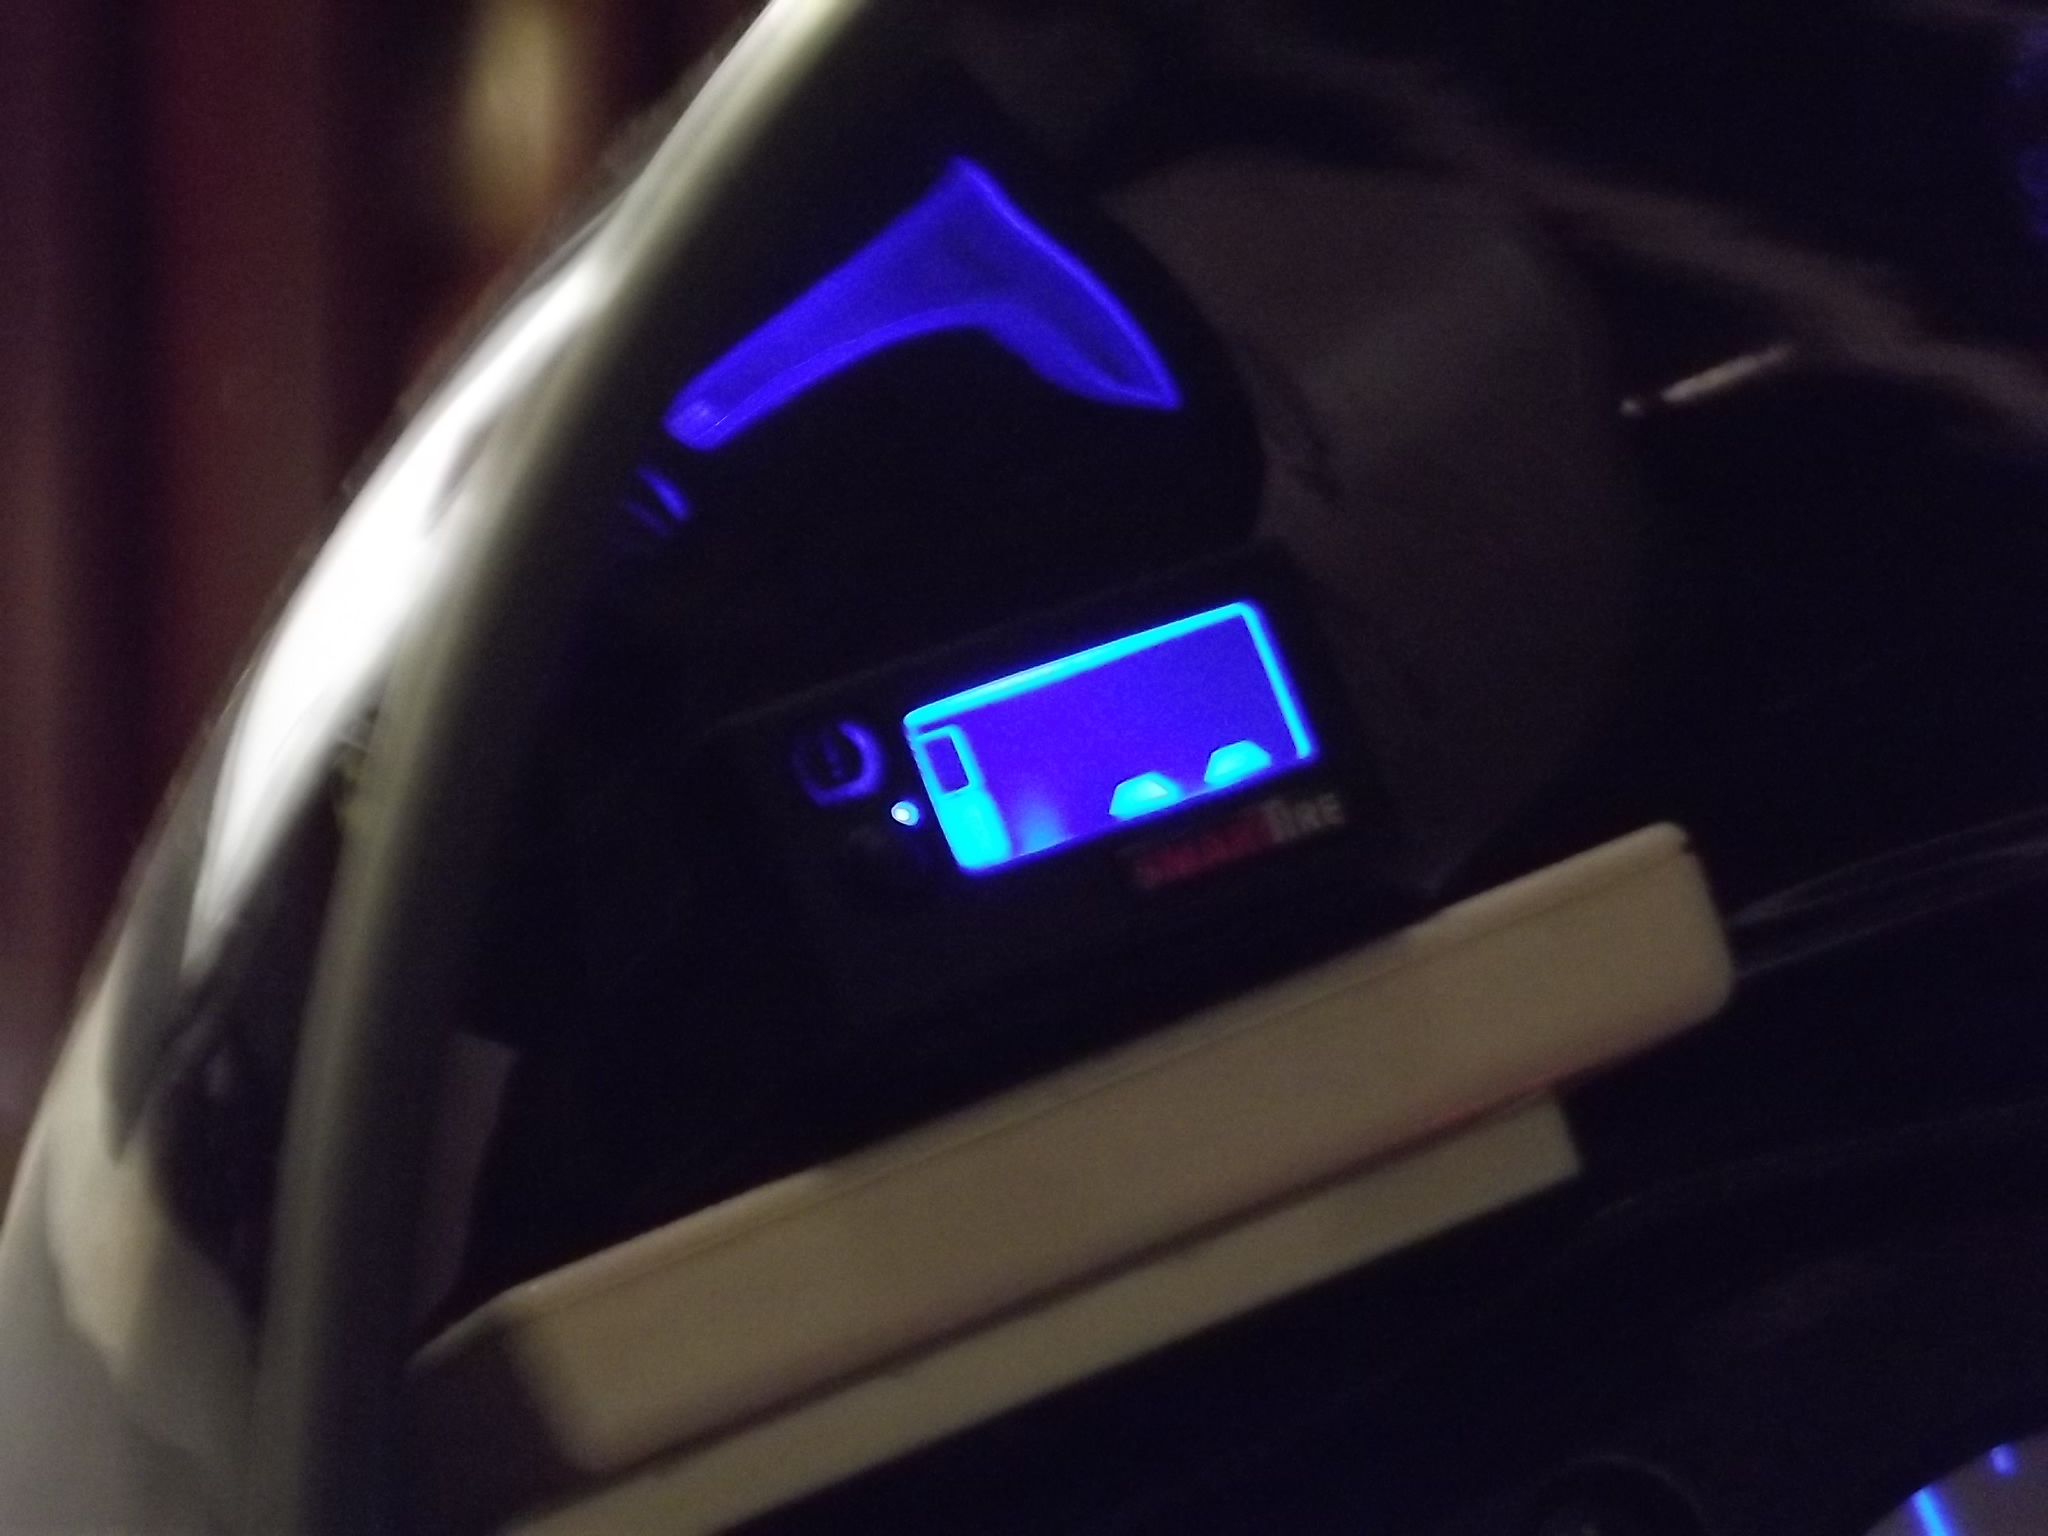
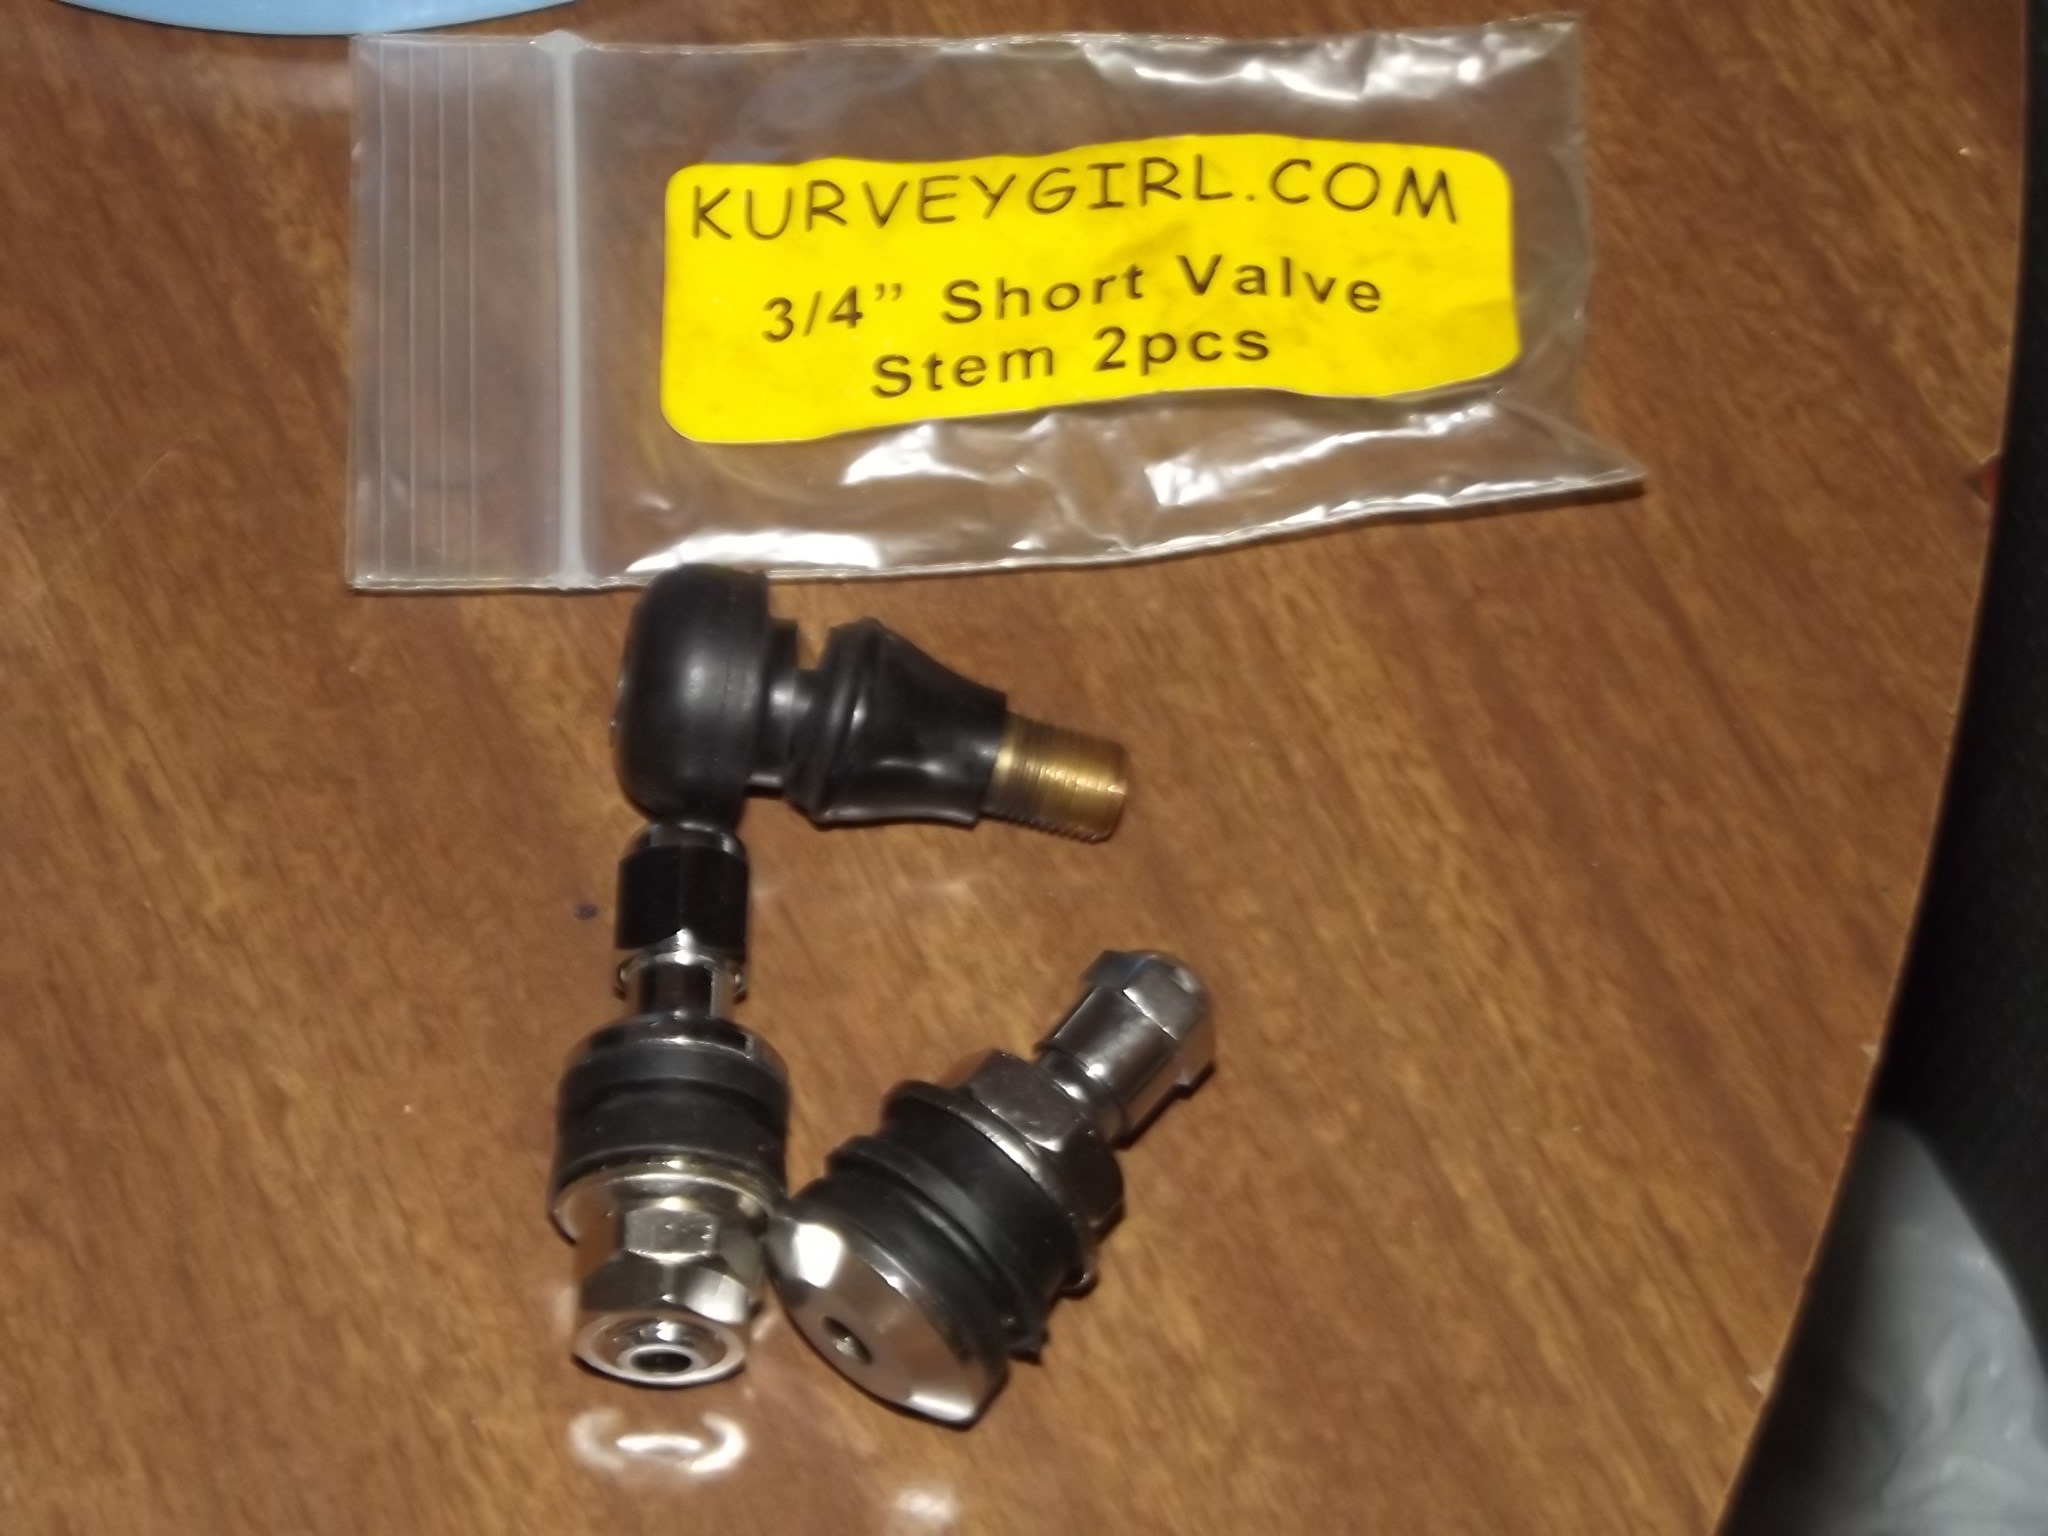
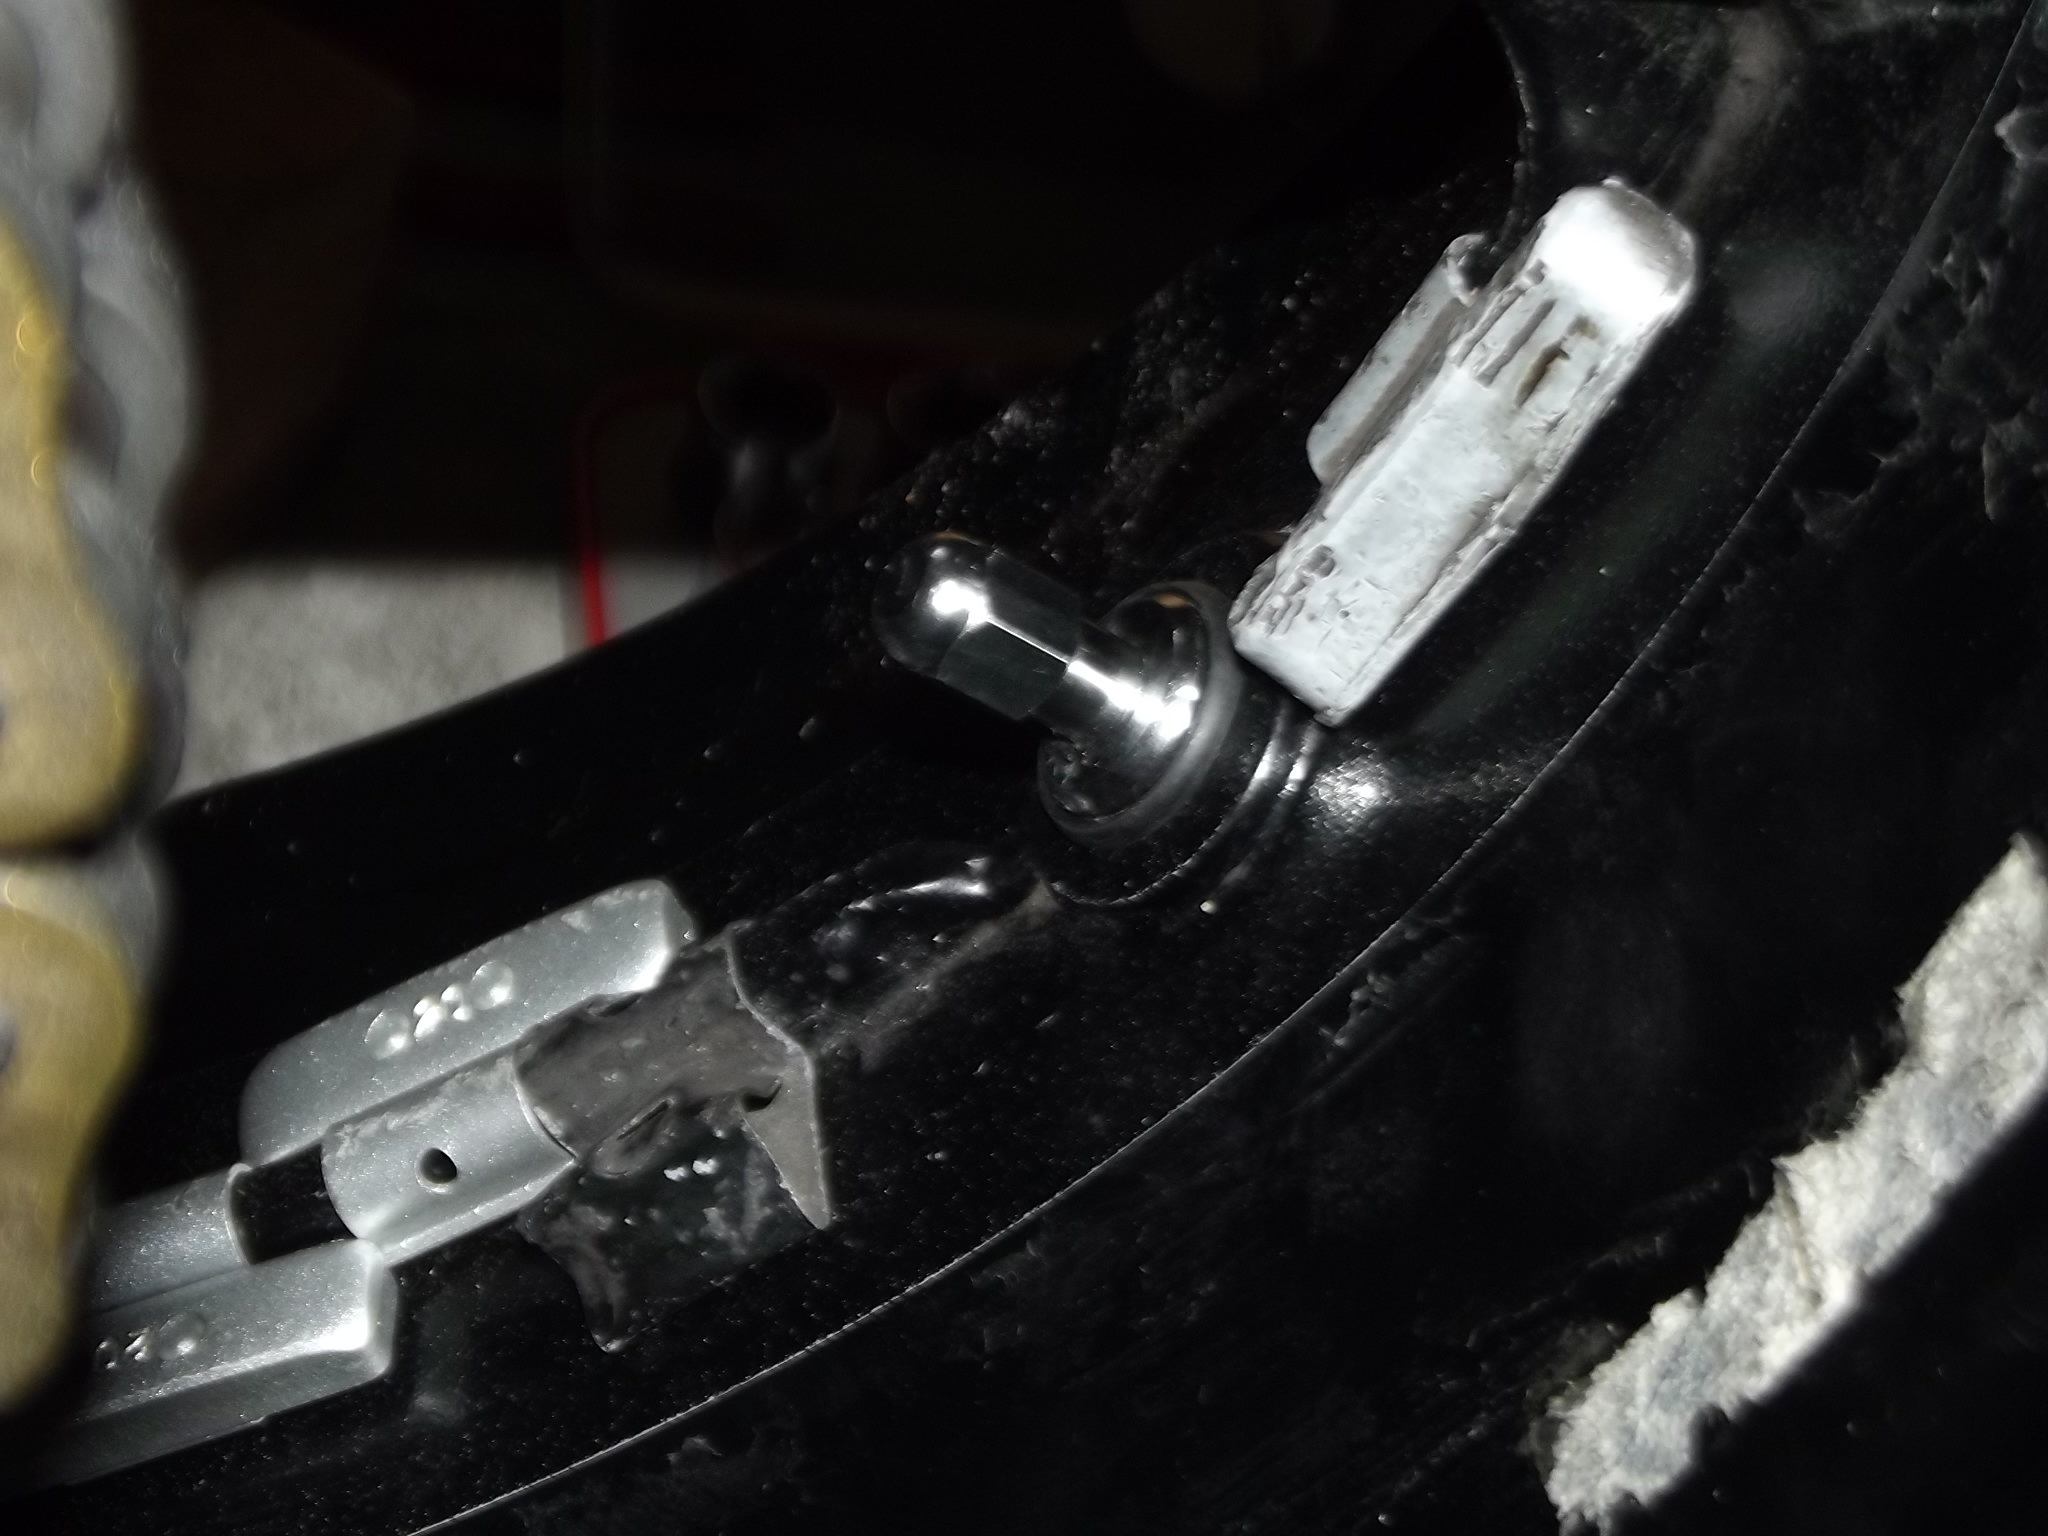
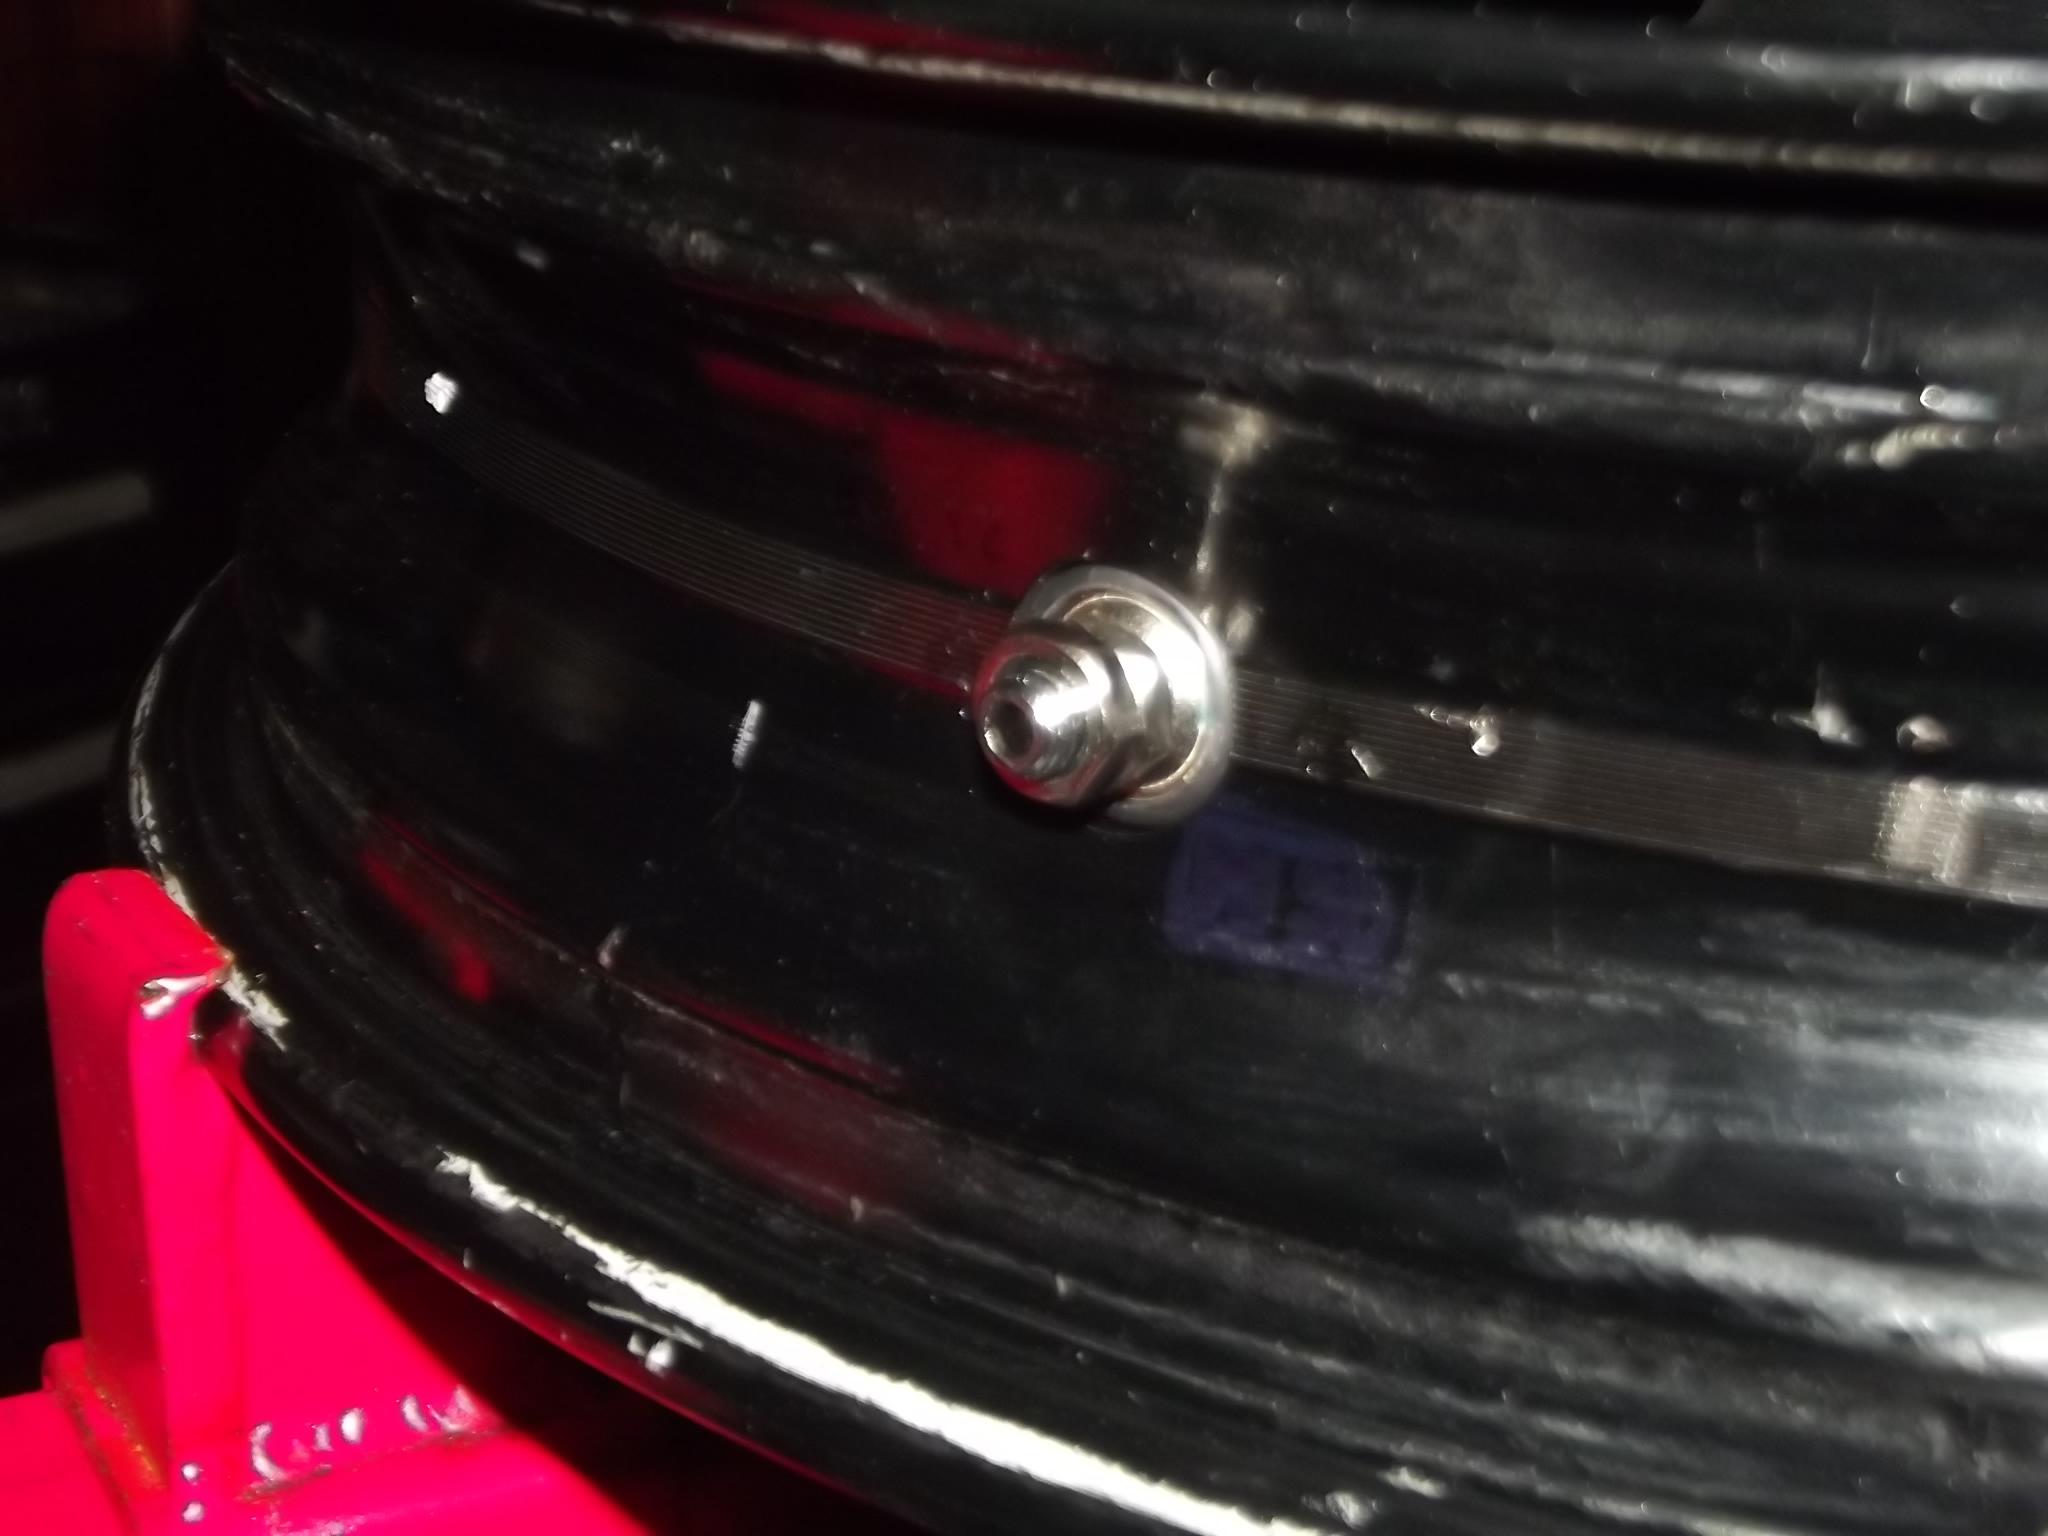
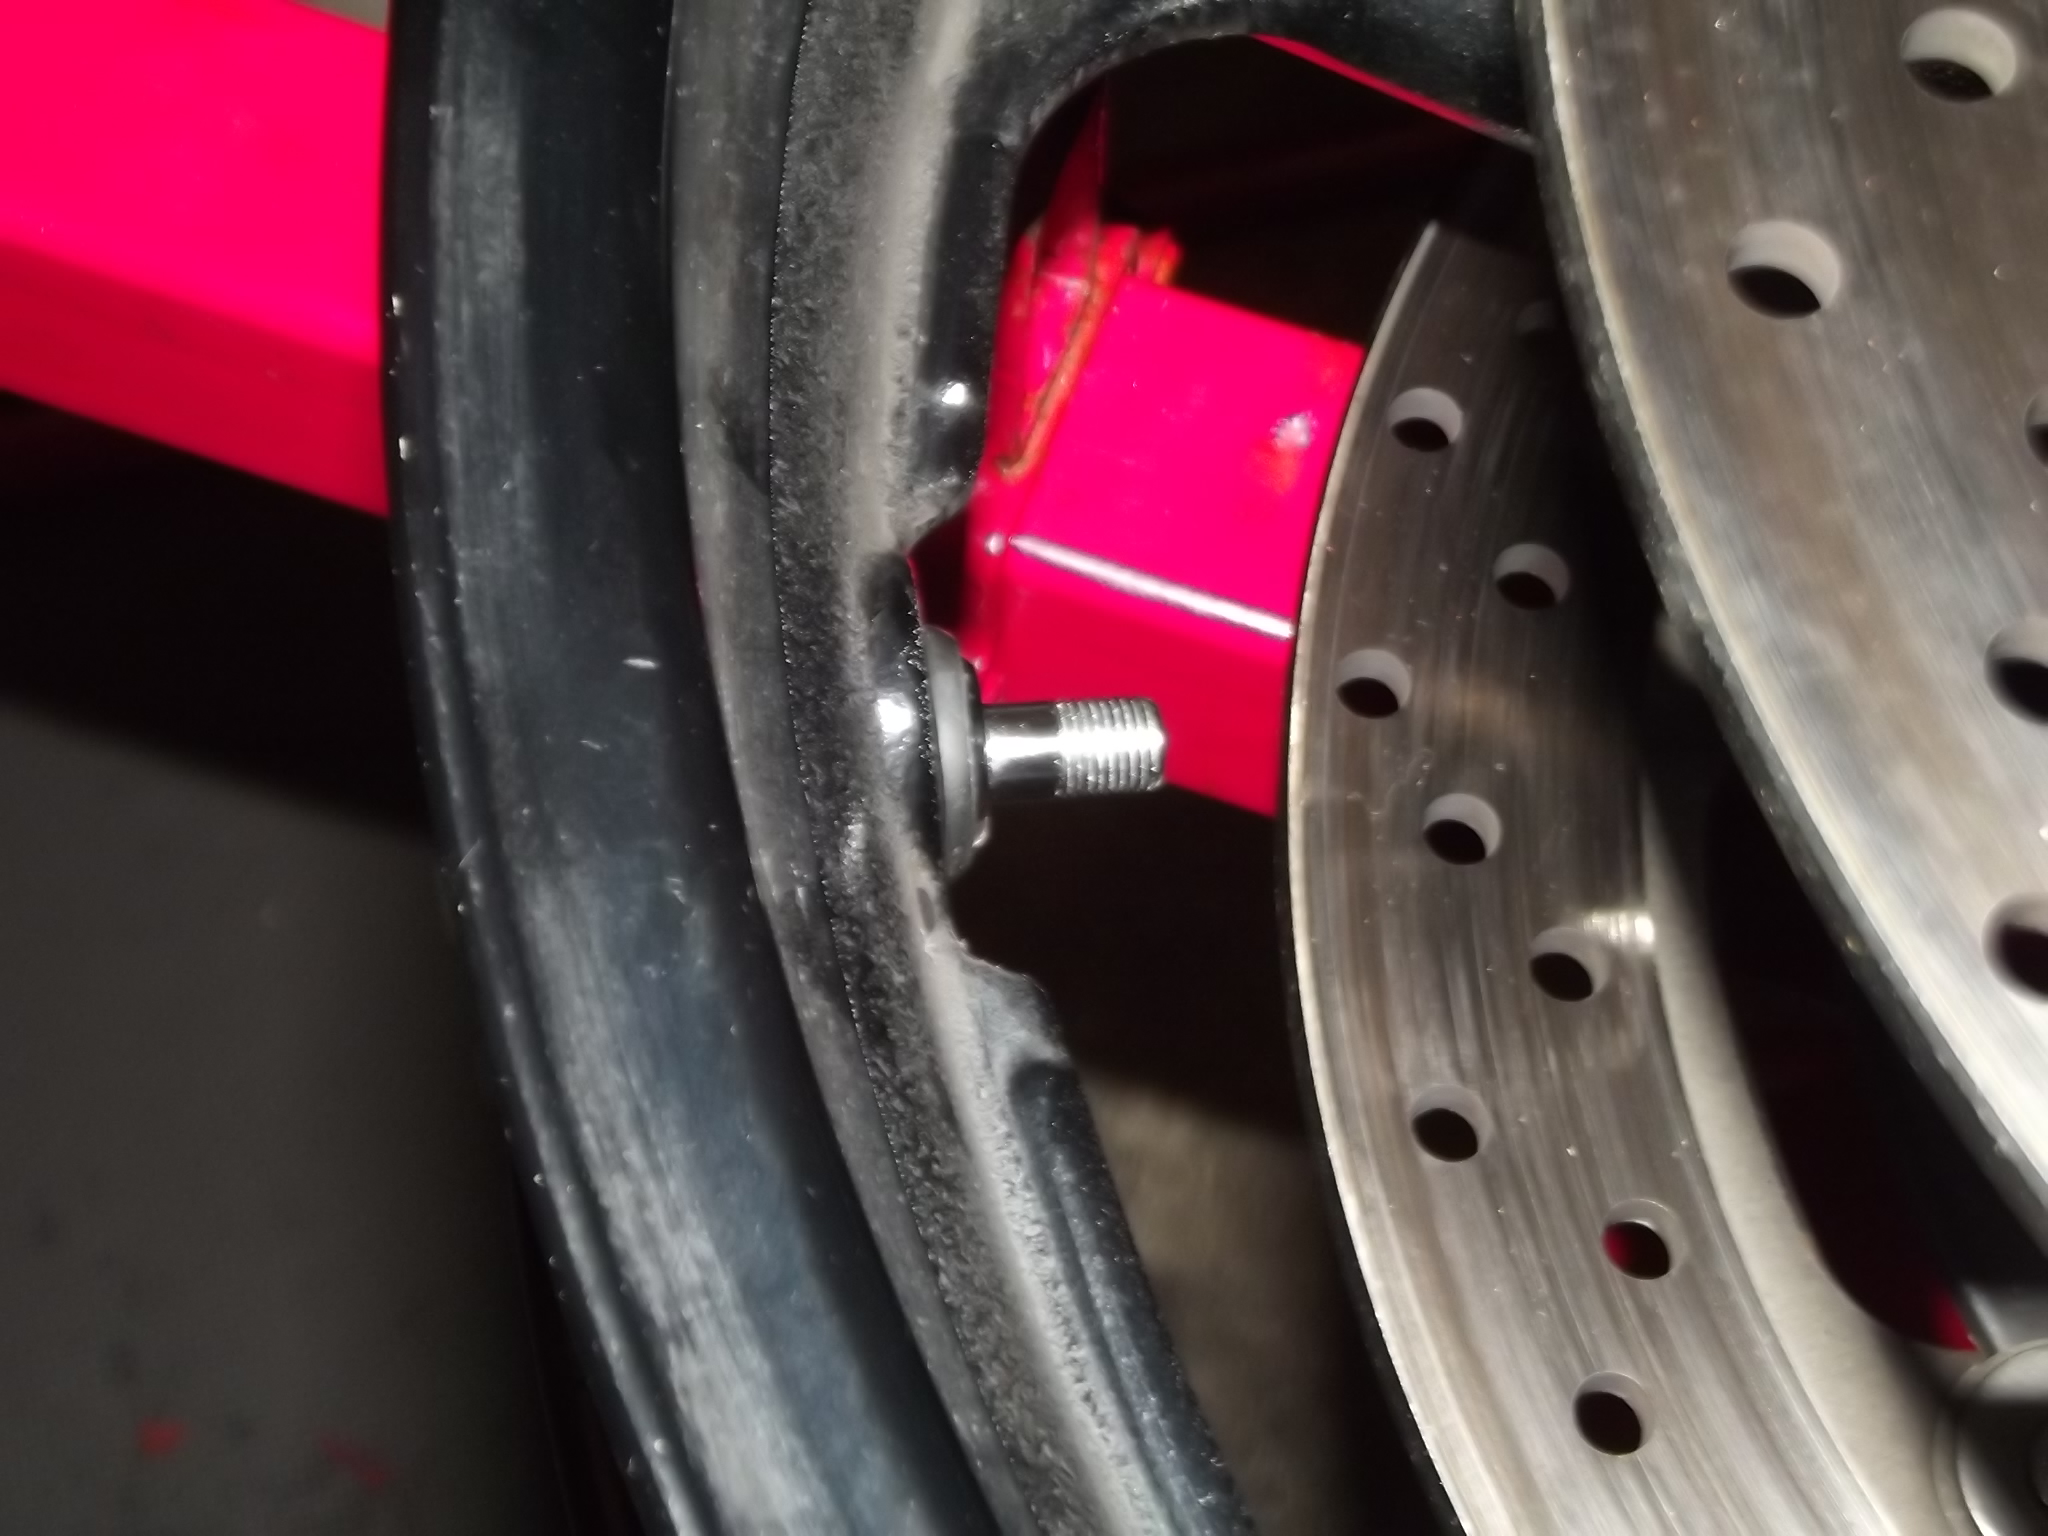
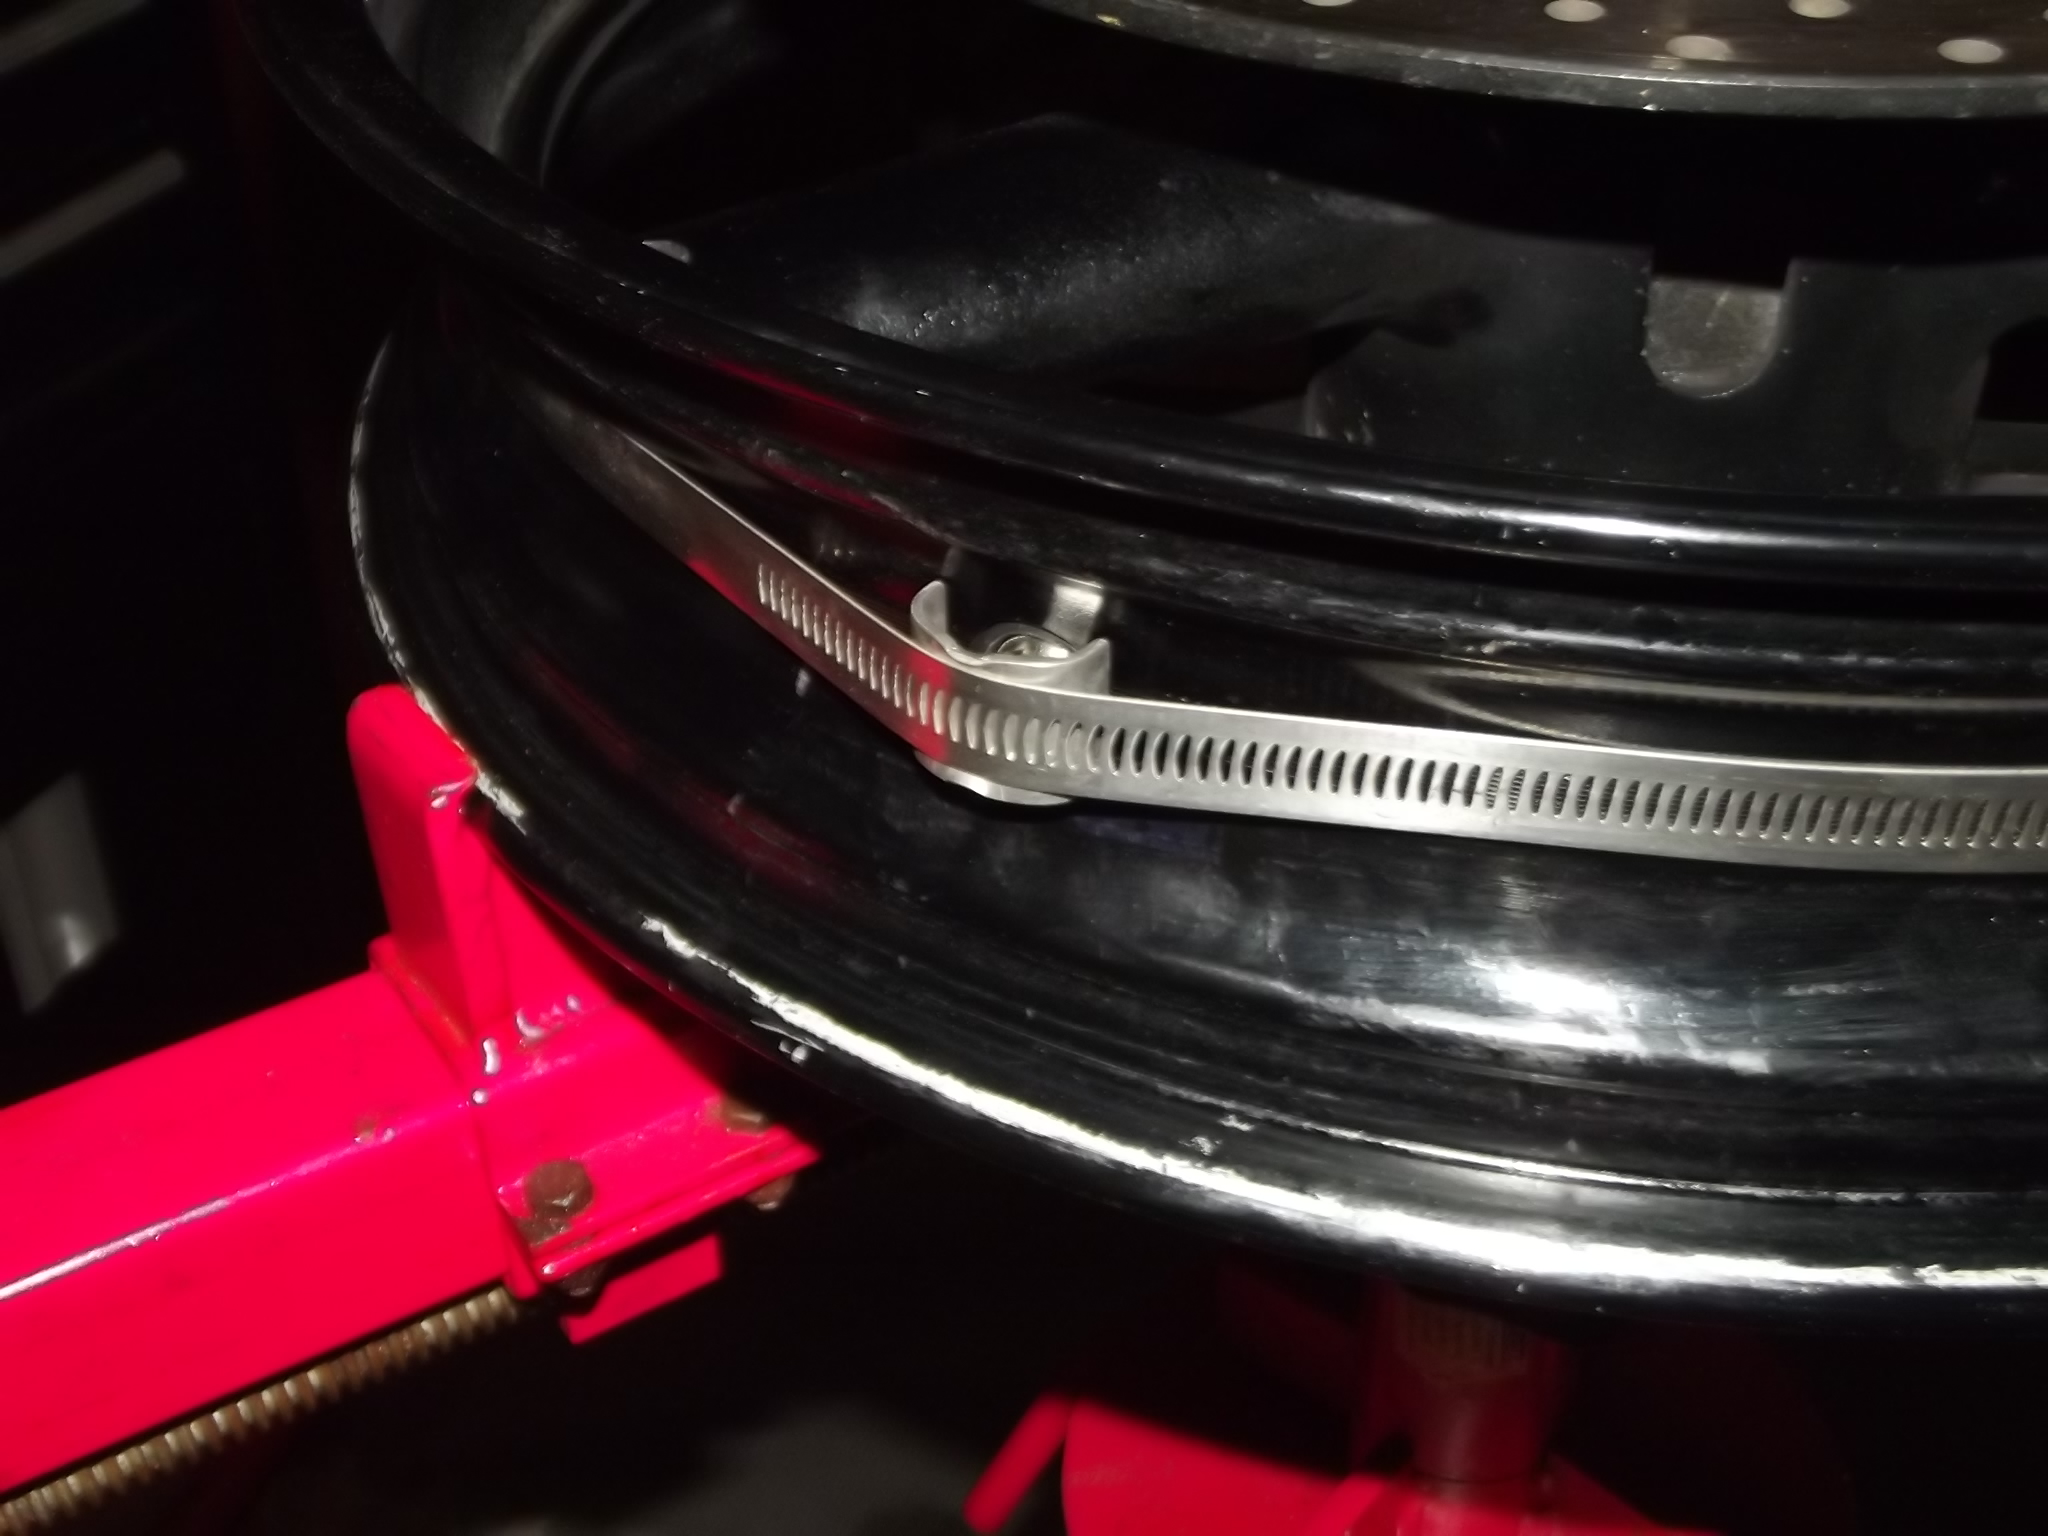
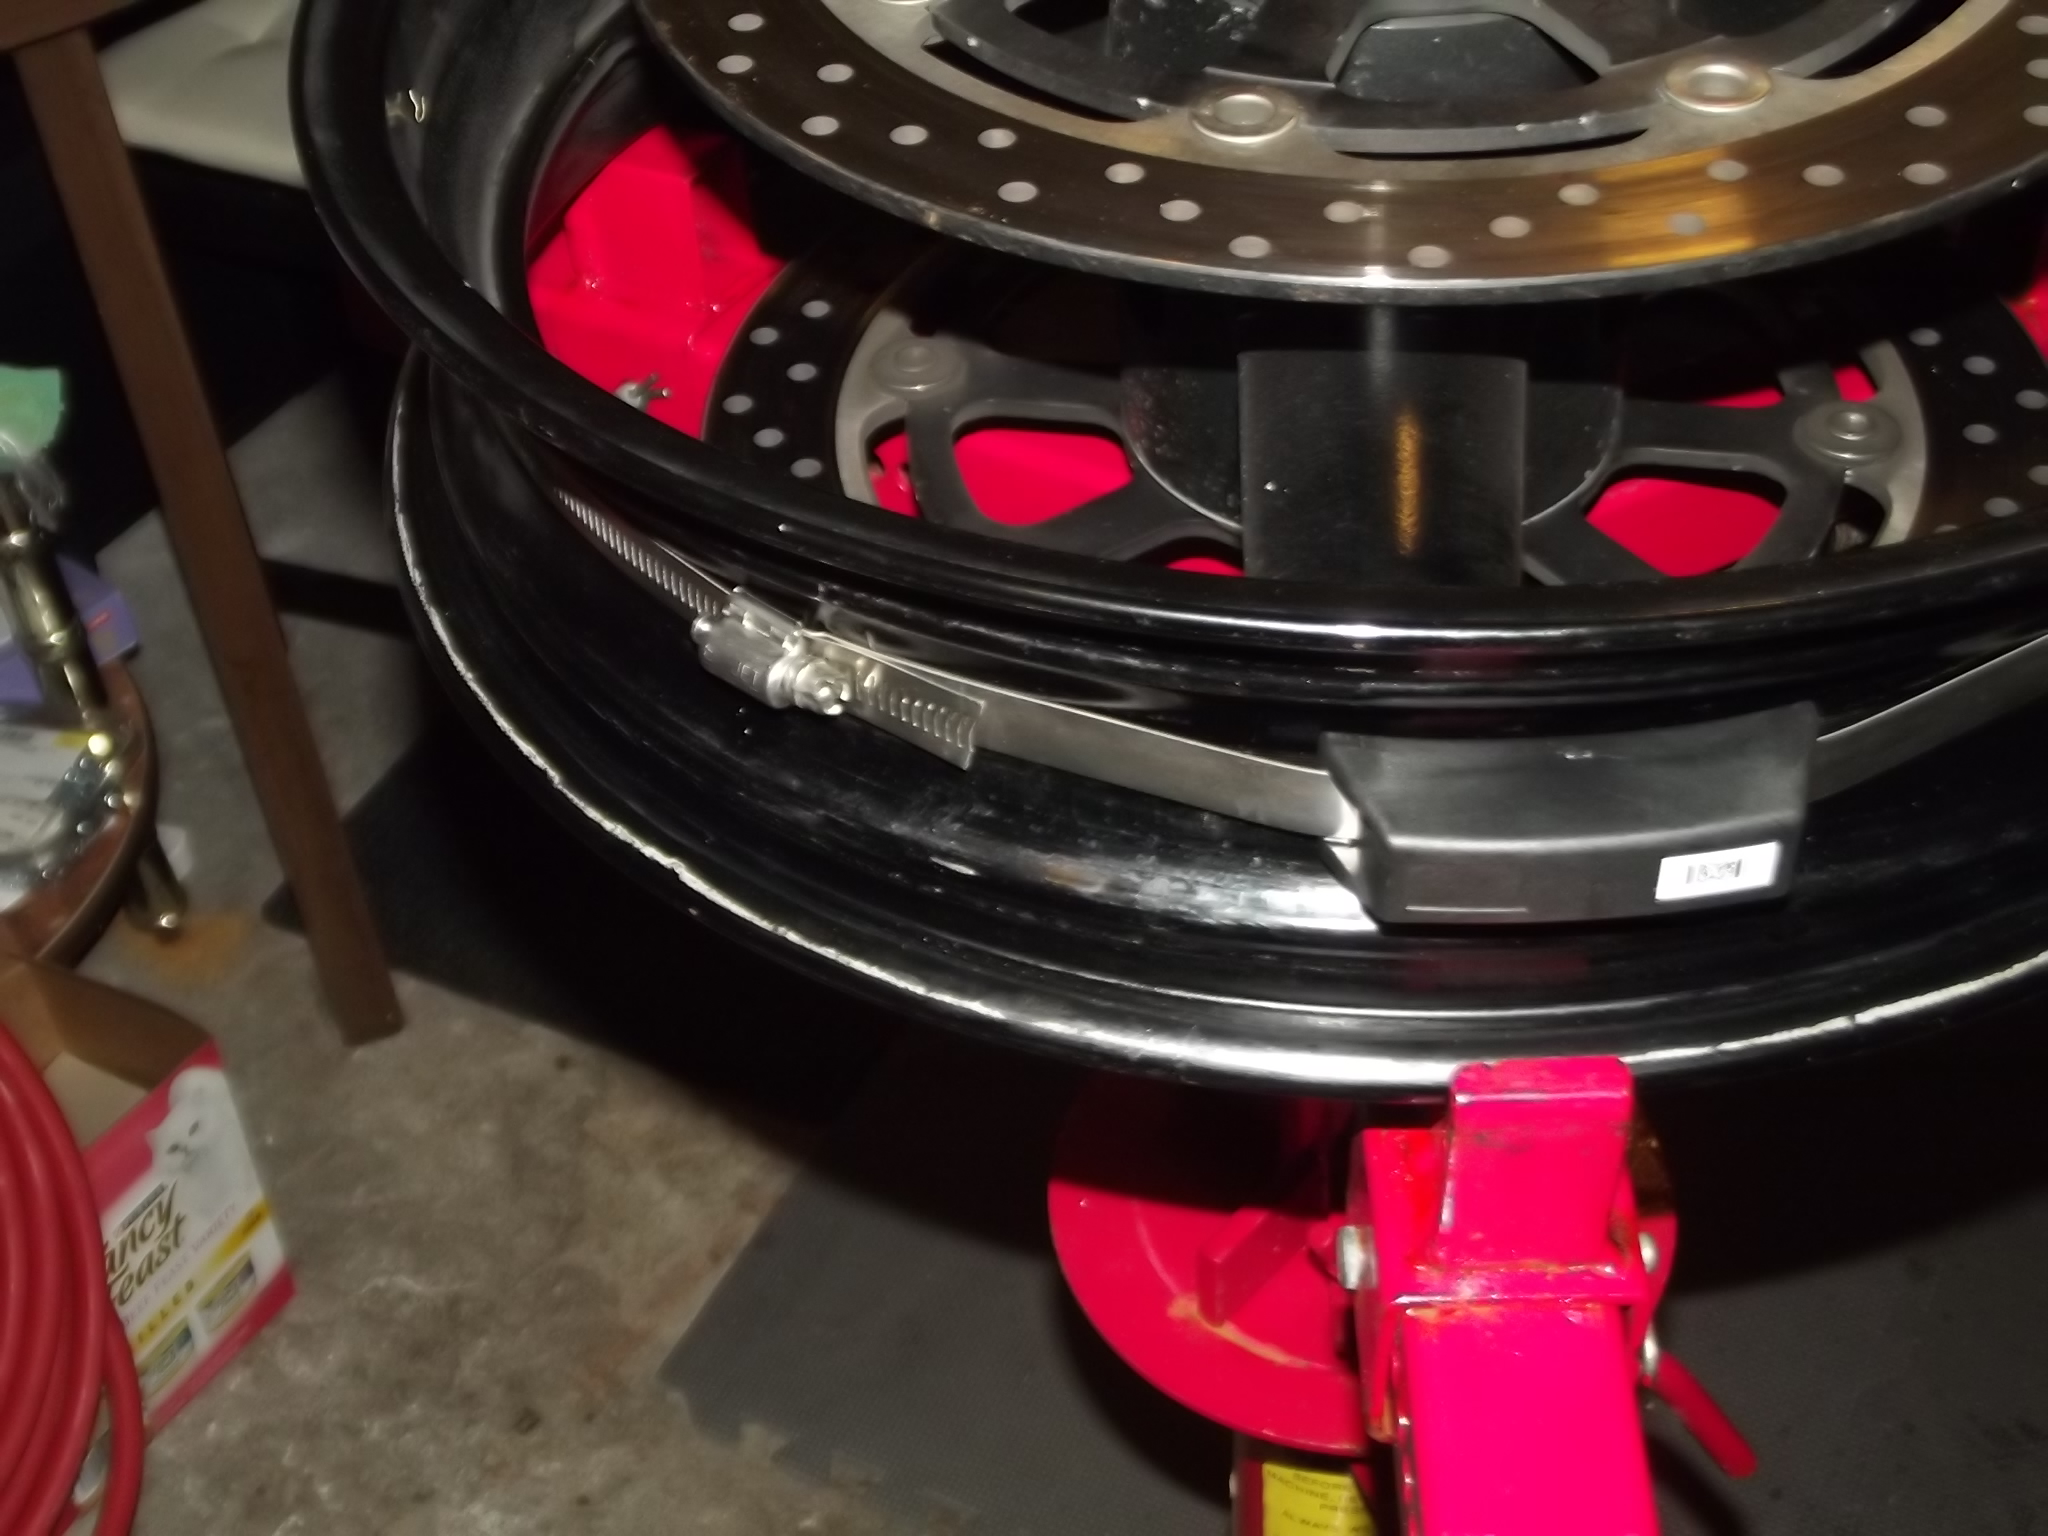
TPMS is a must for any bike. There is a good reason it is mandatory on all cars - in one form or another. Frankly, riding without TPMS is gambling with your life - unless you stop every 15 min to check your tires. My favorite is SmarTire which is unfortunately no longer being made for bikes. While I was installing the sensors inside the wheels, I replaced the plastic valve stems with the metal ones. You know that the plastic ones may fail over time. The additional convenience of TPMS is that I no longer have to crawl under the bike and check my air pressure. Just go riding and look at the display. Not to mention that I am able to check tire pressure and temperature at any time while riding - just press the button on the display unit. And of course, the display will start flashing if there is a significant drop in pressure, or rise in temperature.
Dealer mode switch is as simple as it gets. When the bike throws FI light in the middle of a ride, all you need is to stop and fiddle with plastics, looking for a clip to plug into the connector which is hard to get to, and only to learn that the code was erased because you turned the bike off. Just flip the switch and read the code right there and then.
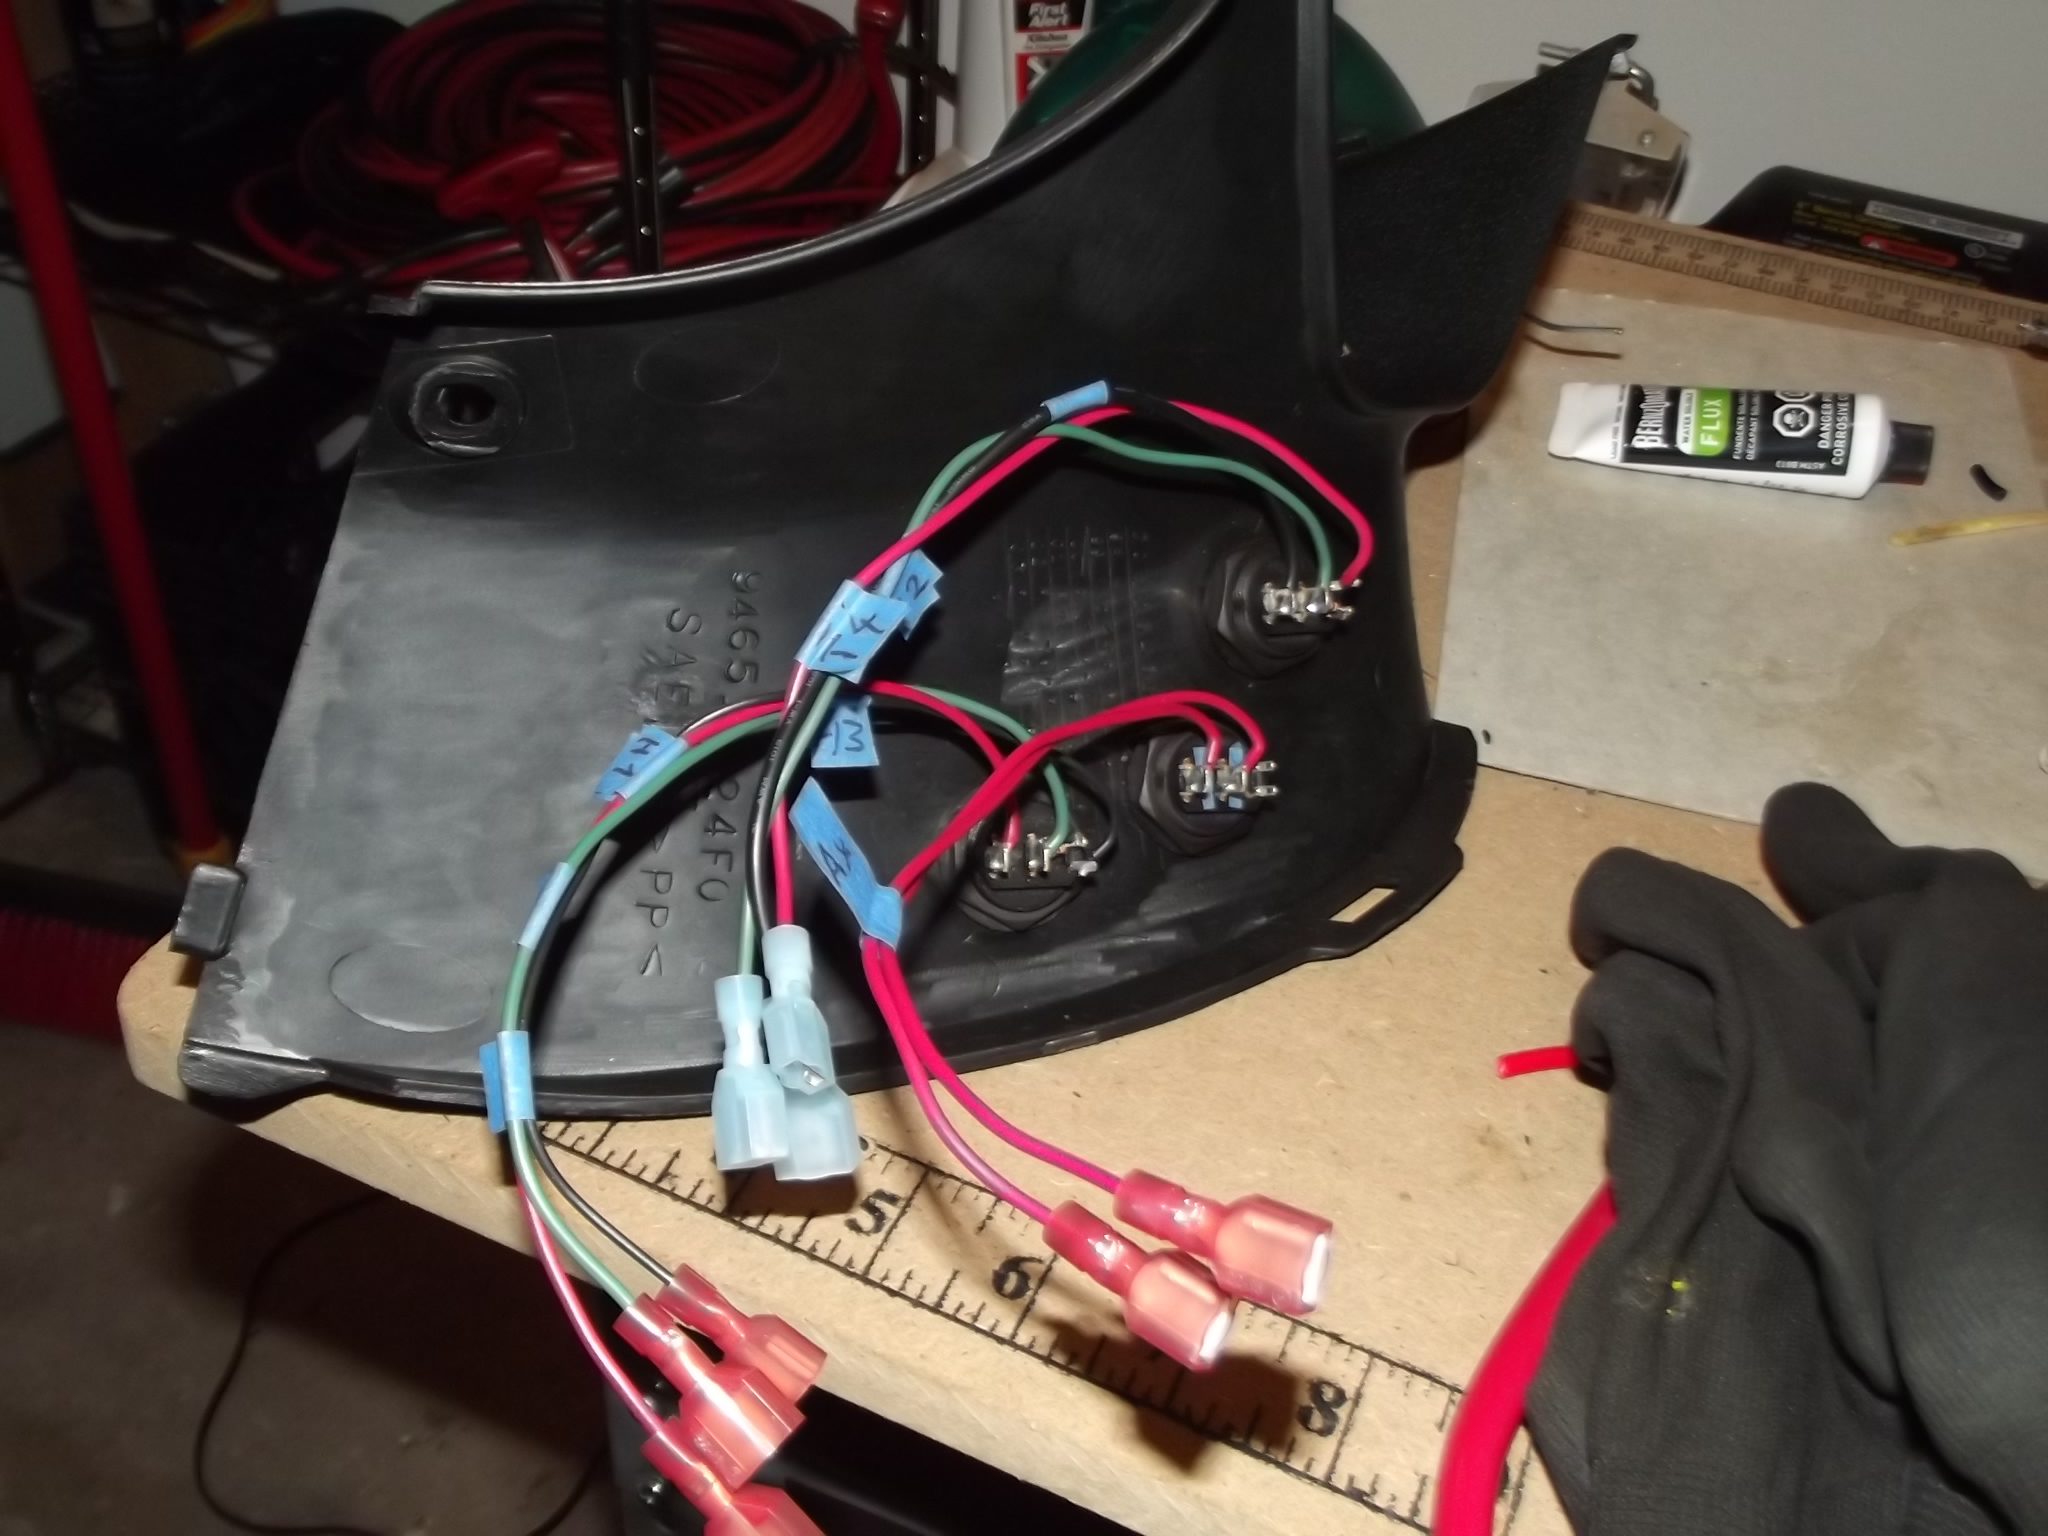
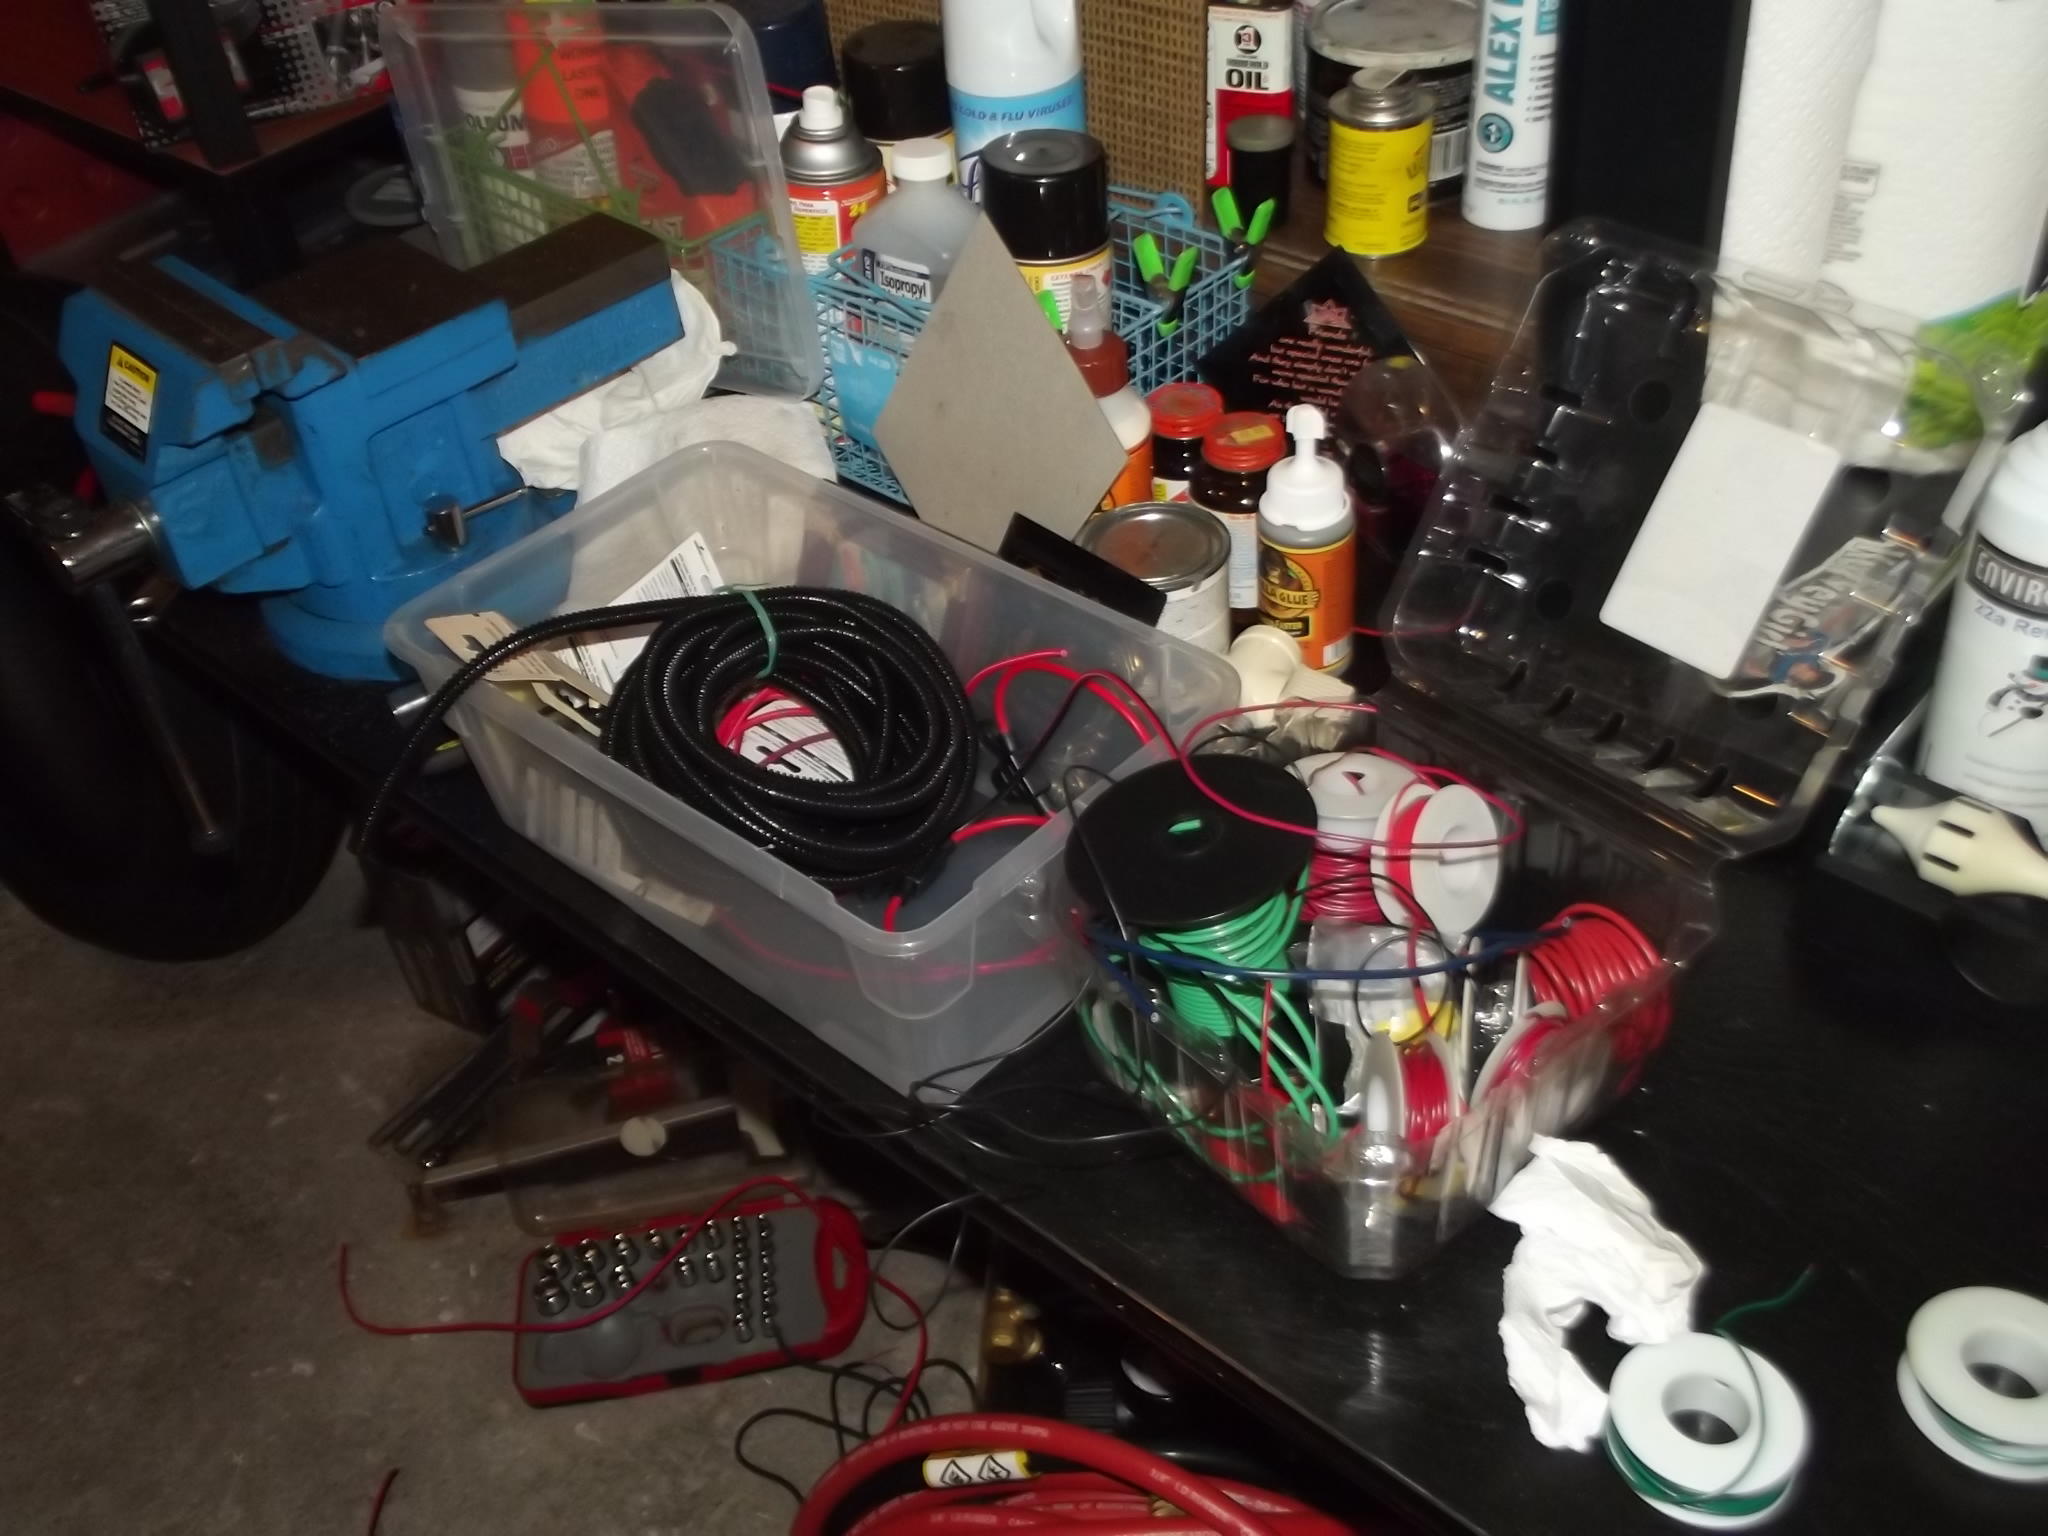
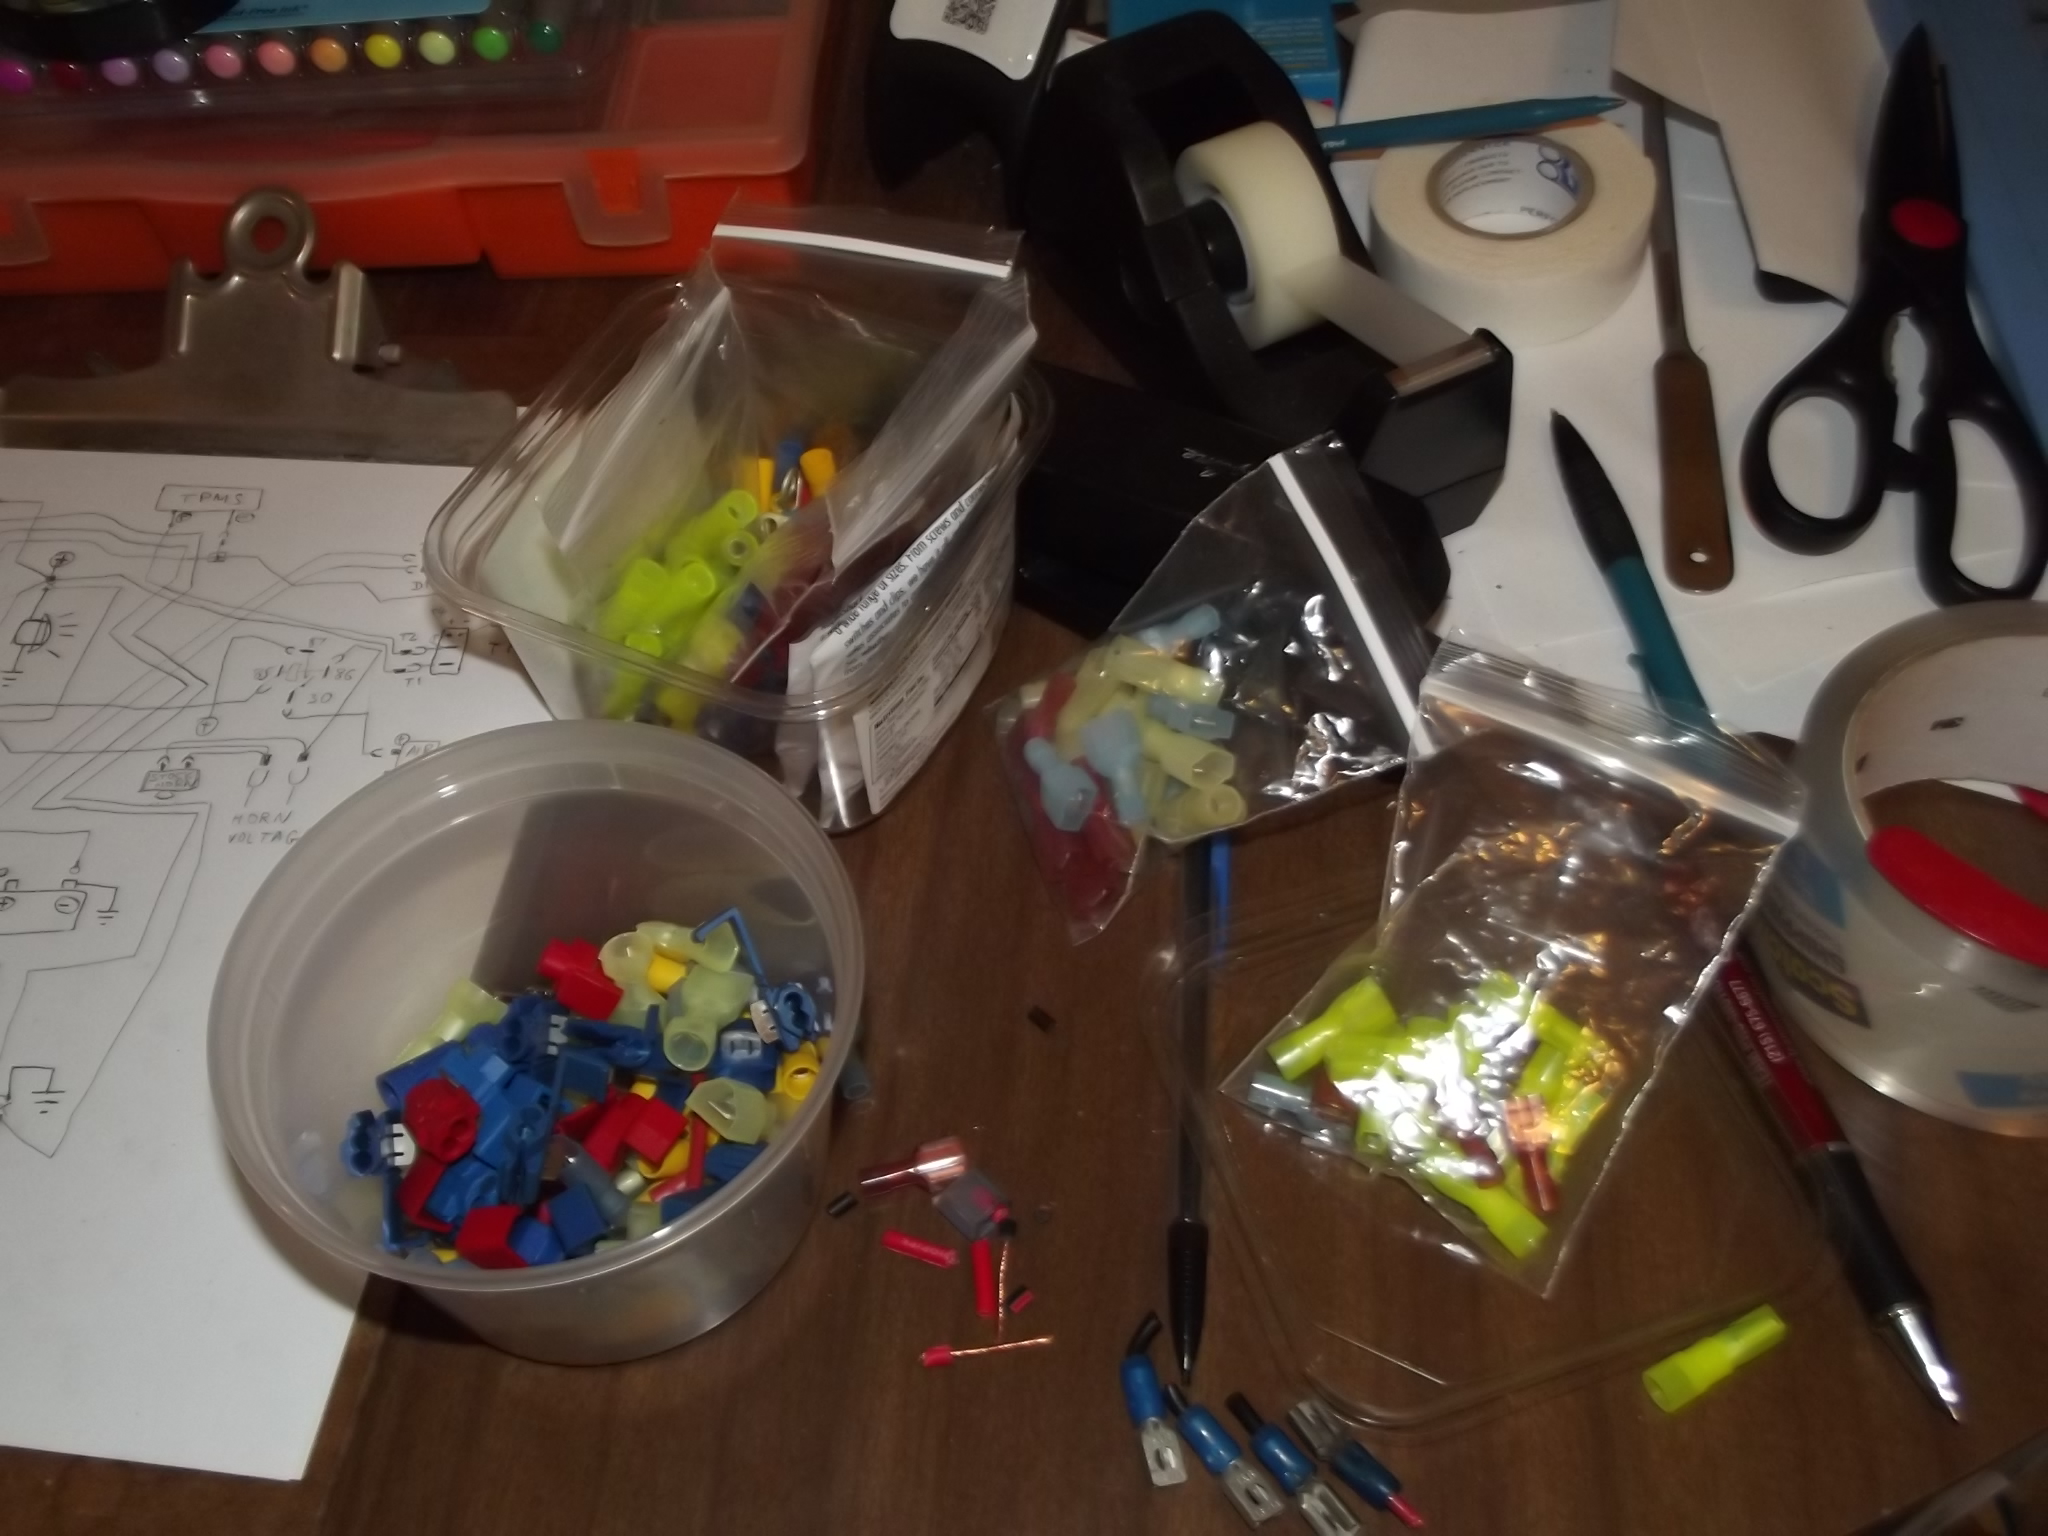
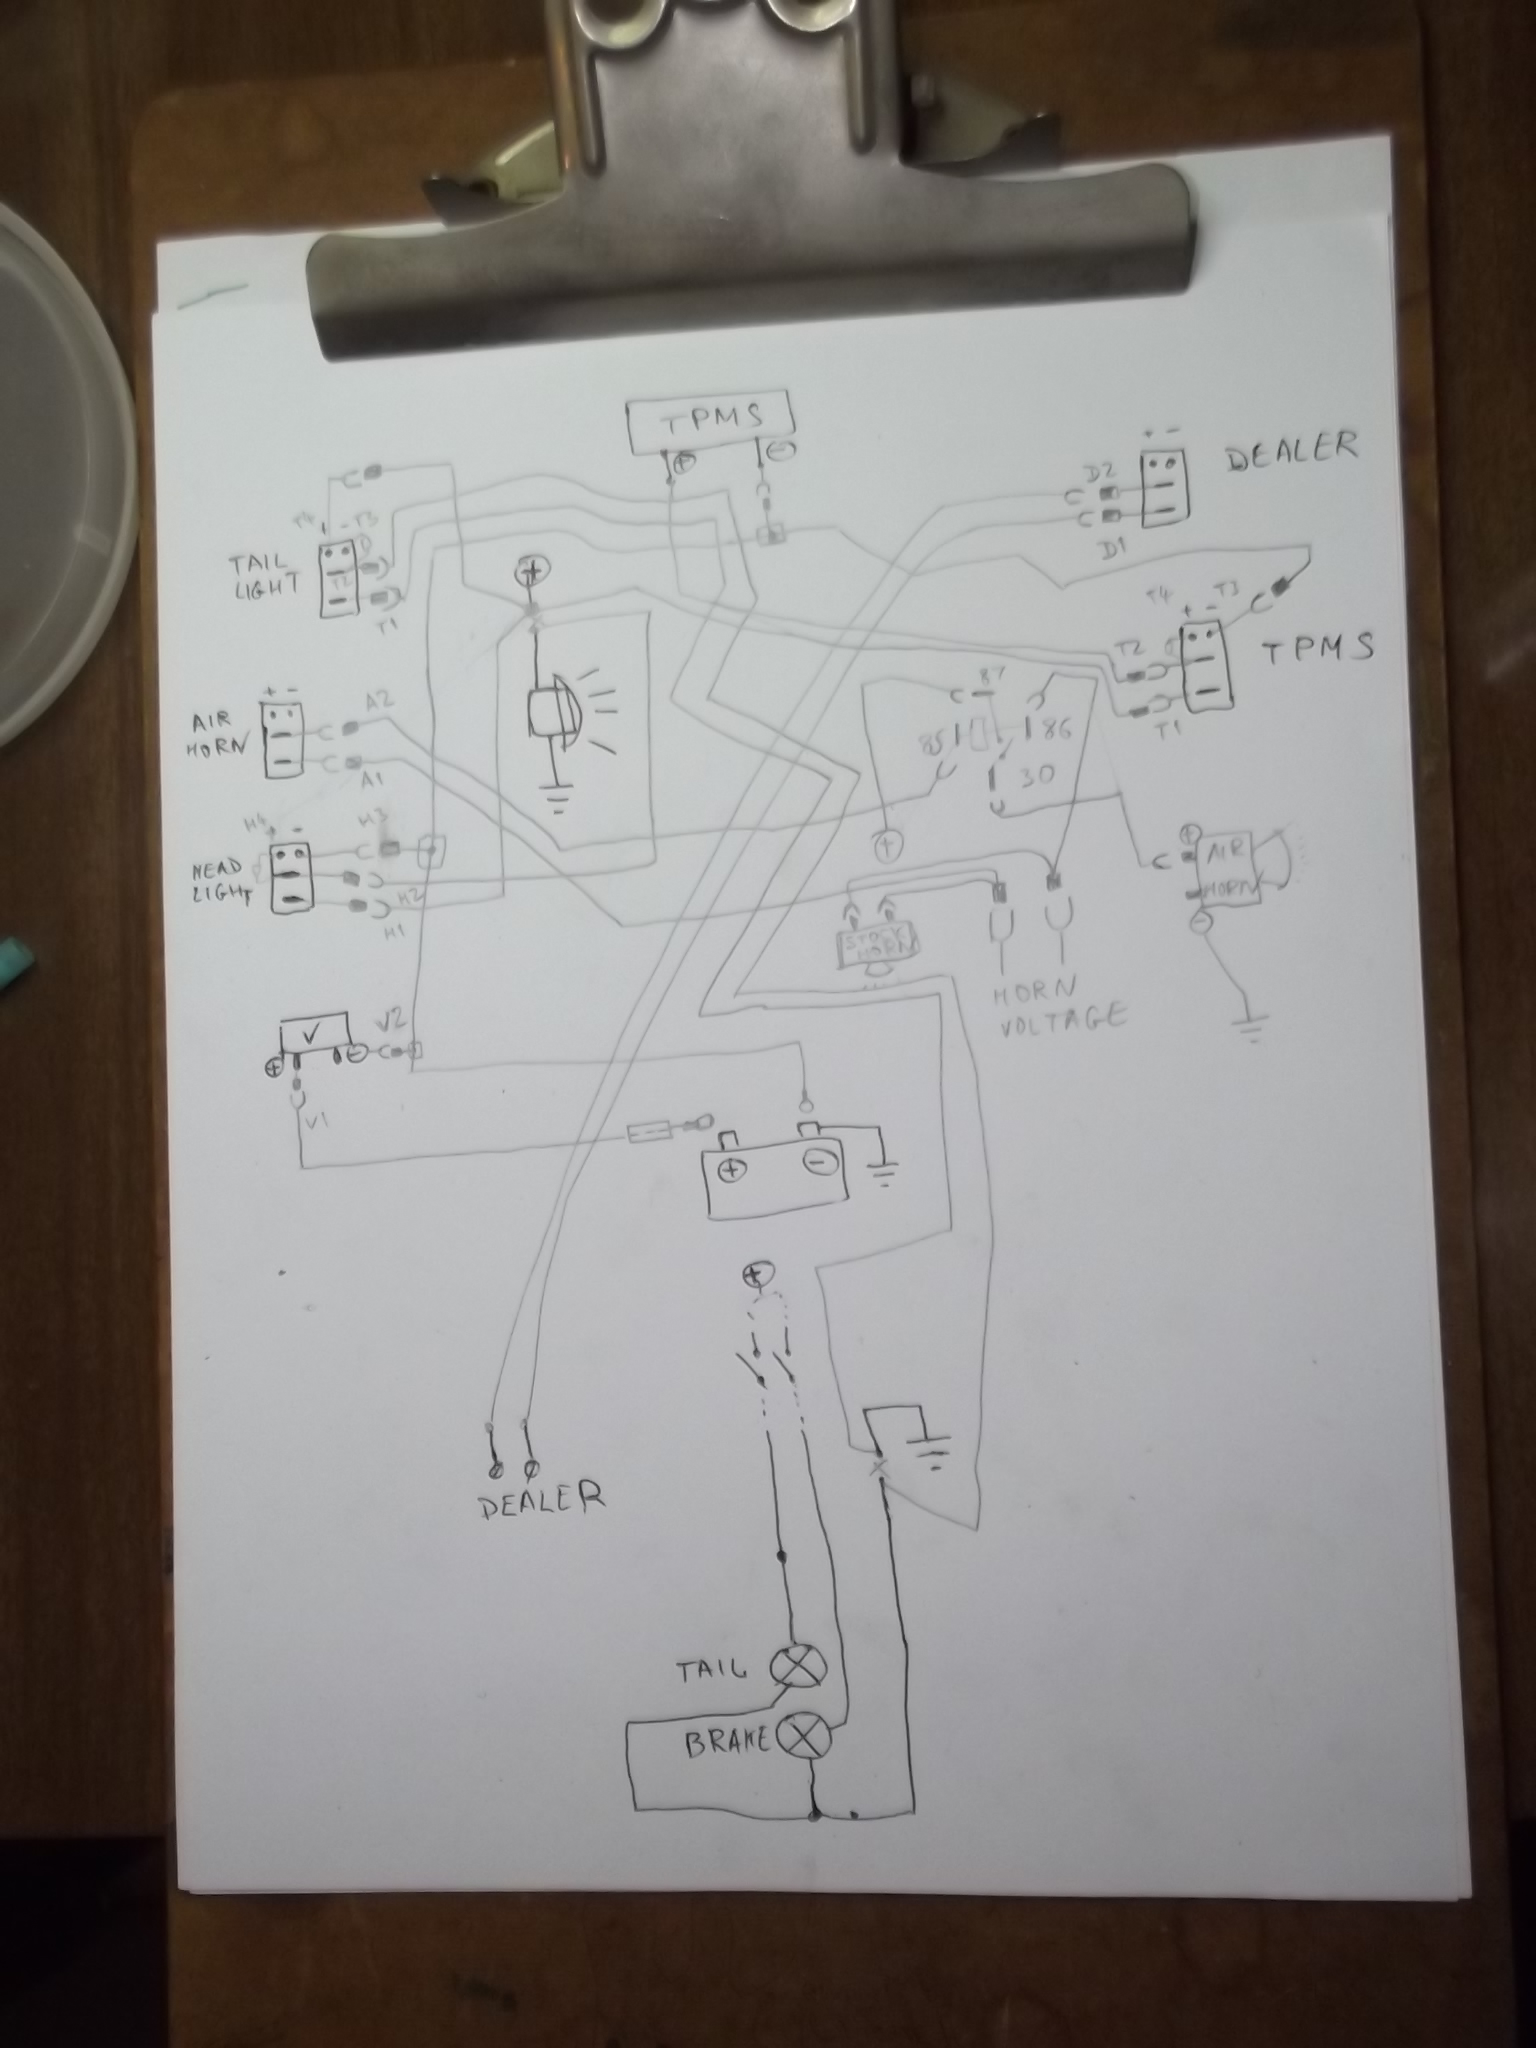
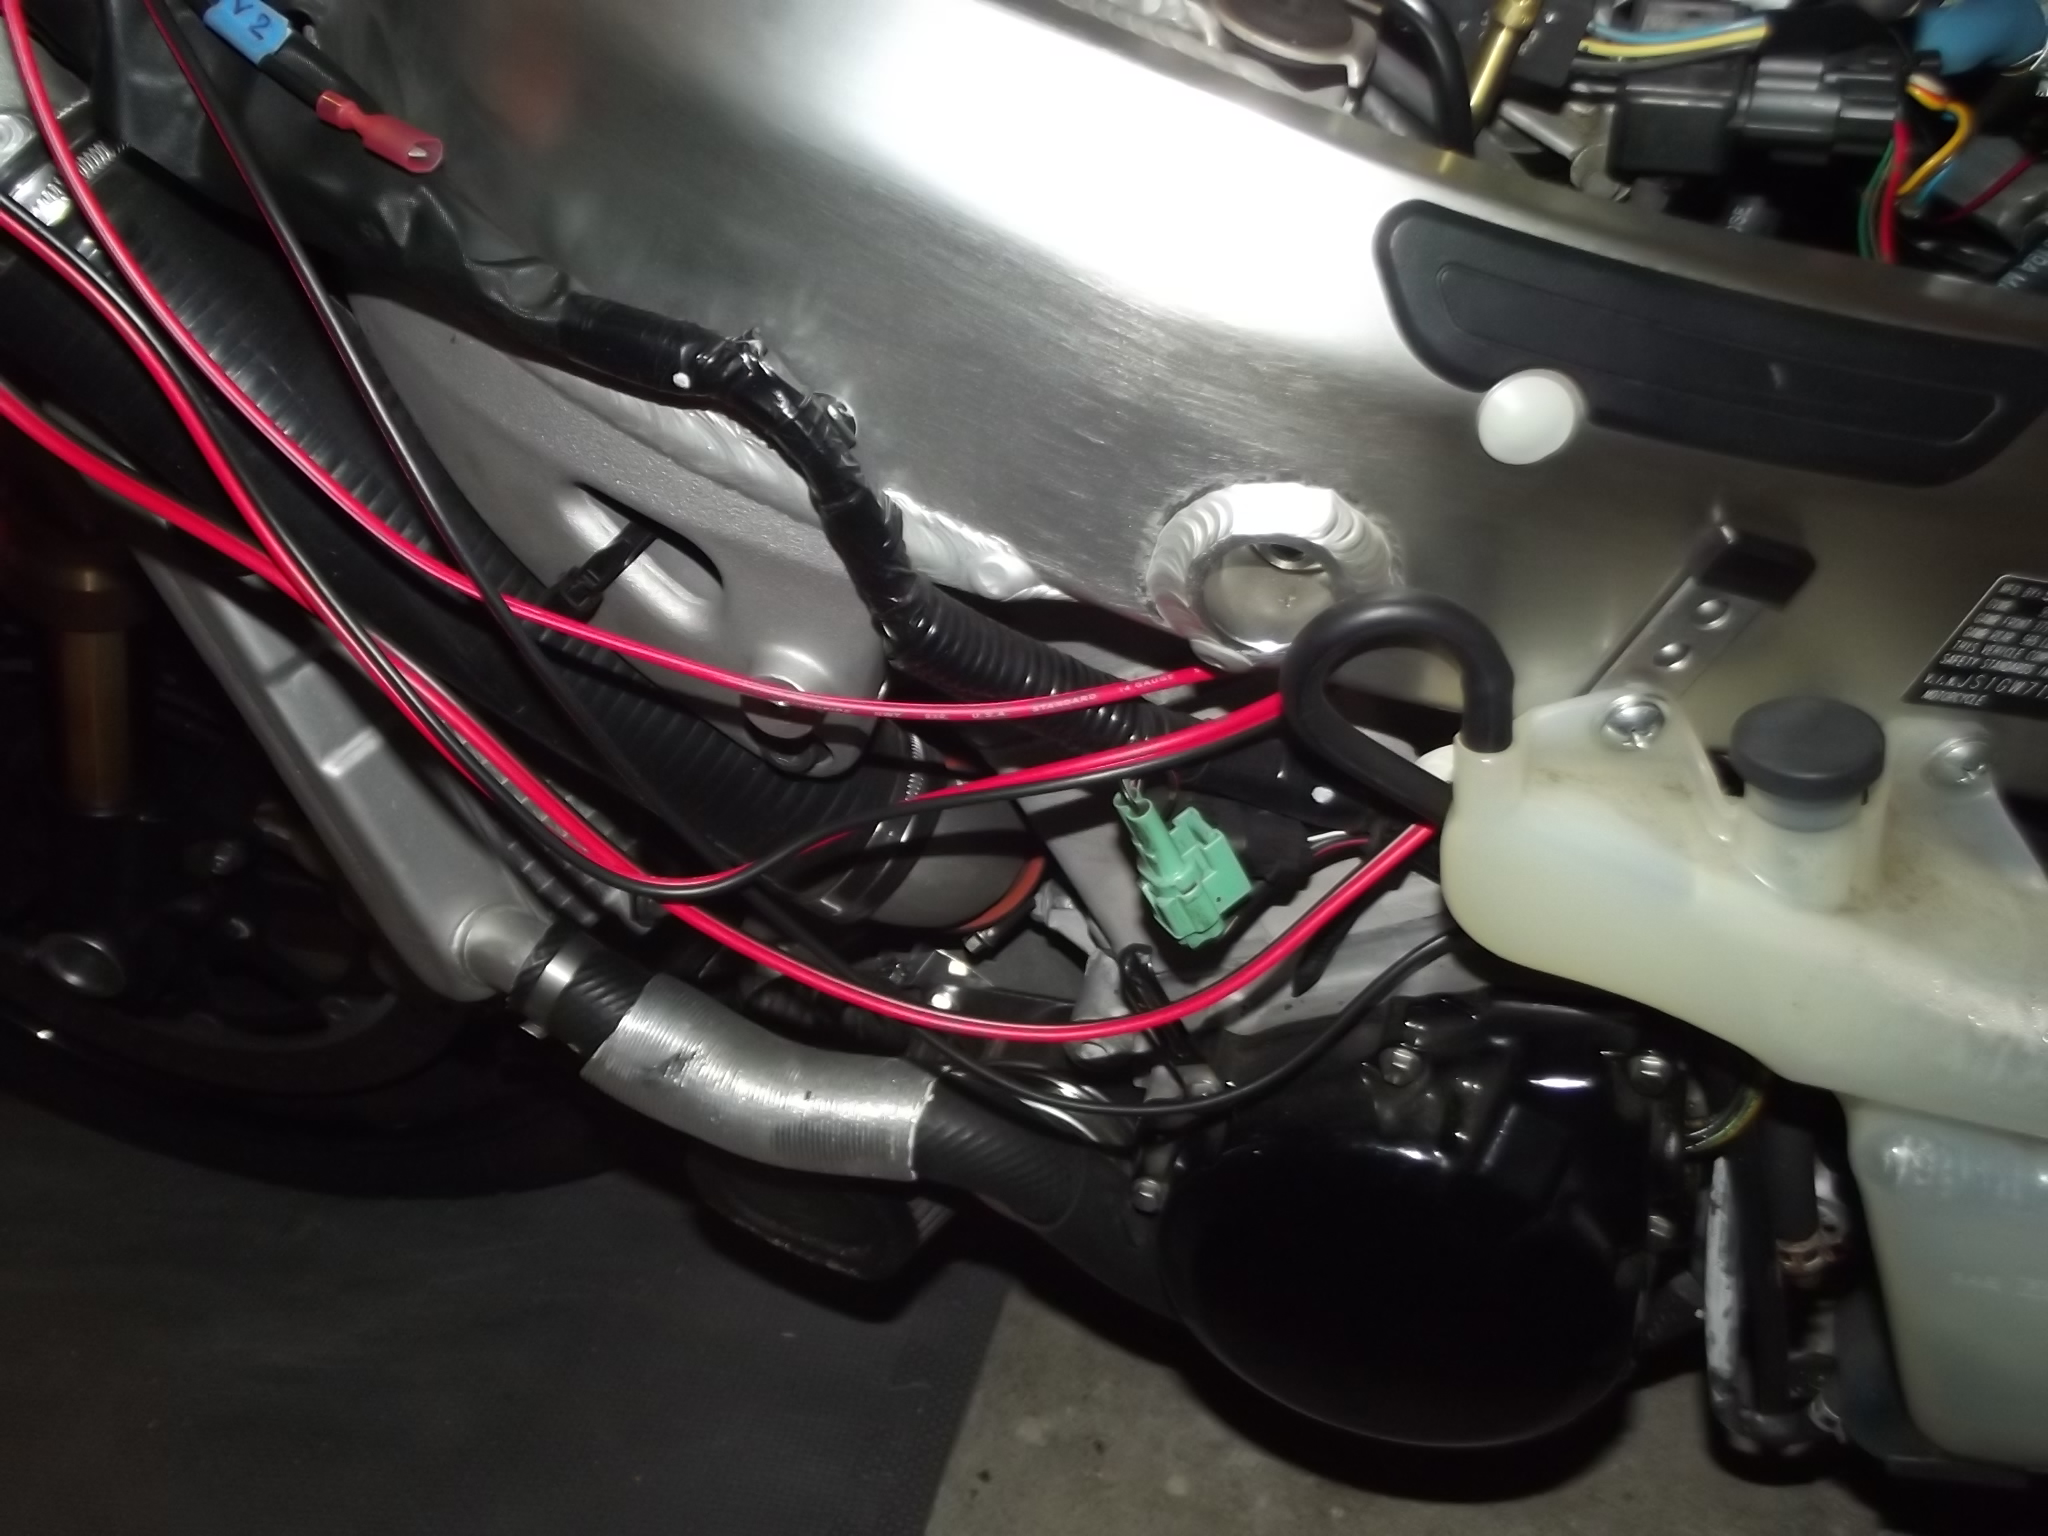
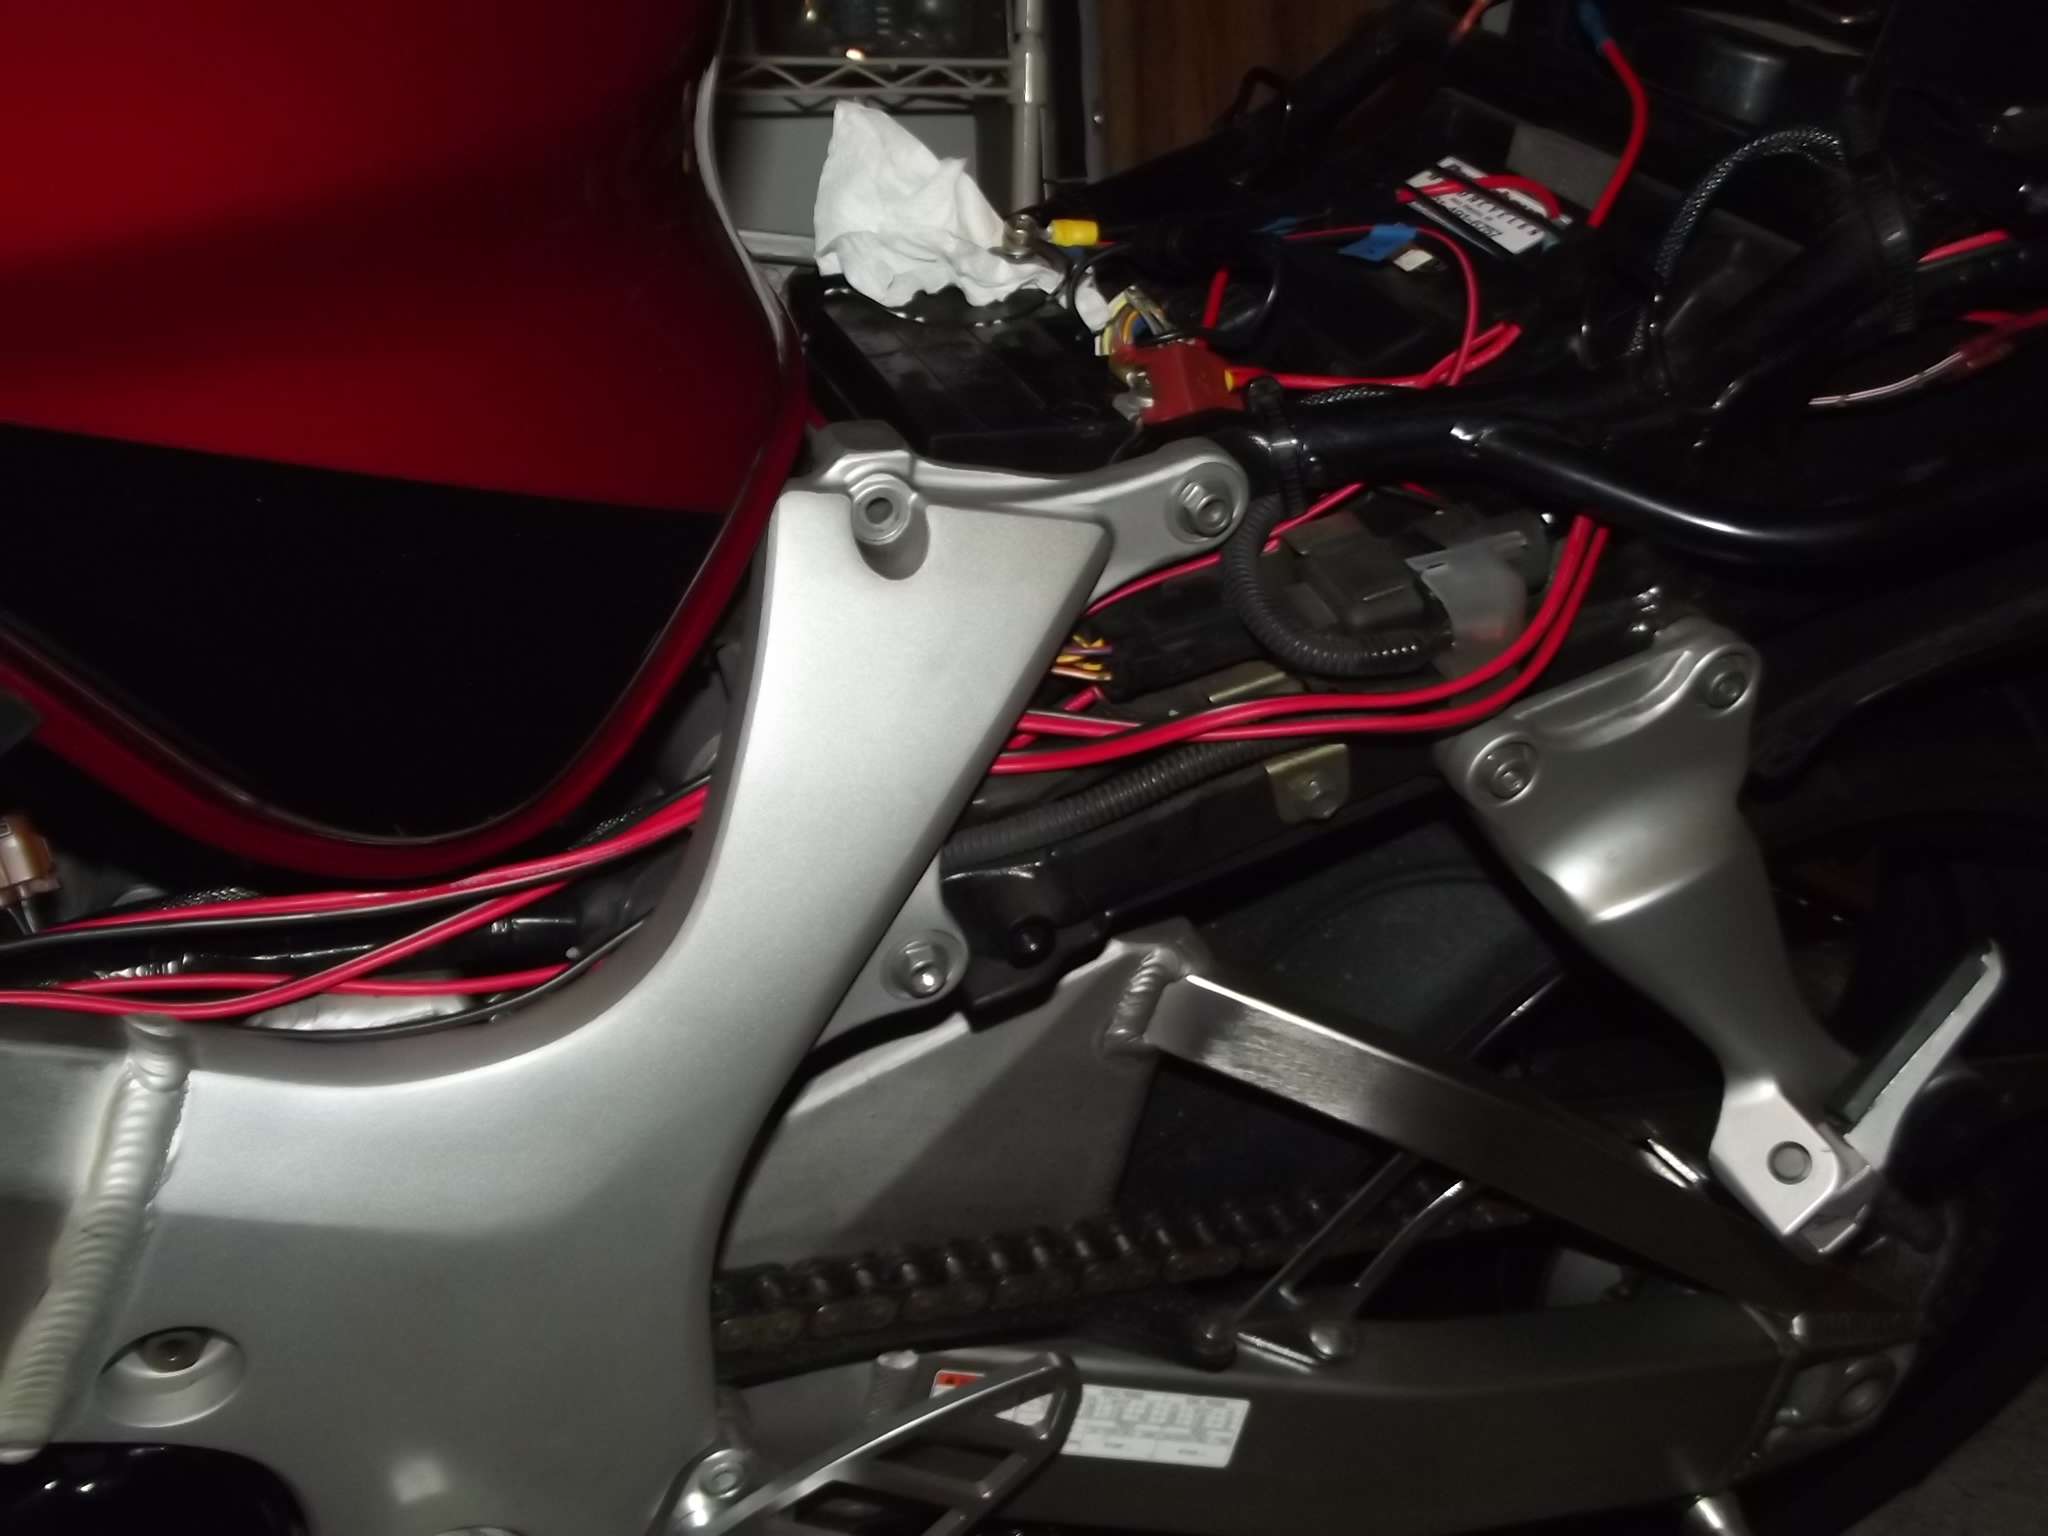
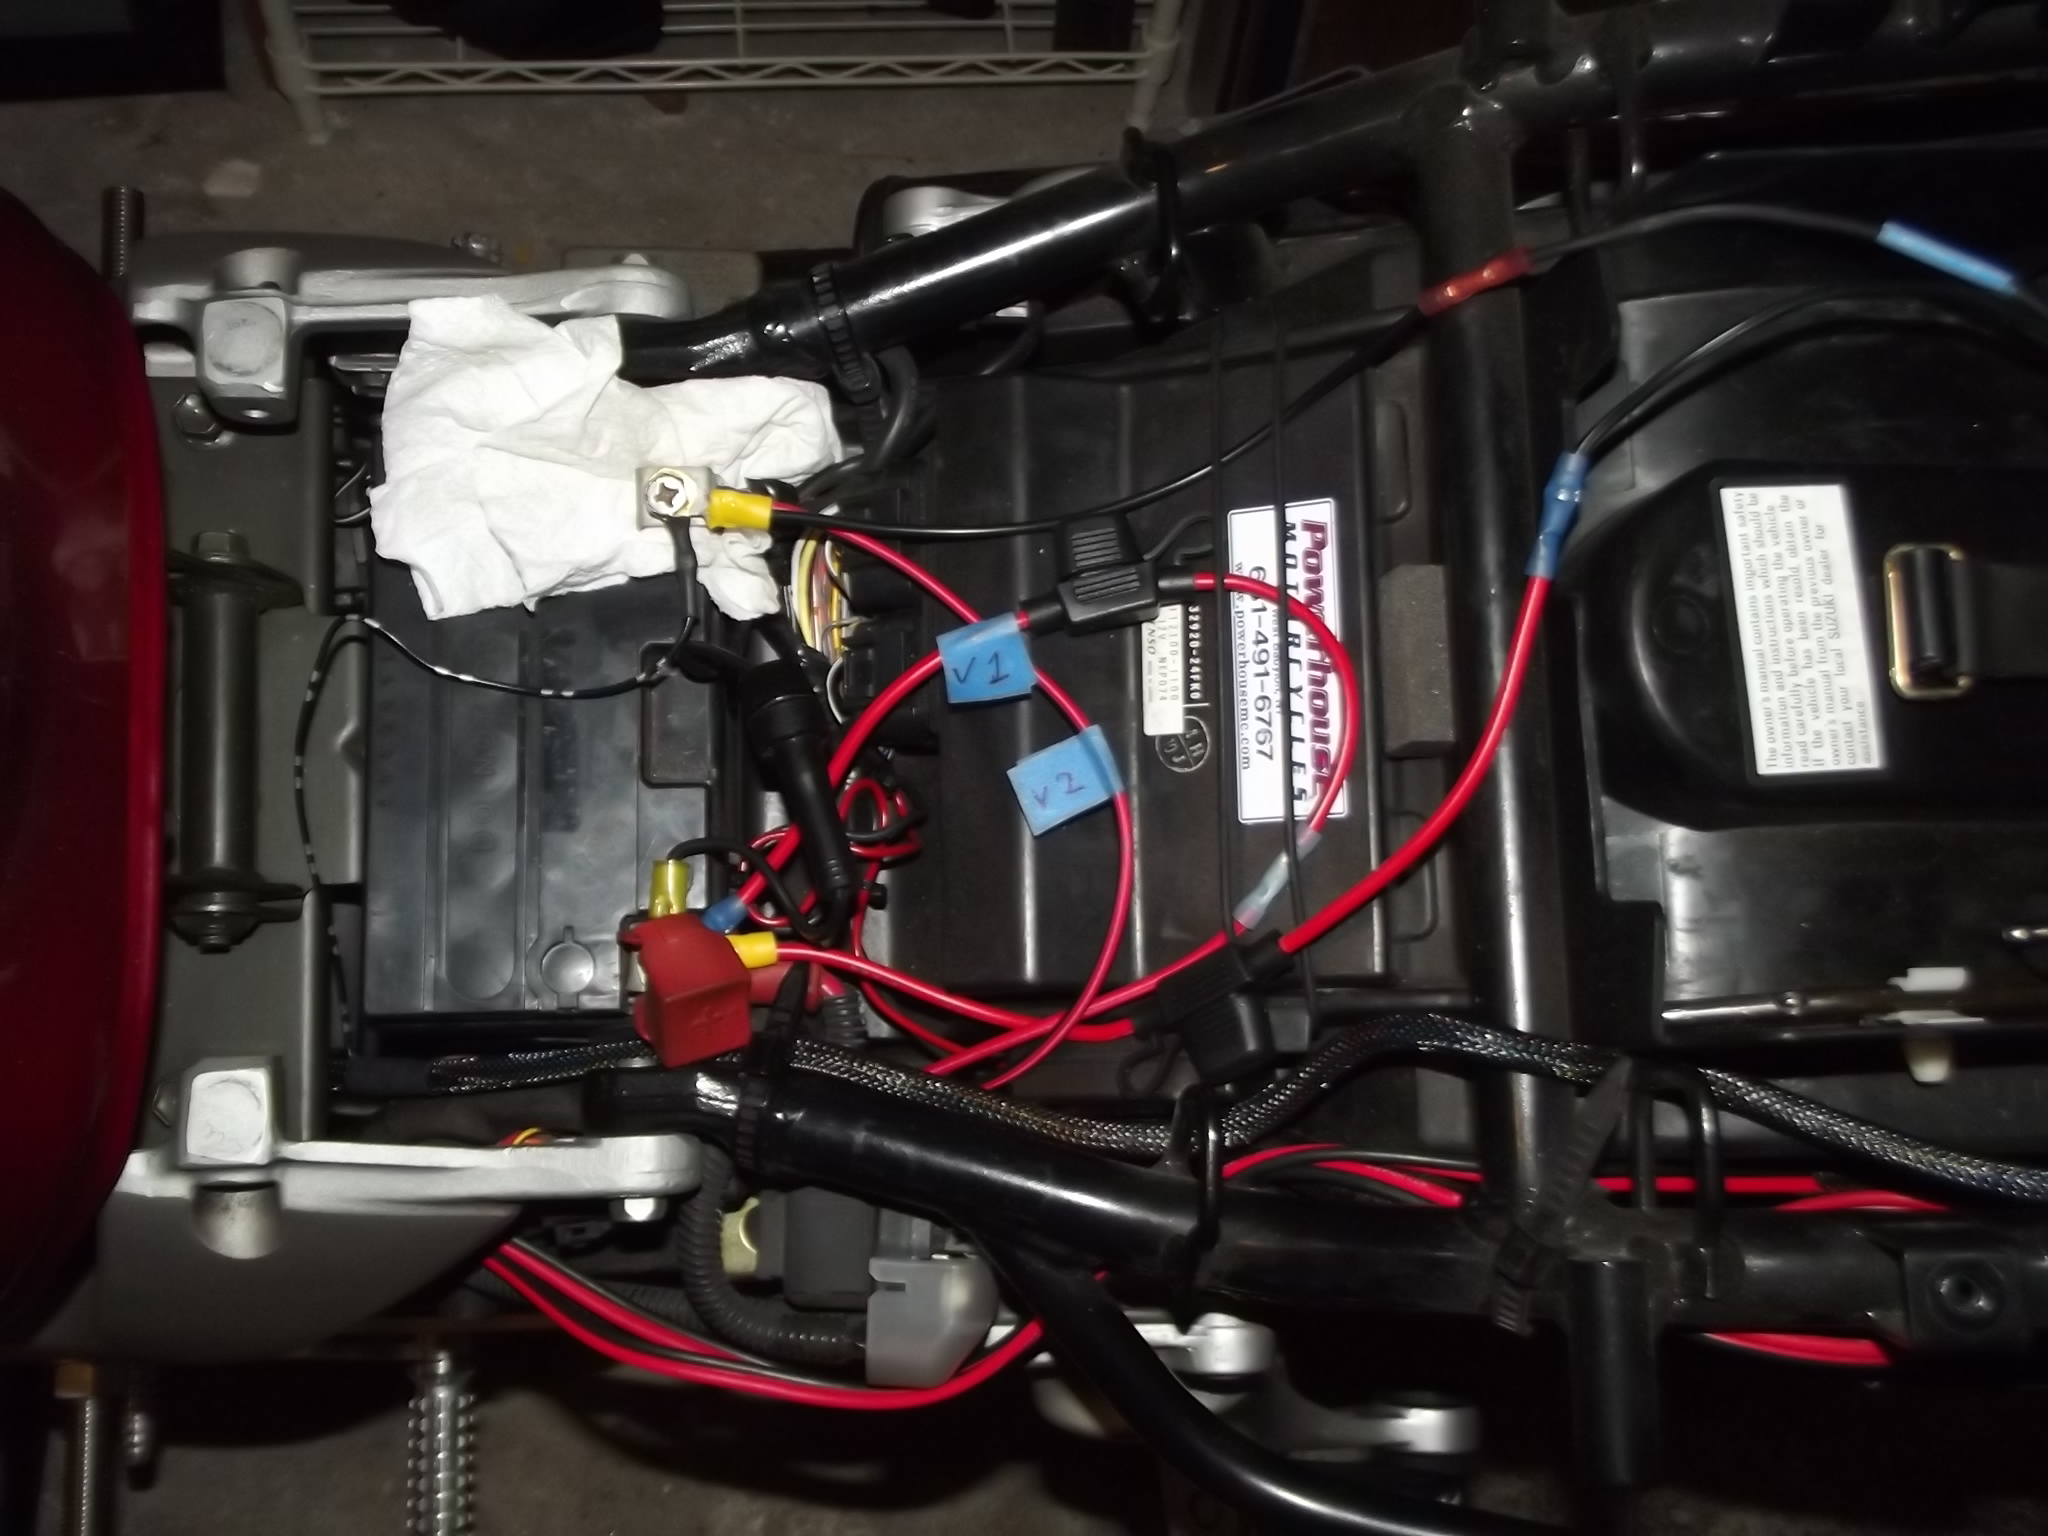
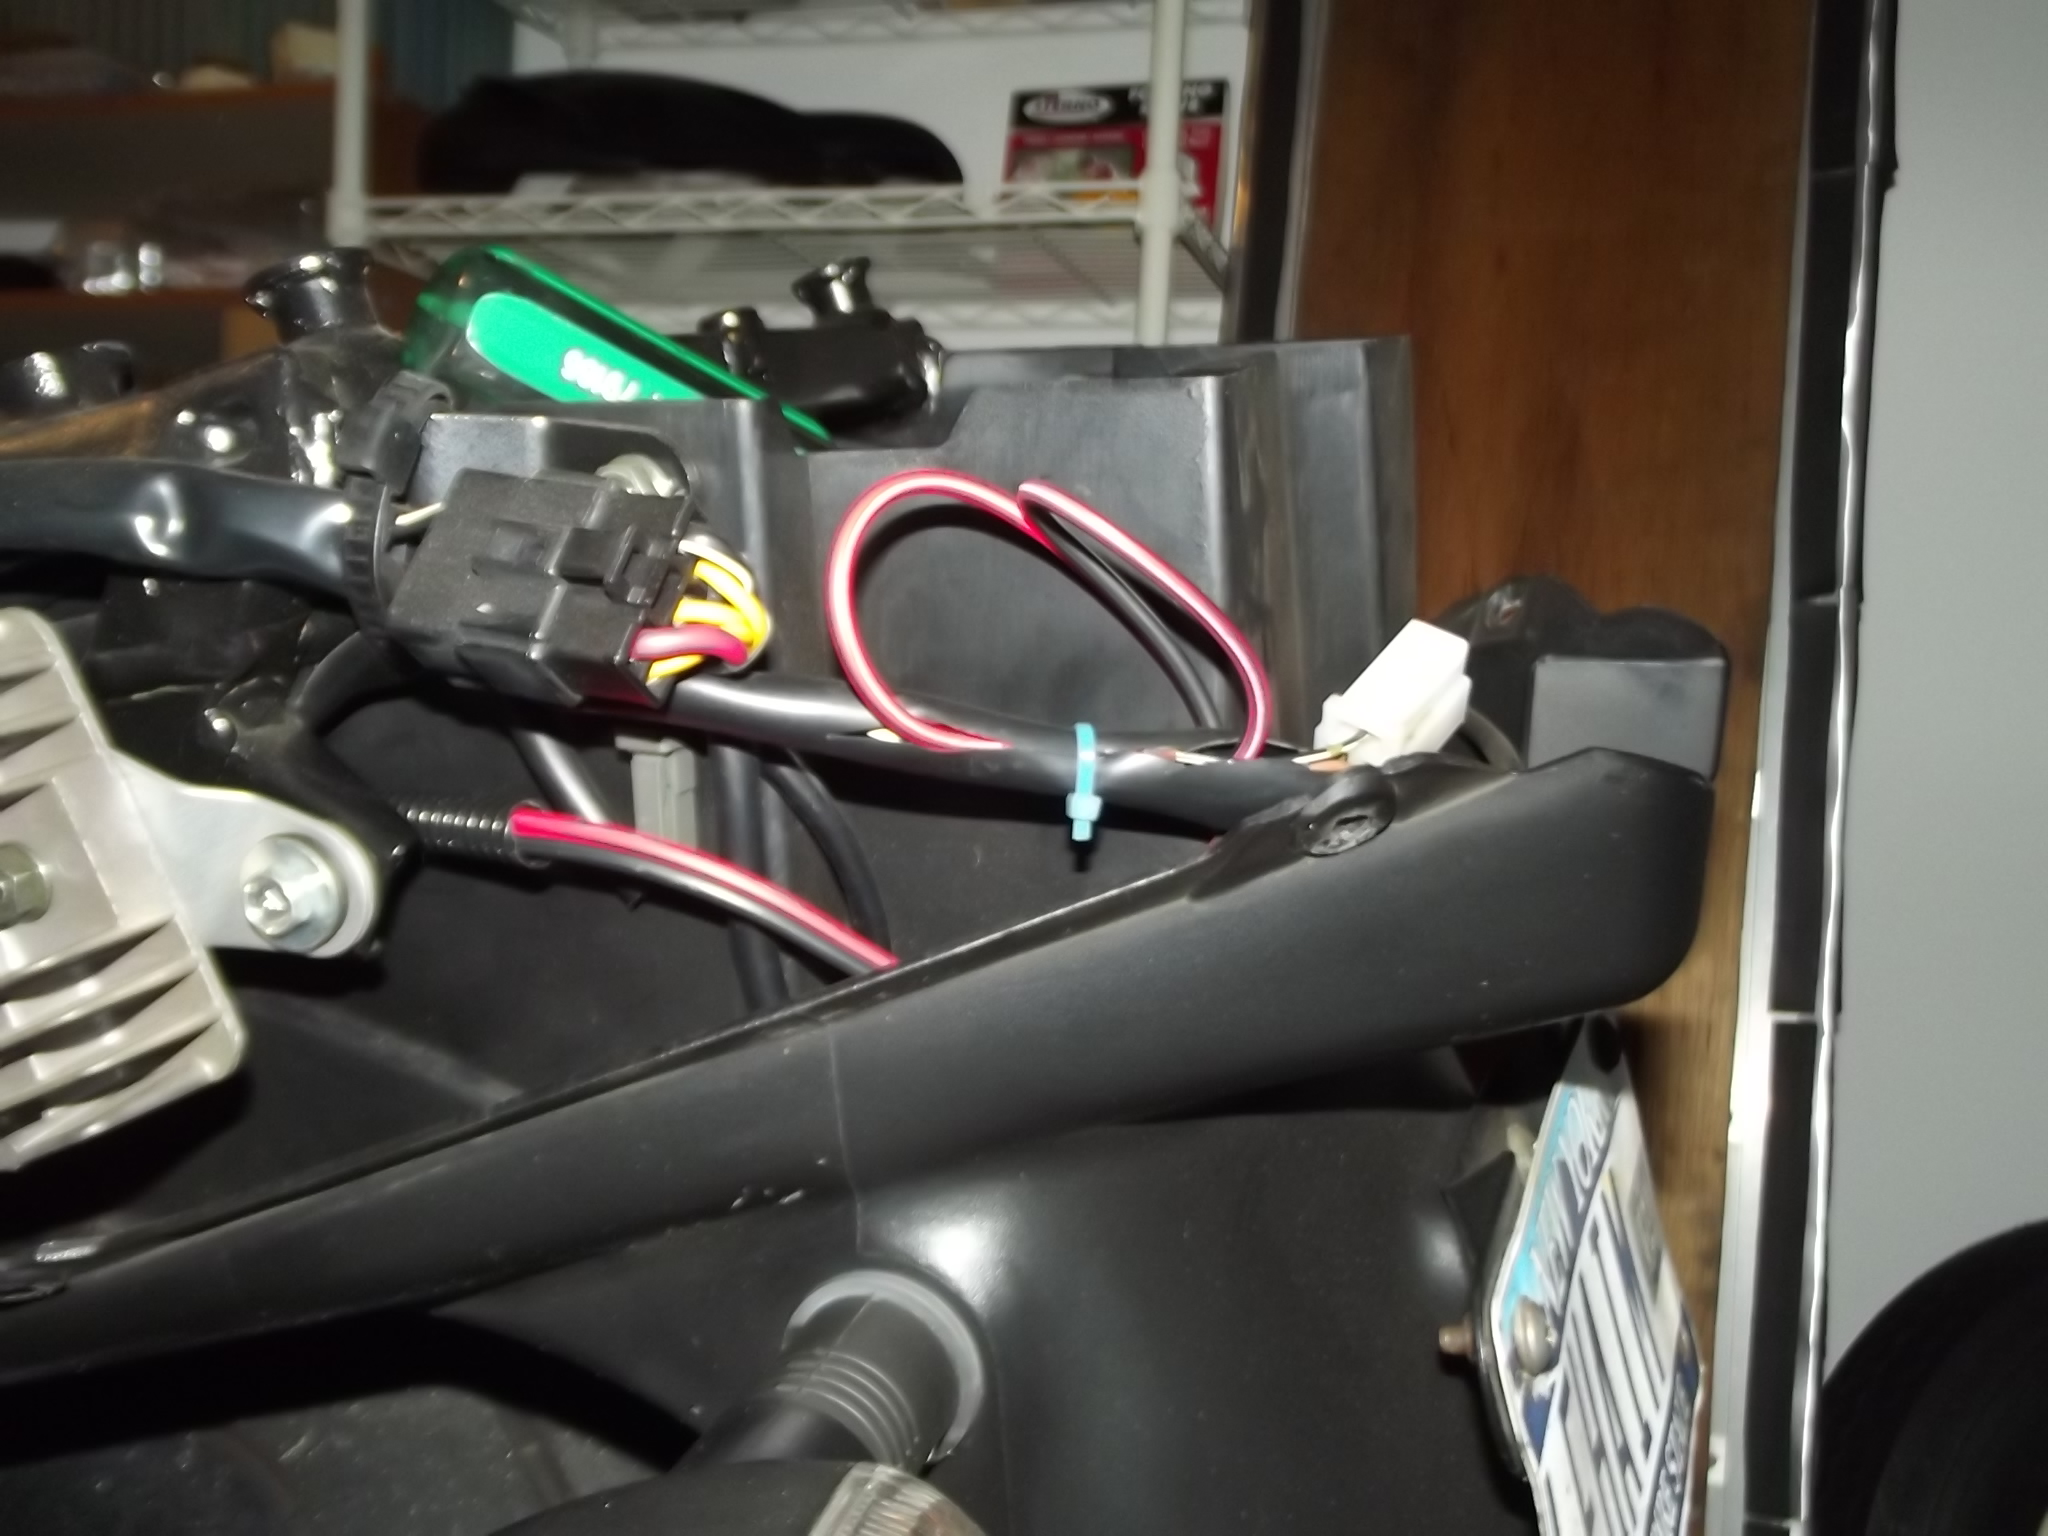
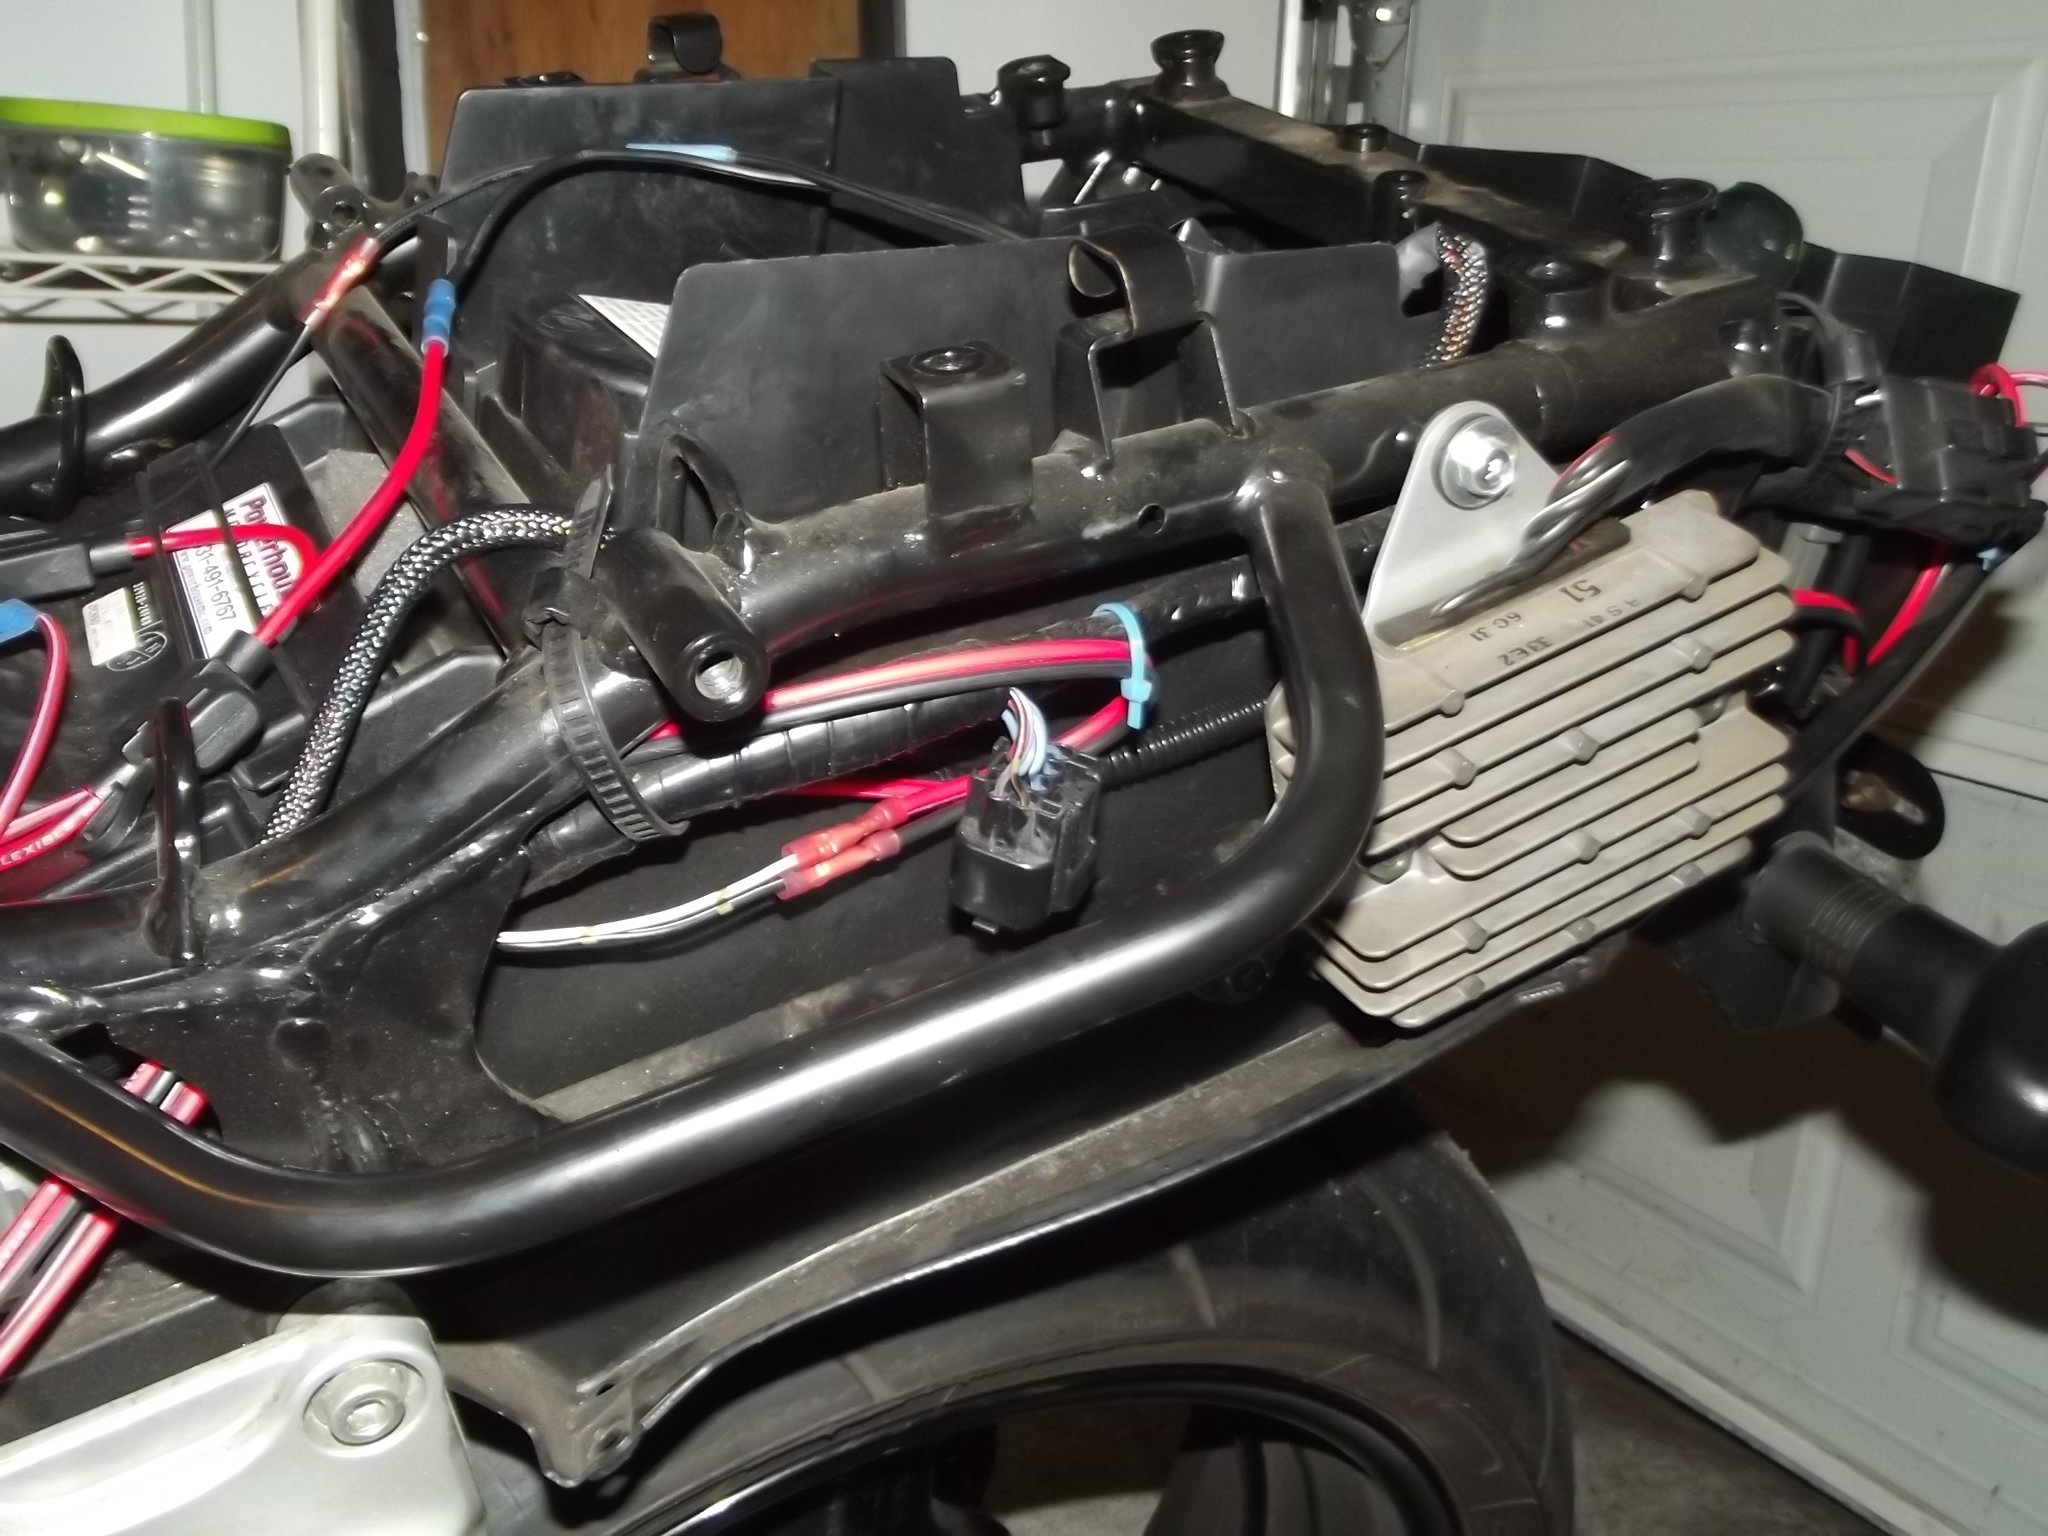
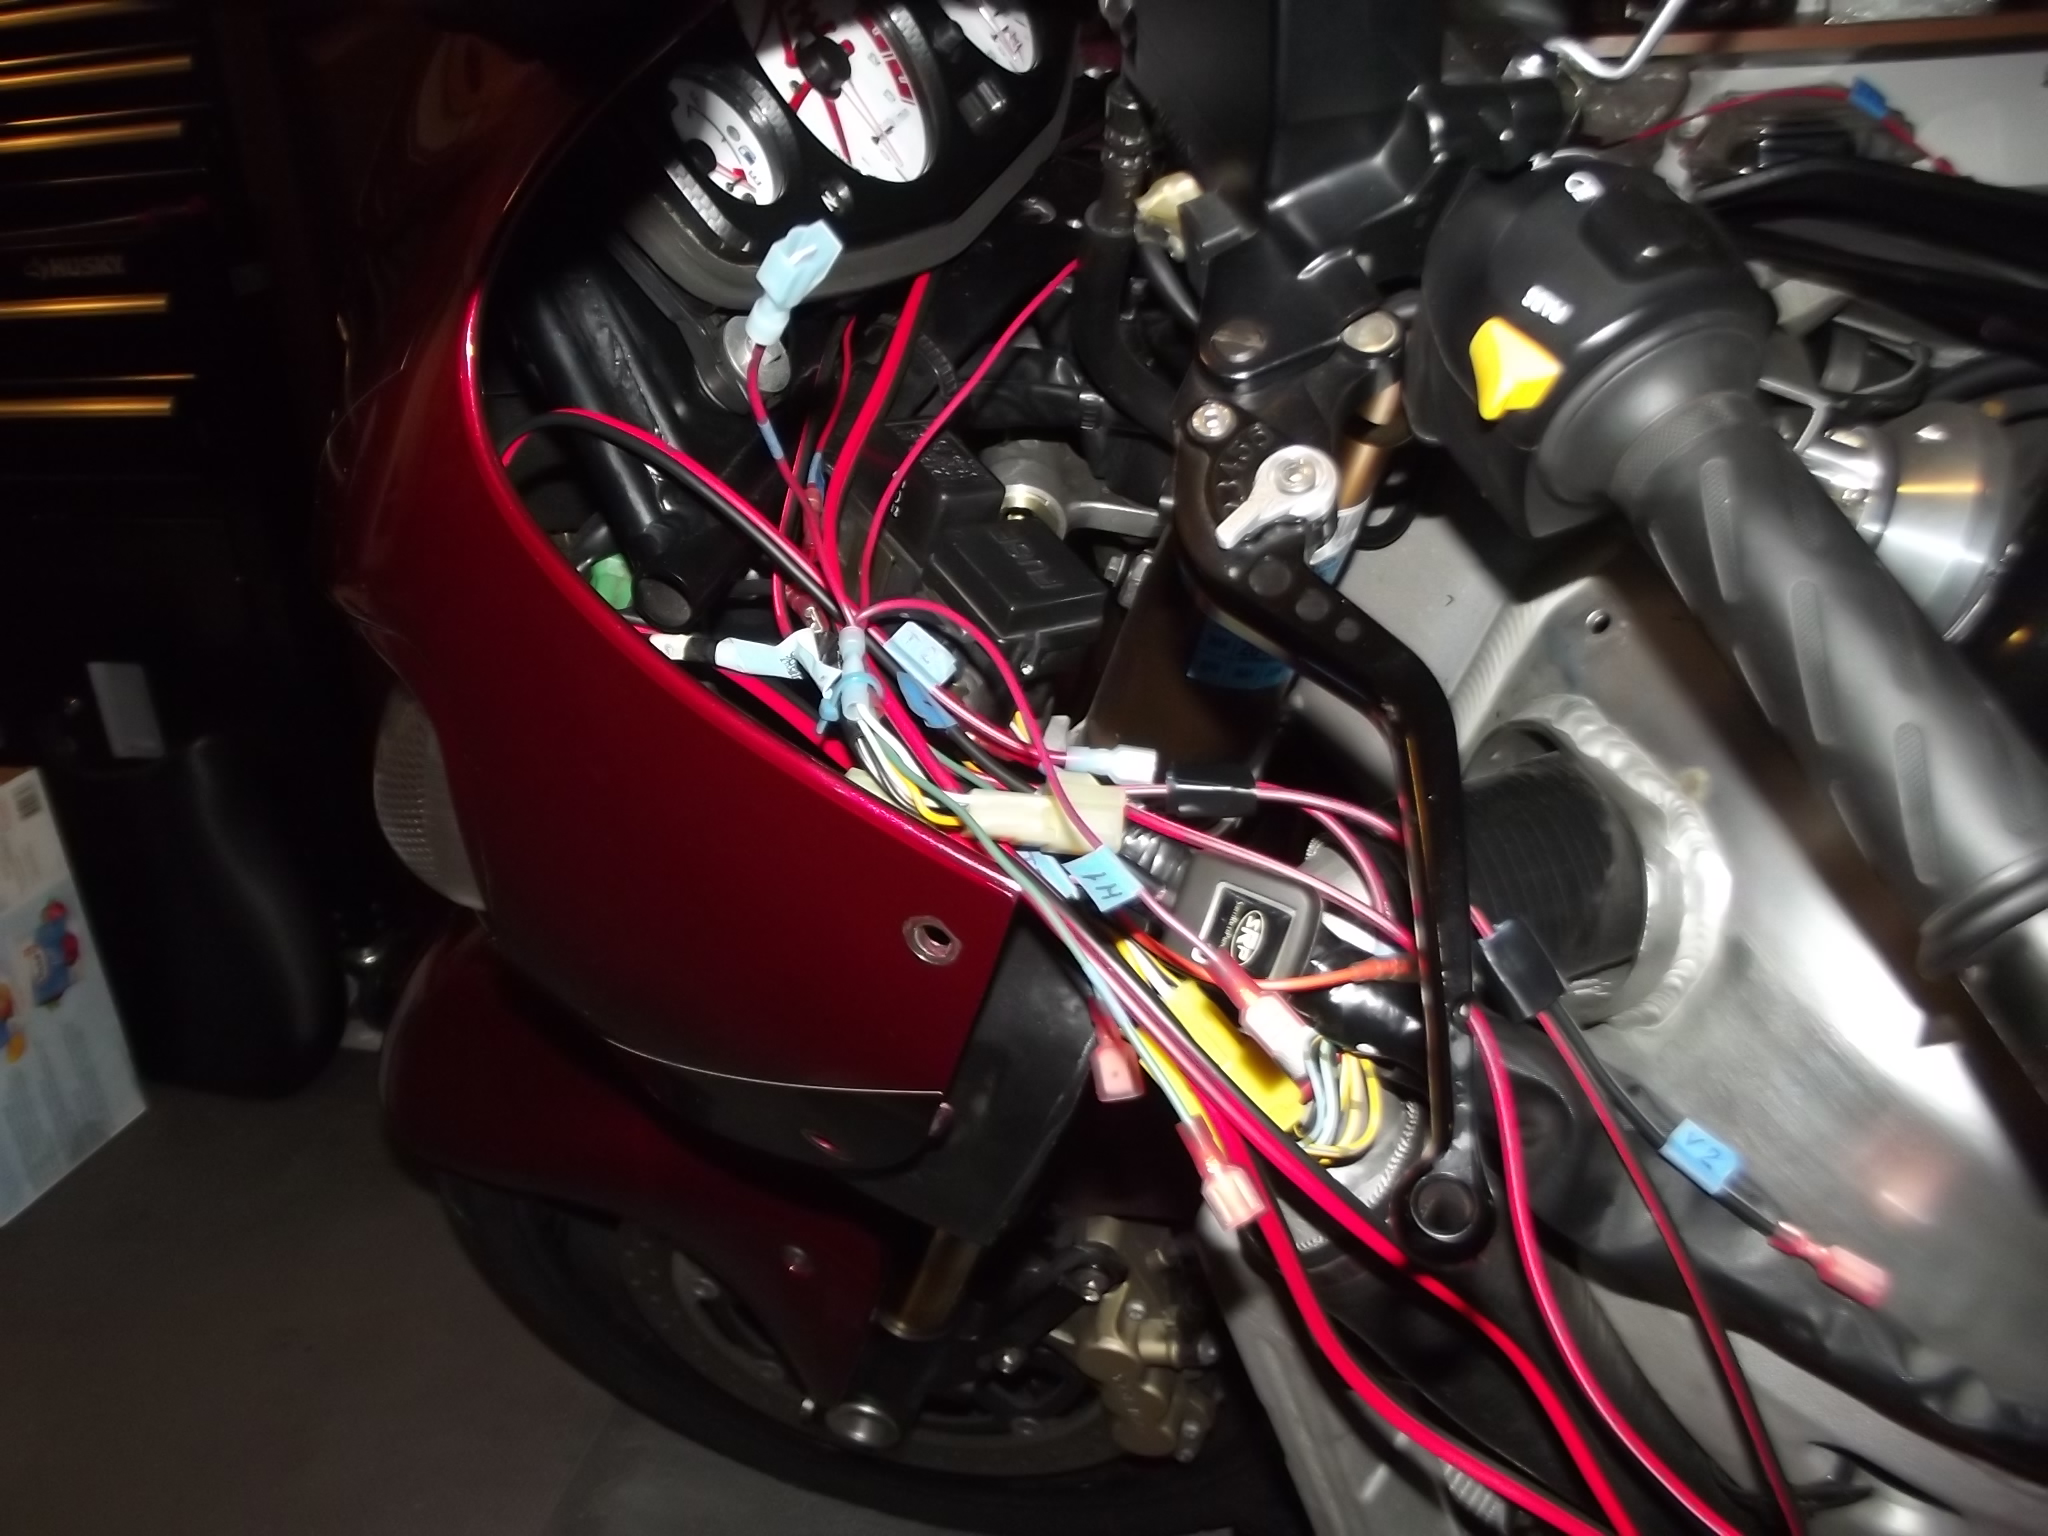
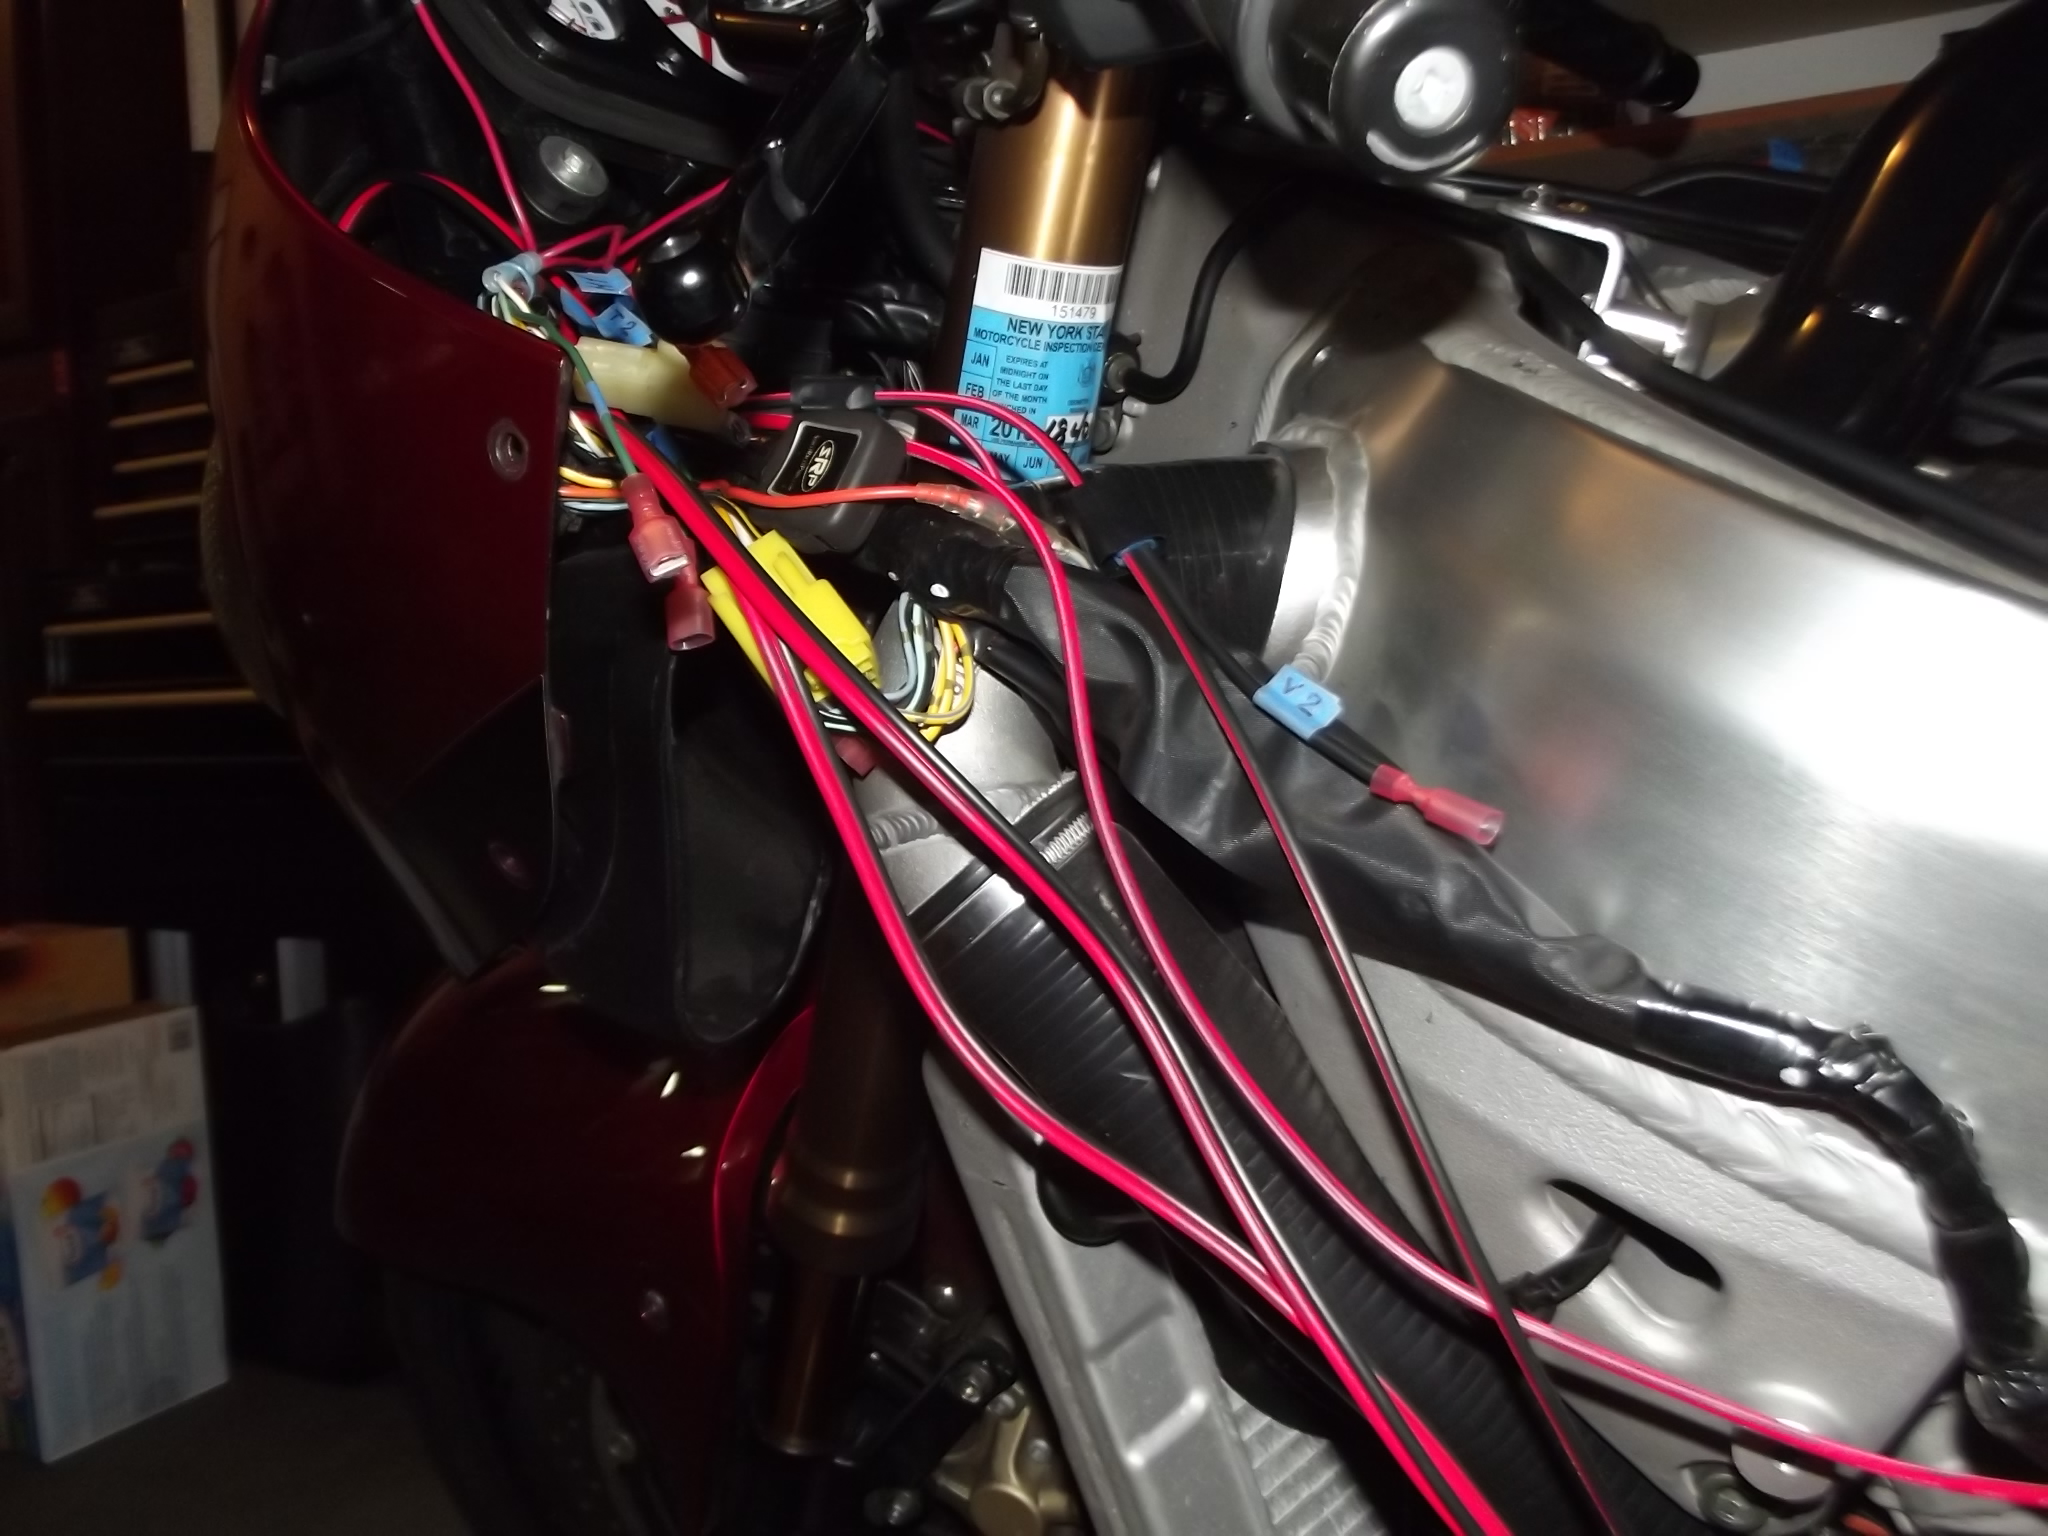
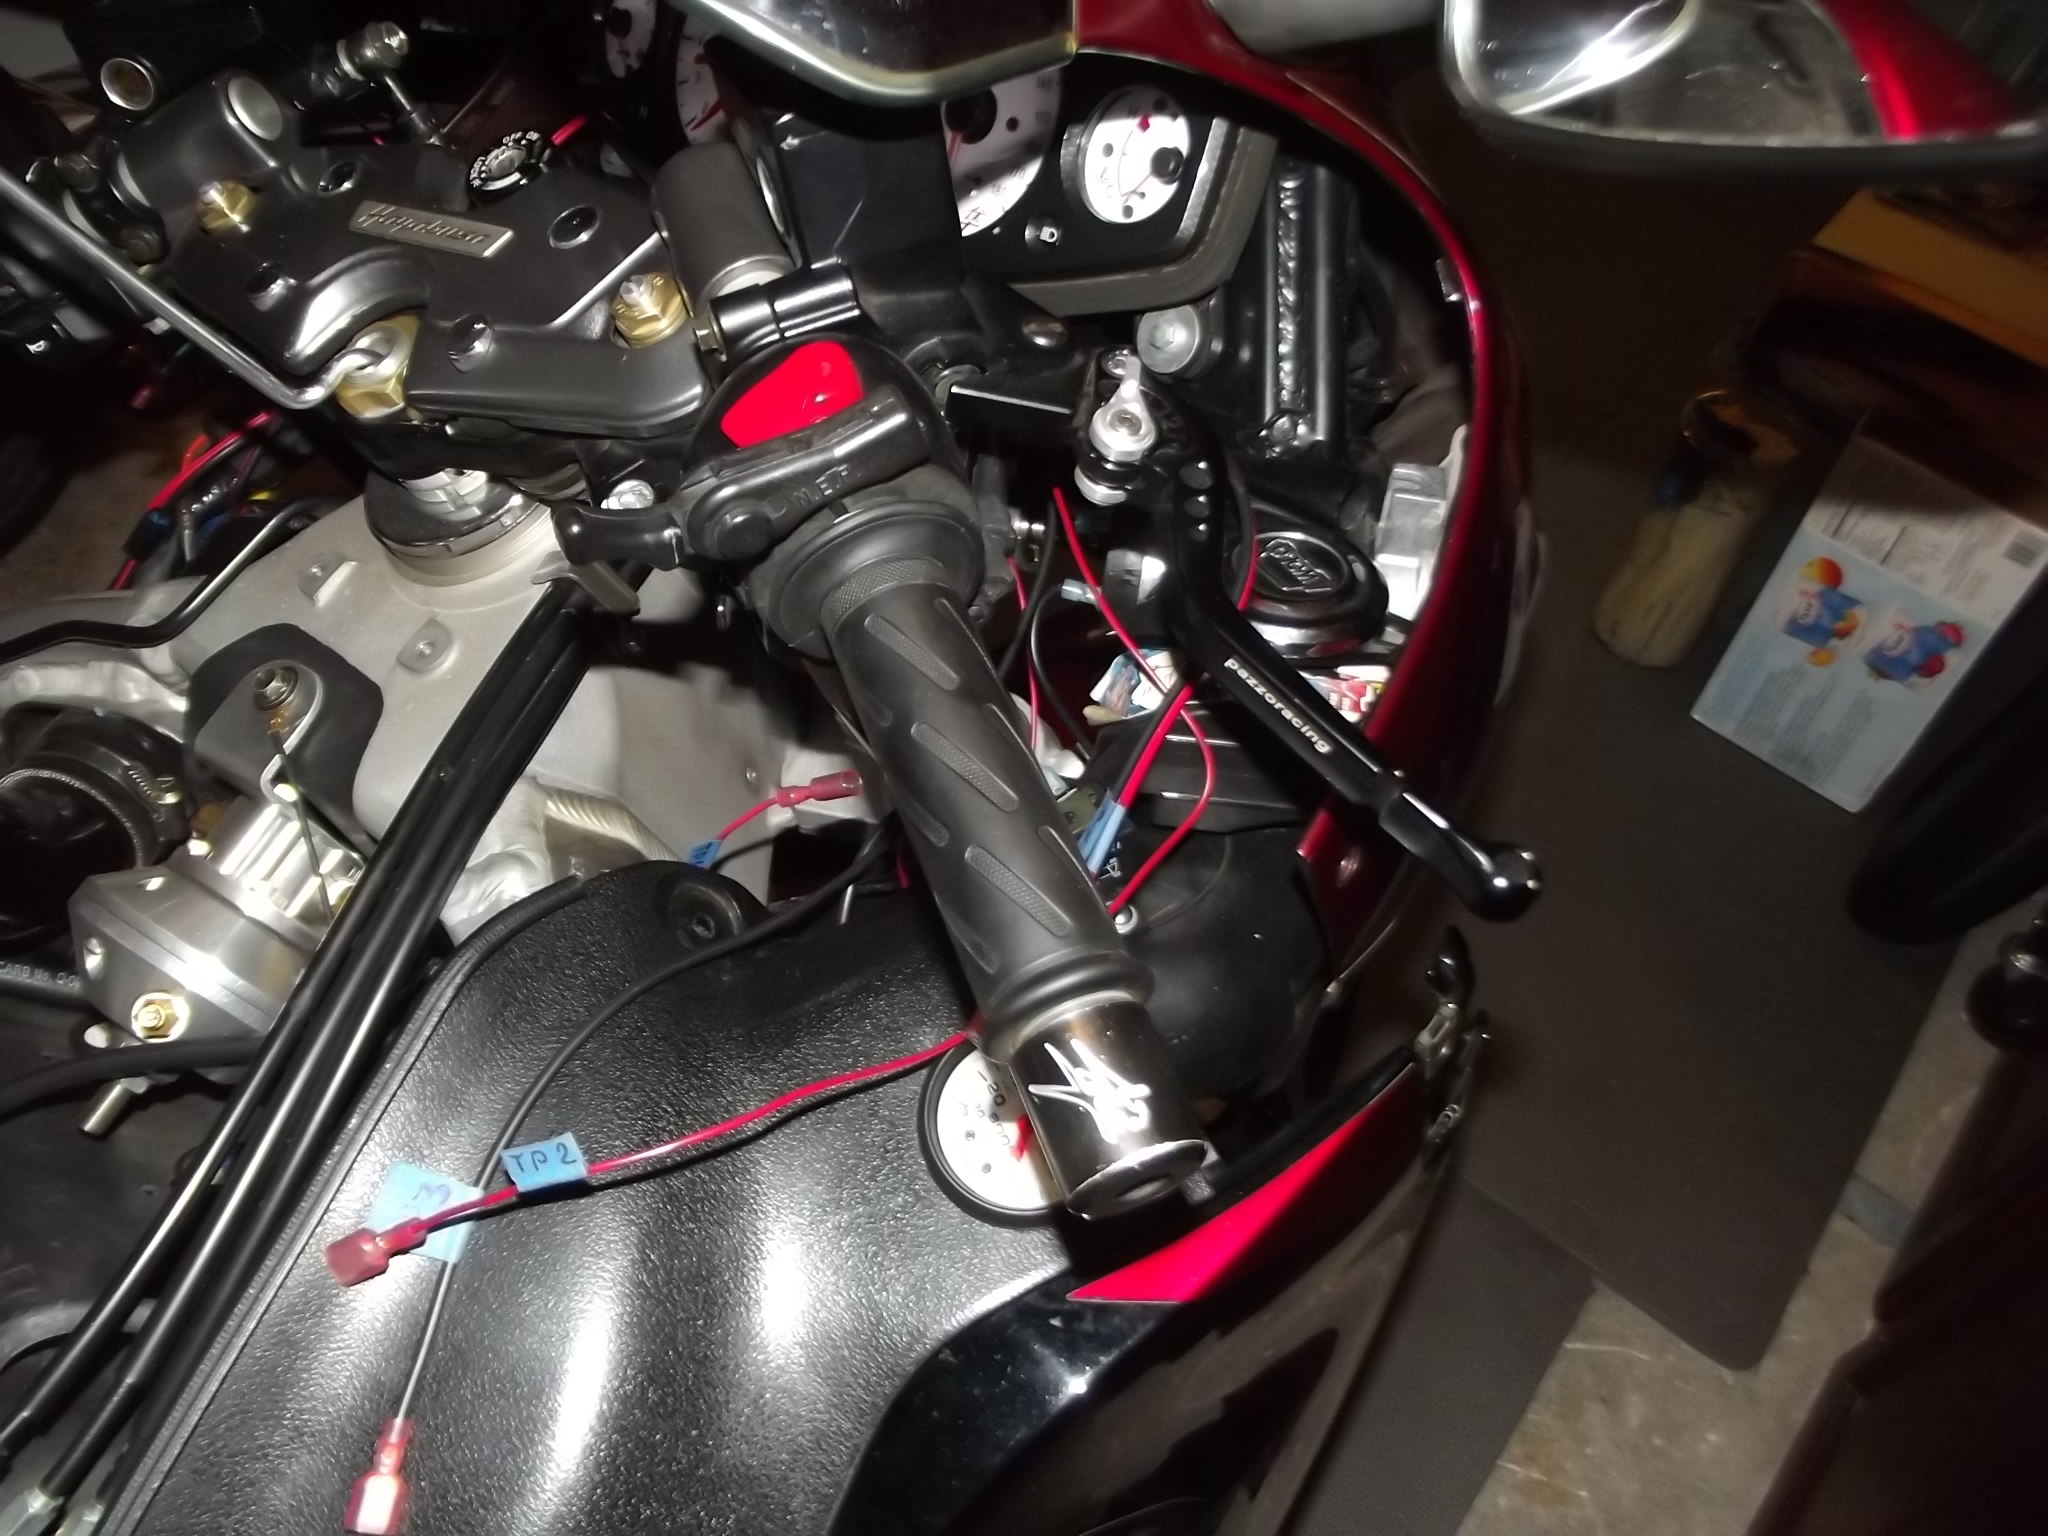
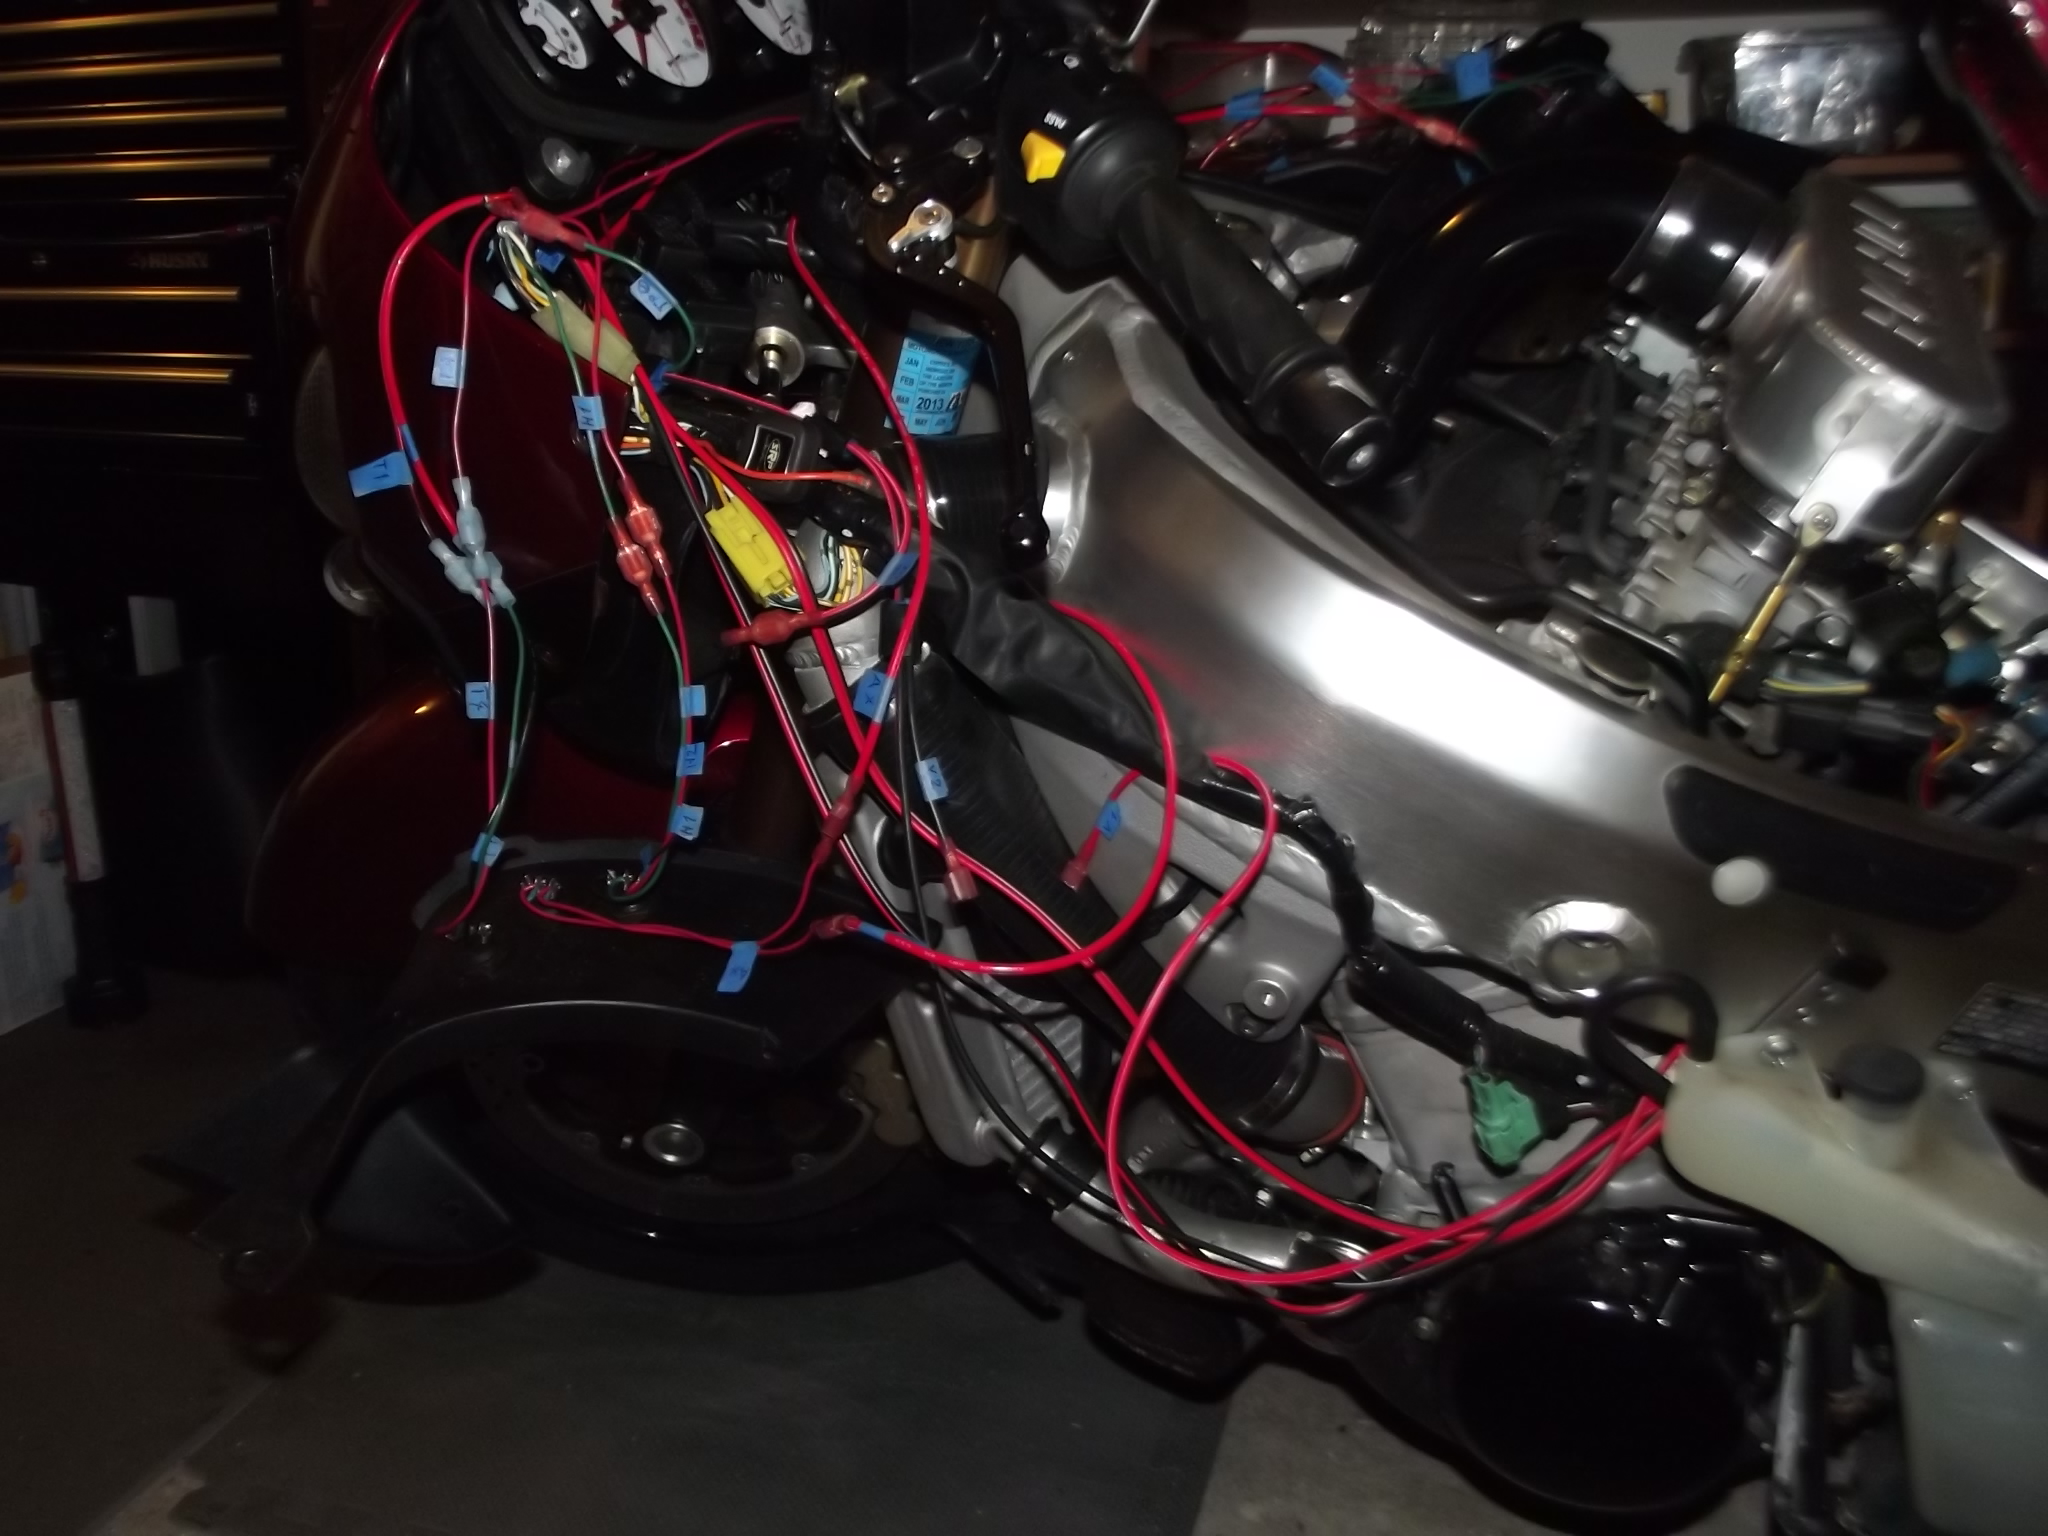
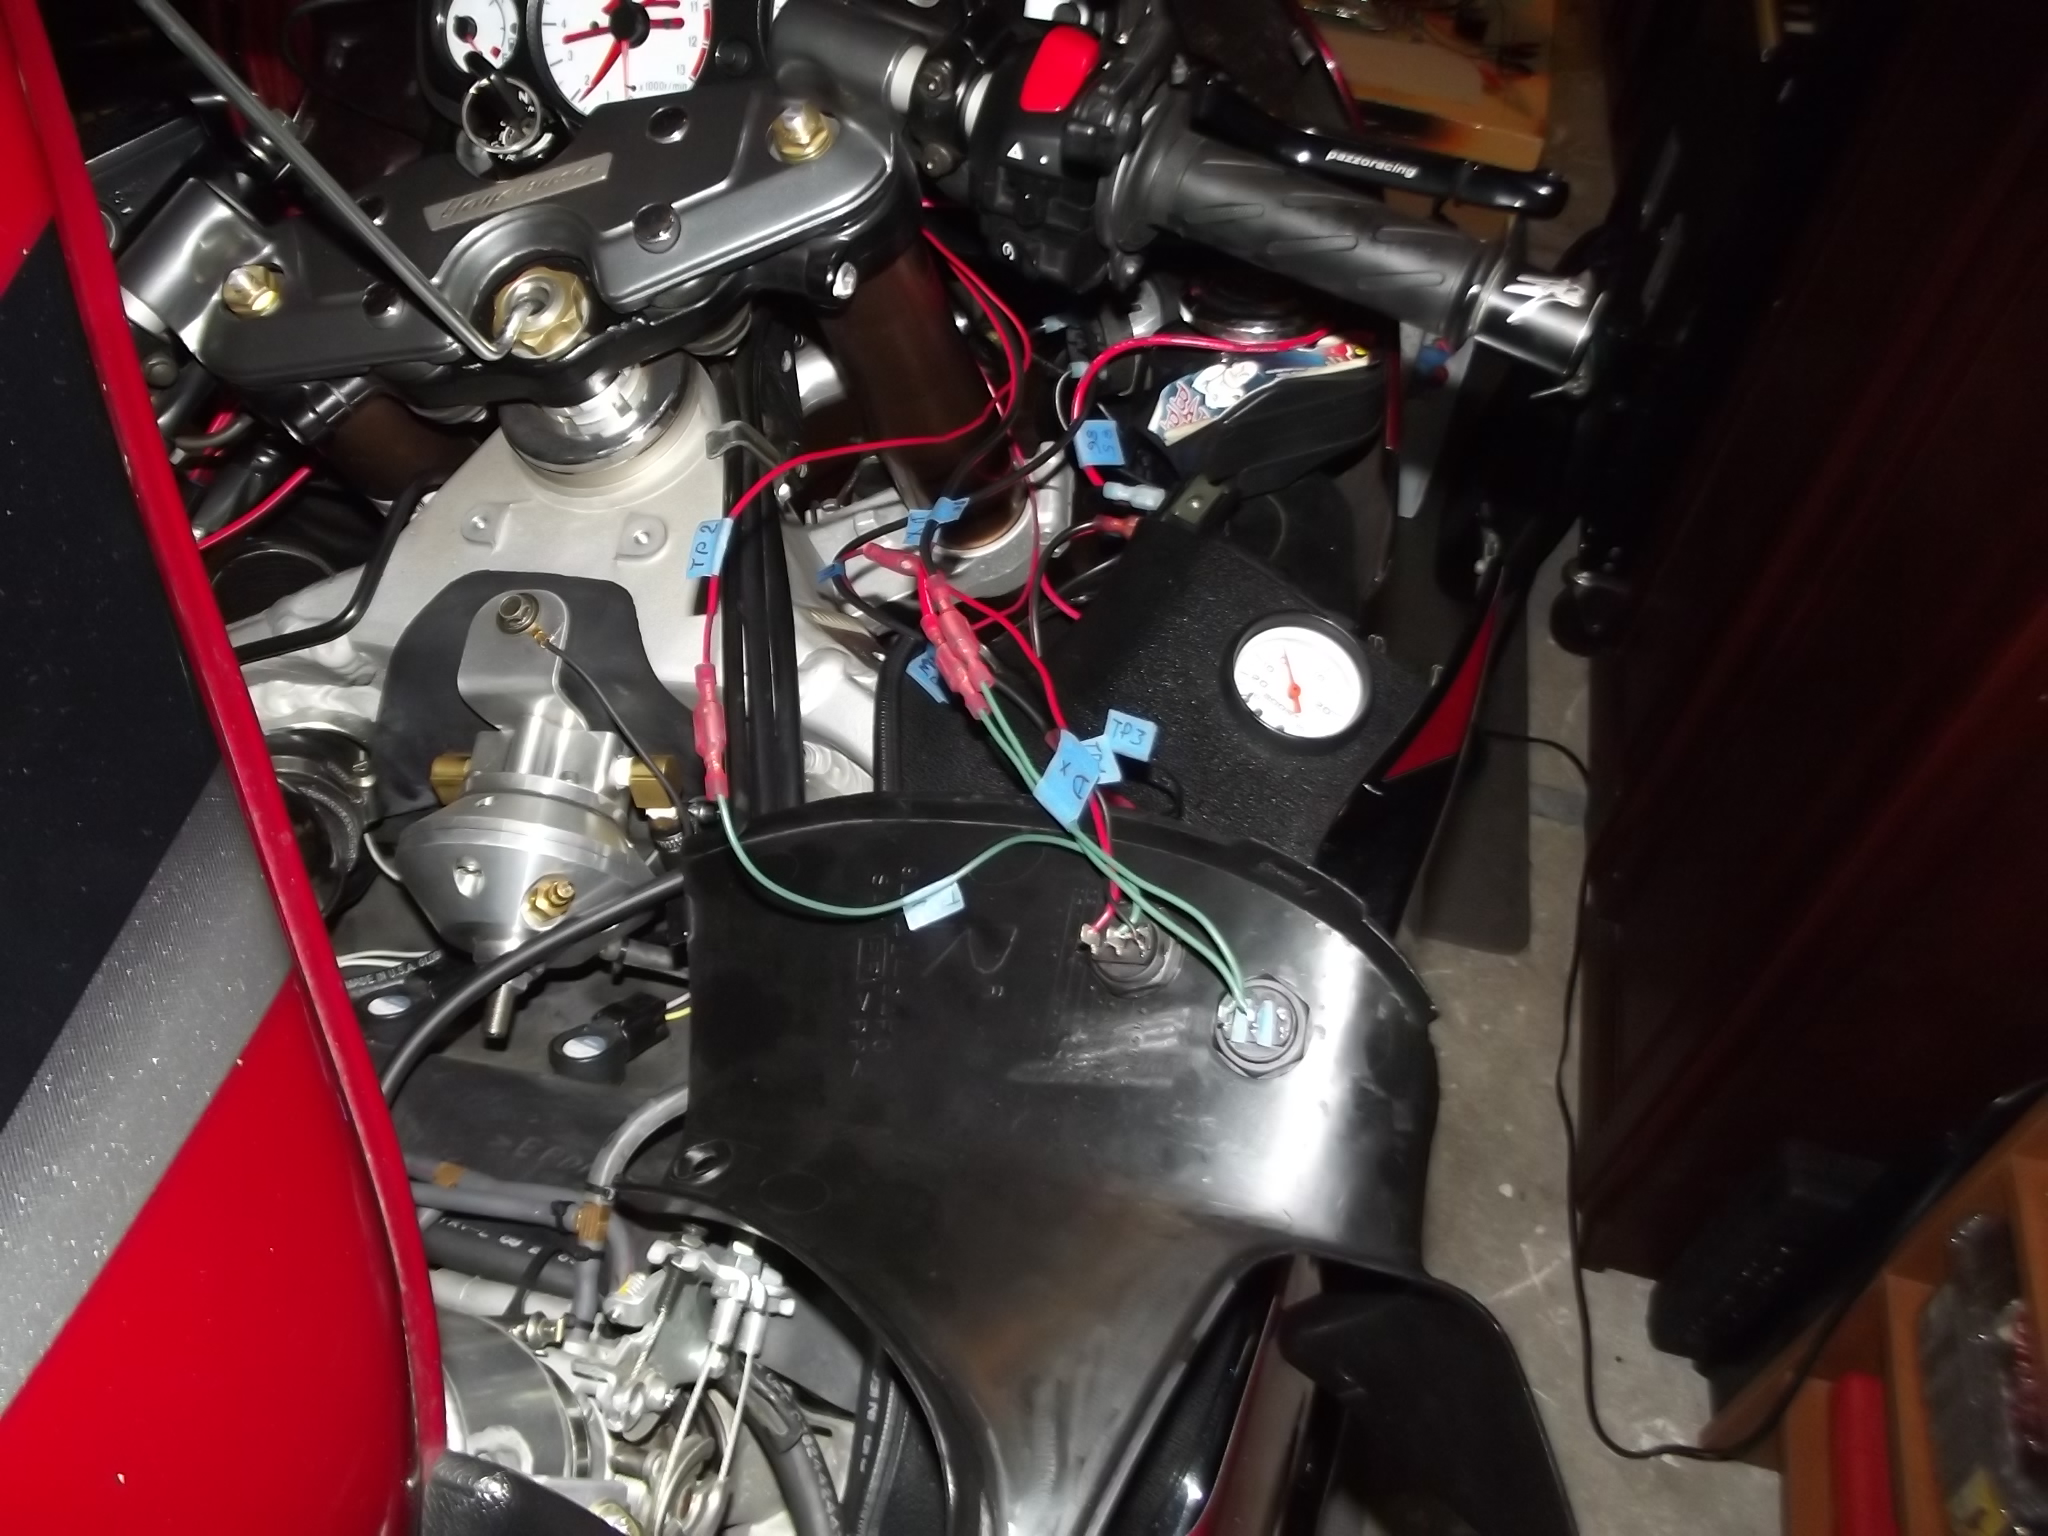
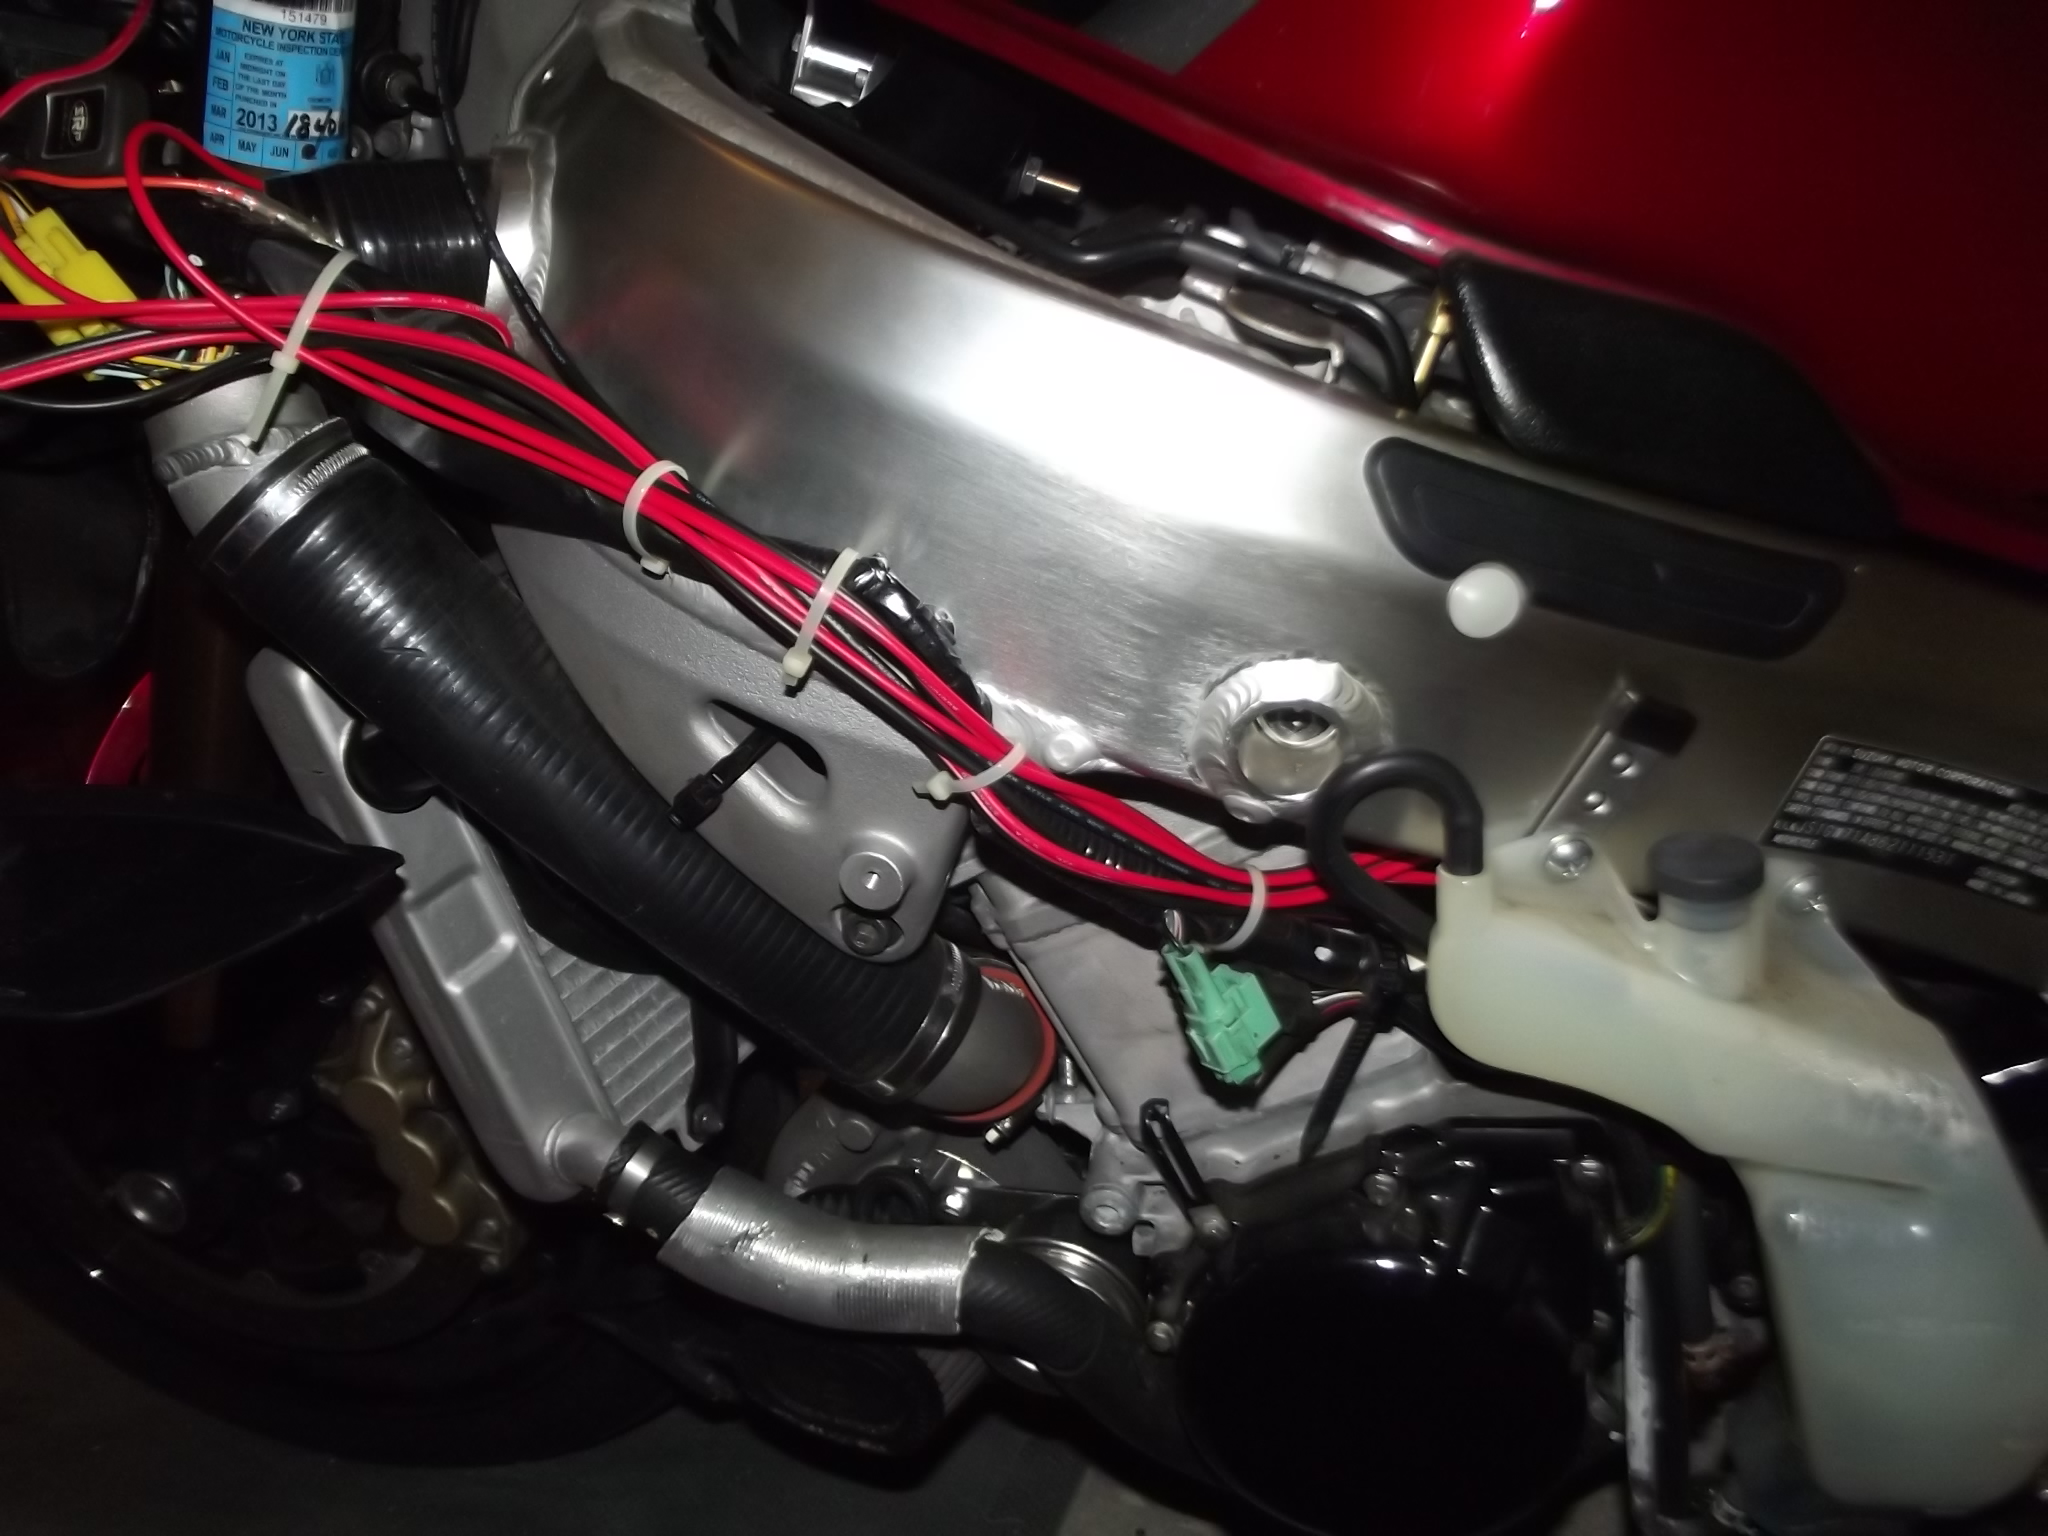
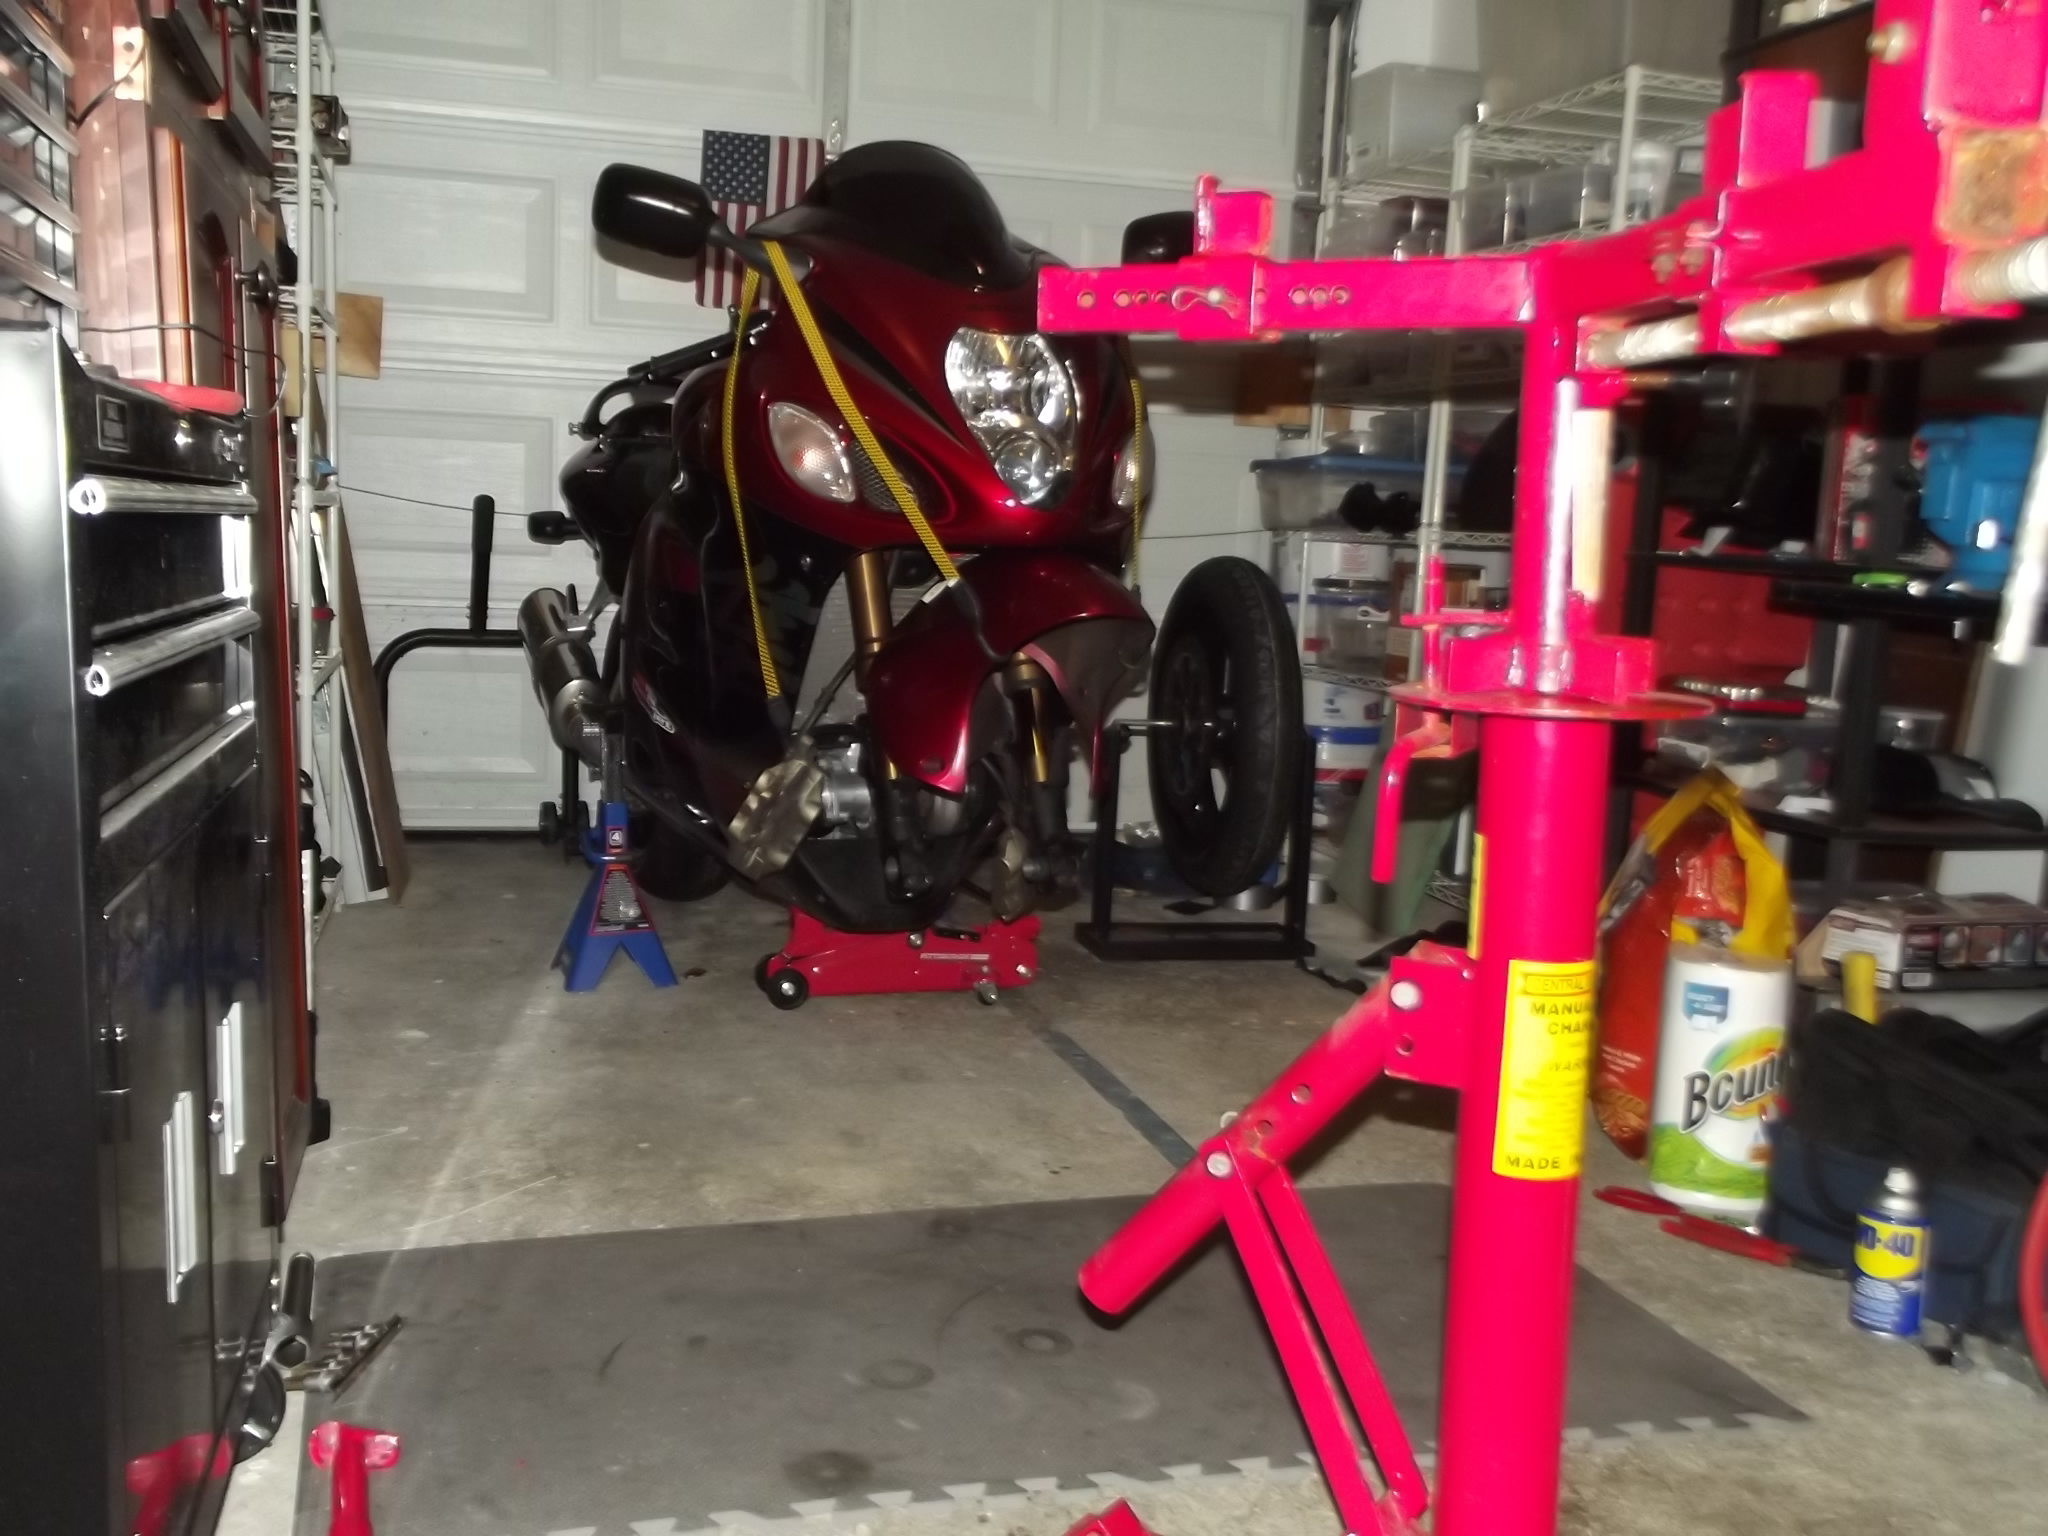
Here are a few shots of the work in progress. About 40 ft of wires, a bunch of quick connectors, some soldering, thinking, drawing, checking, re-checking, and many hours of manual labor.