|
Motorcycle Radar Detector Published: February, 2015. Last updated: February, 2015. Why Moto-Raptor Installation for Hayabusa: Final Result Detailed Description
Hi, my name is Igor, and here is why I prefer Moto-Raptor to any other radar detector, and to any other motorcycle specific radar detector. Didn't ride with it much yet because of the winter, but will update as time goes by.
Final Result
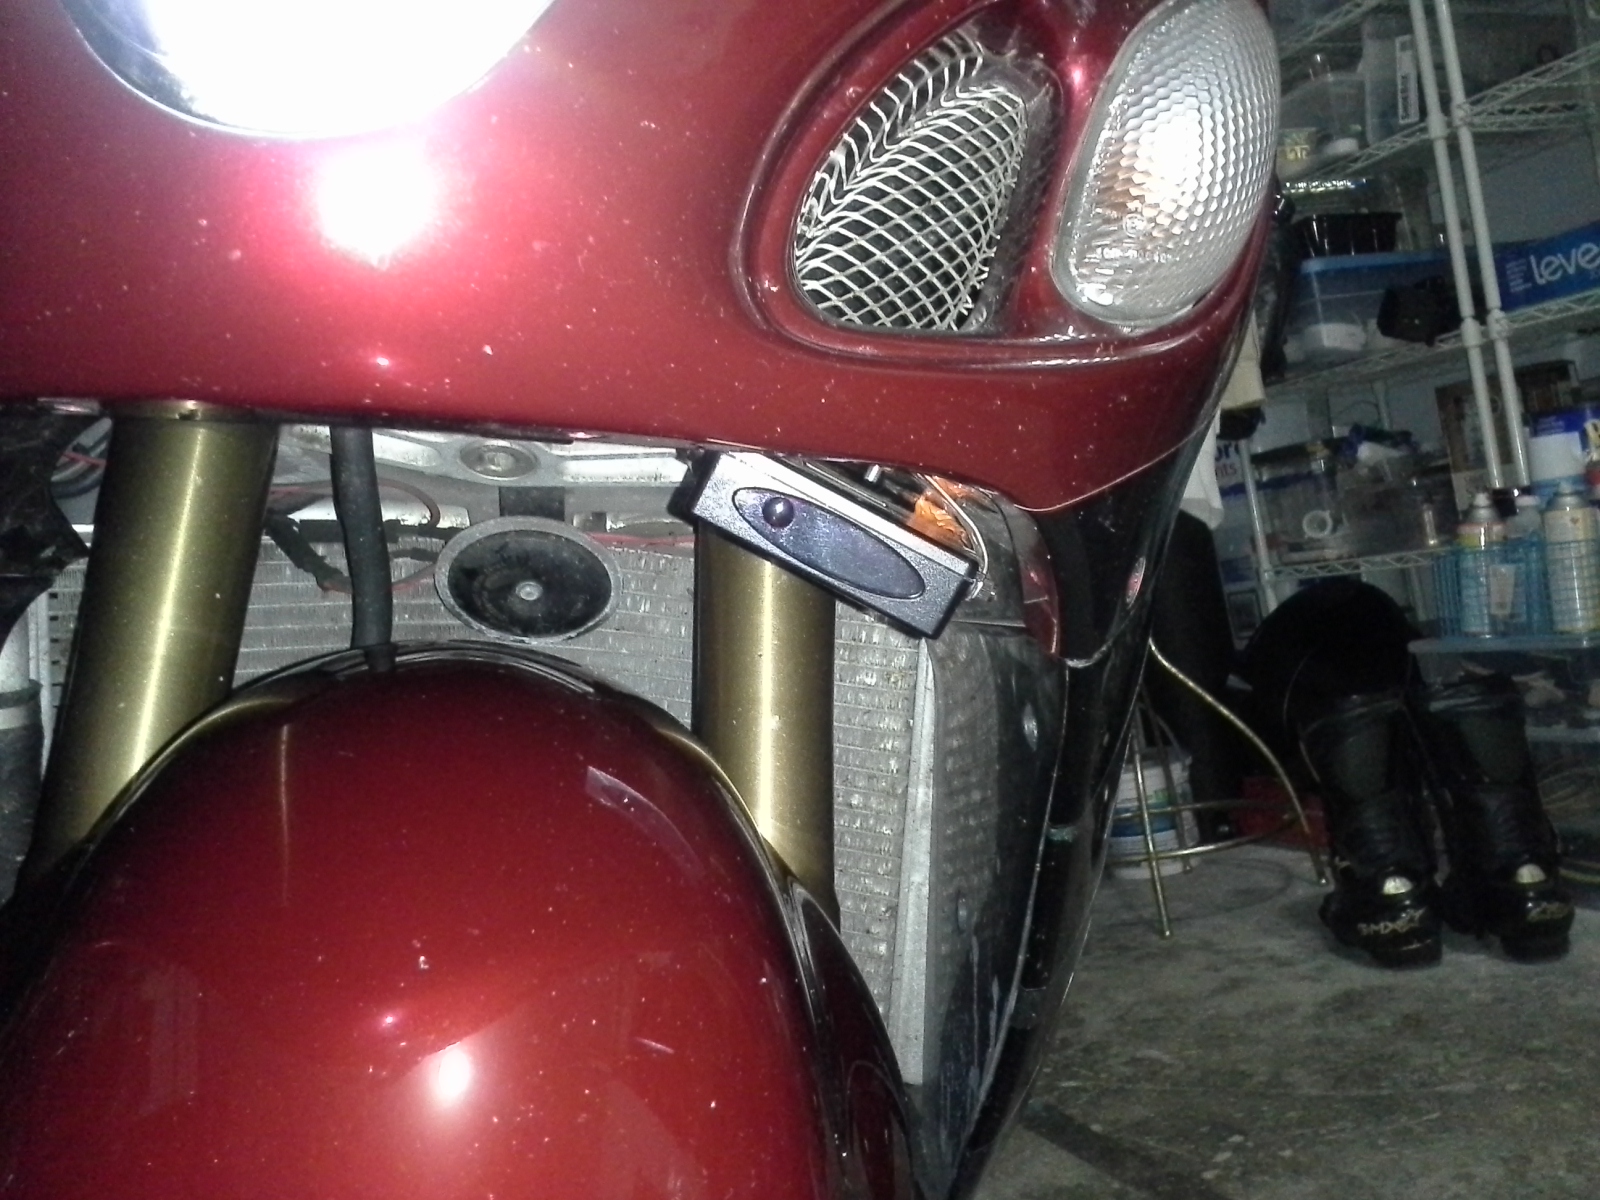
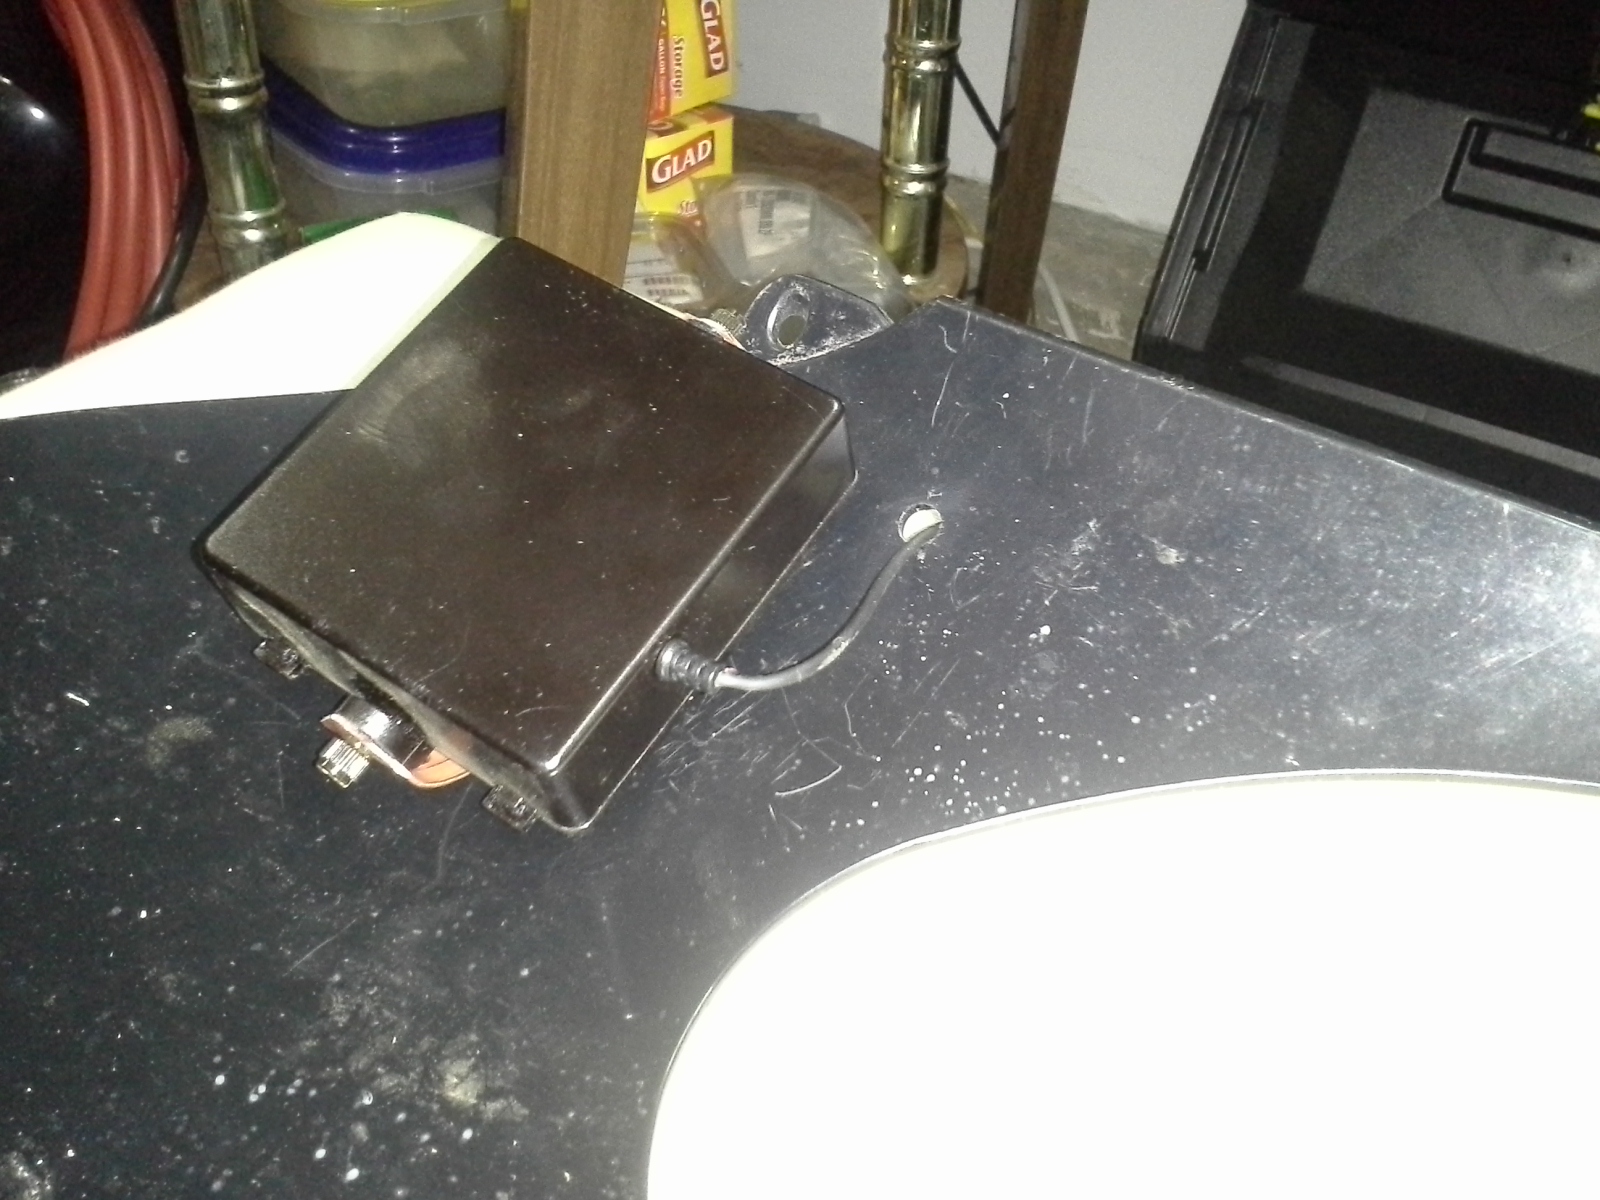
Moto-Raptor radar detector main unit is installed under the bike's nose, but to the side in order to provide enough clearance for the forks to compress under hard braking. Notice that the unit is oriented in such a way that the eye of laser receiver is at the highest possible position in order to make sure the front fender will not block laser beam coming from the right side of a road even if laser operator has chosen a low hiding spot relative to the road surface. Notice that this picture was taken from a very low position of the camera, otherwise the unit would not be visible as seen in one of the shots below.
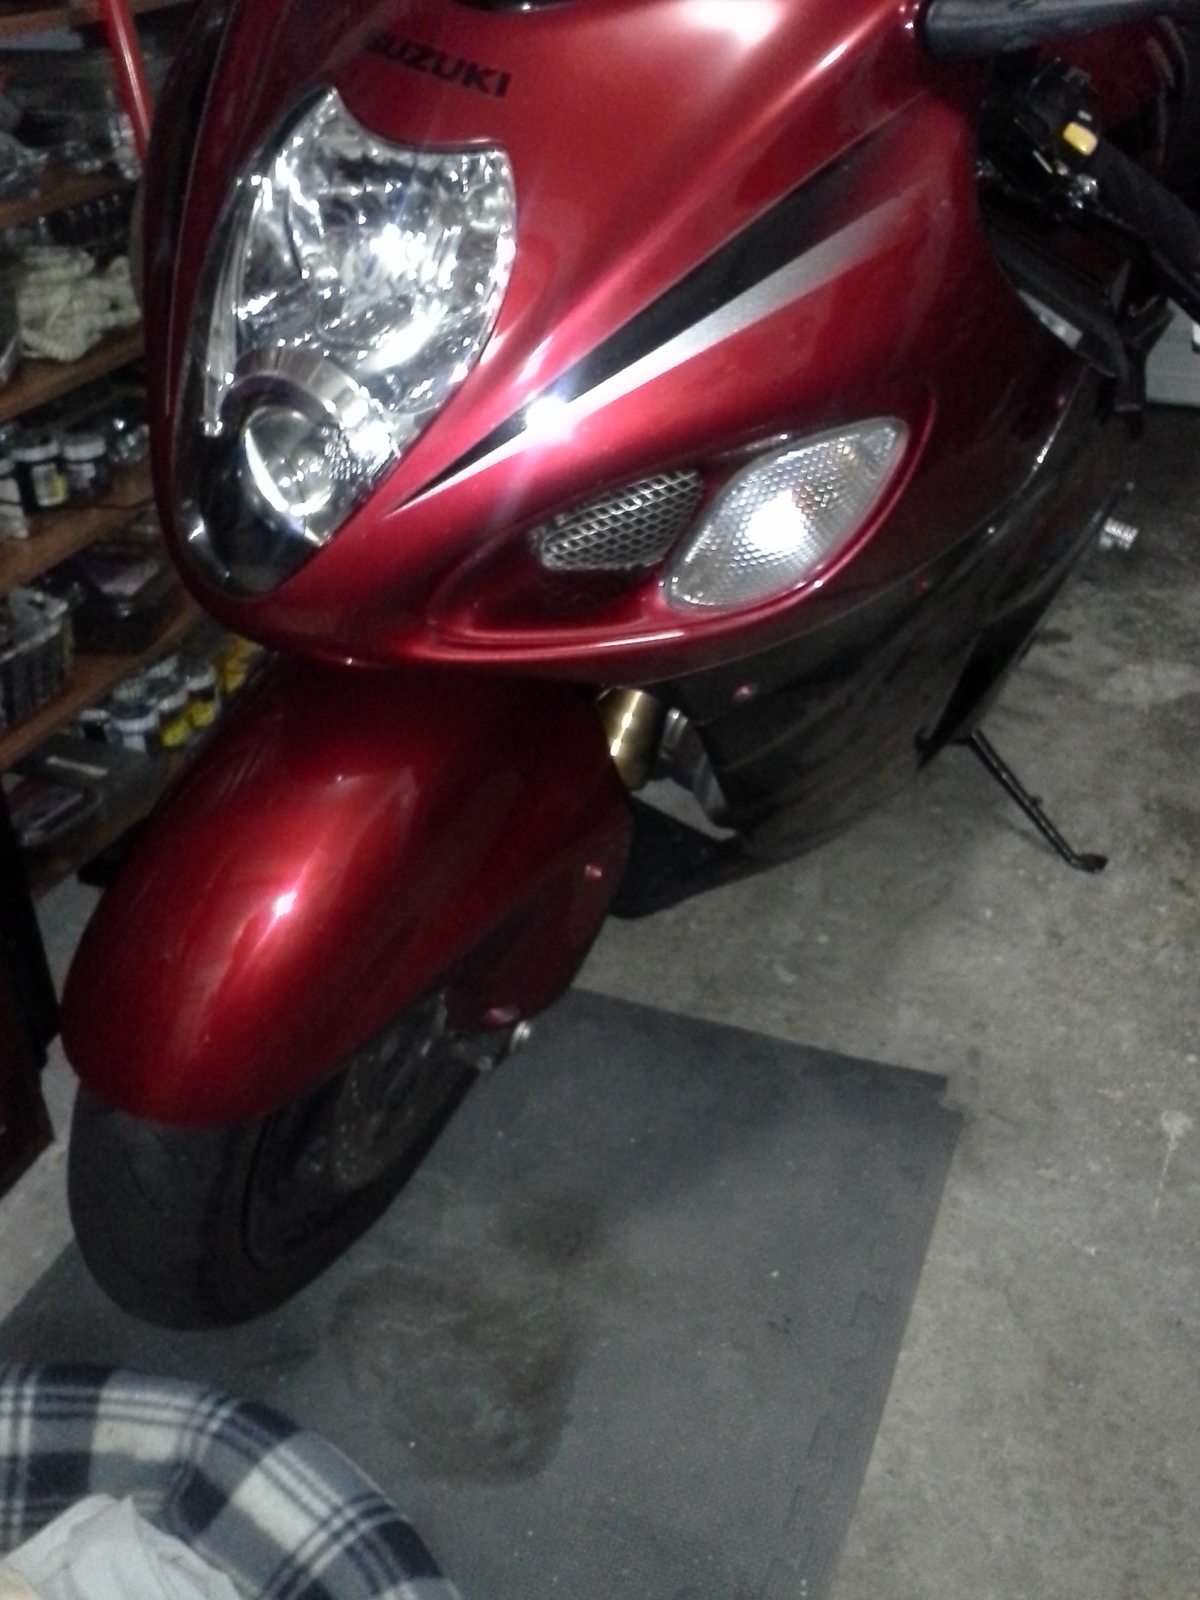
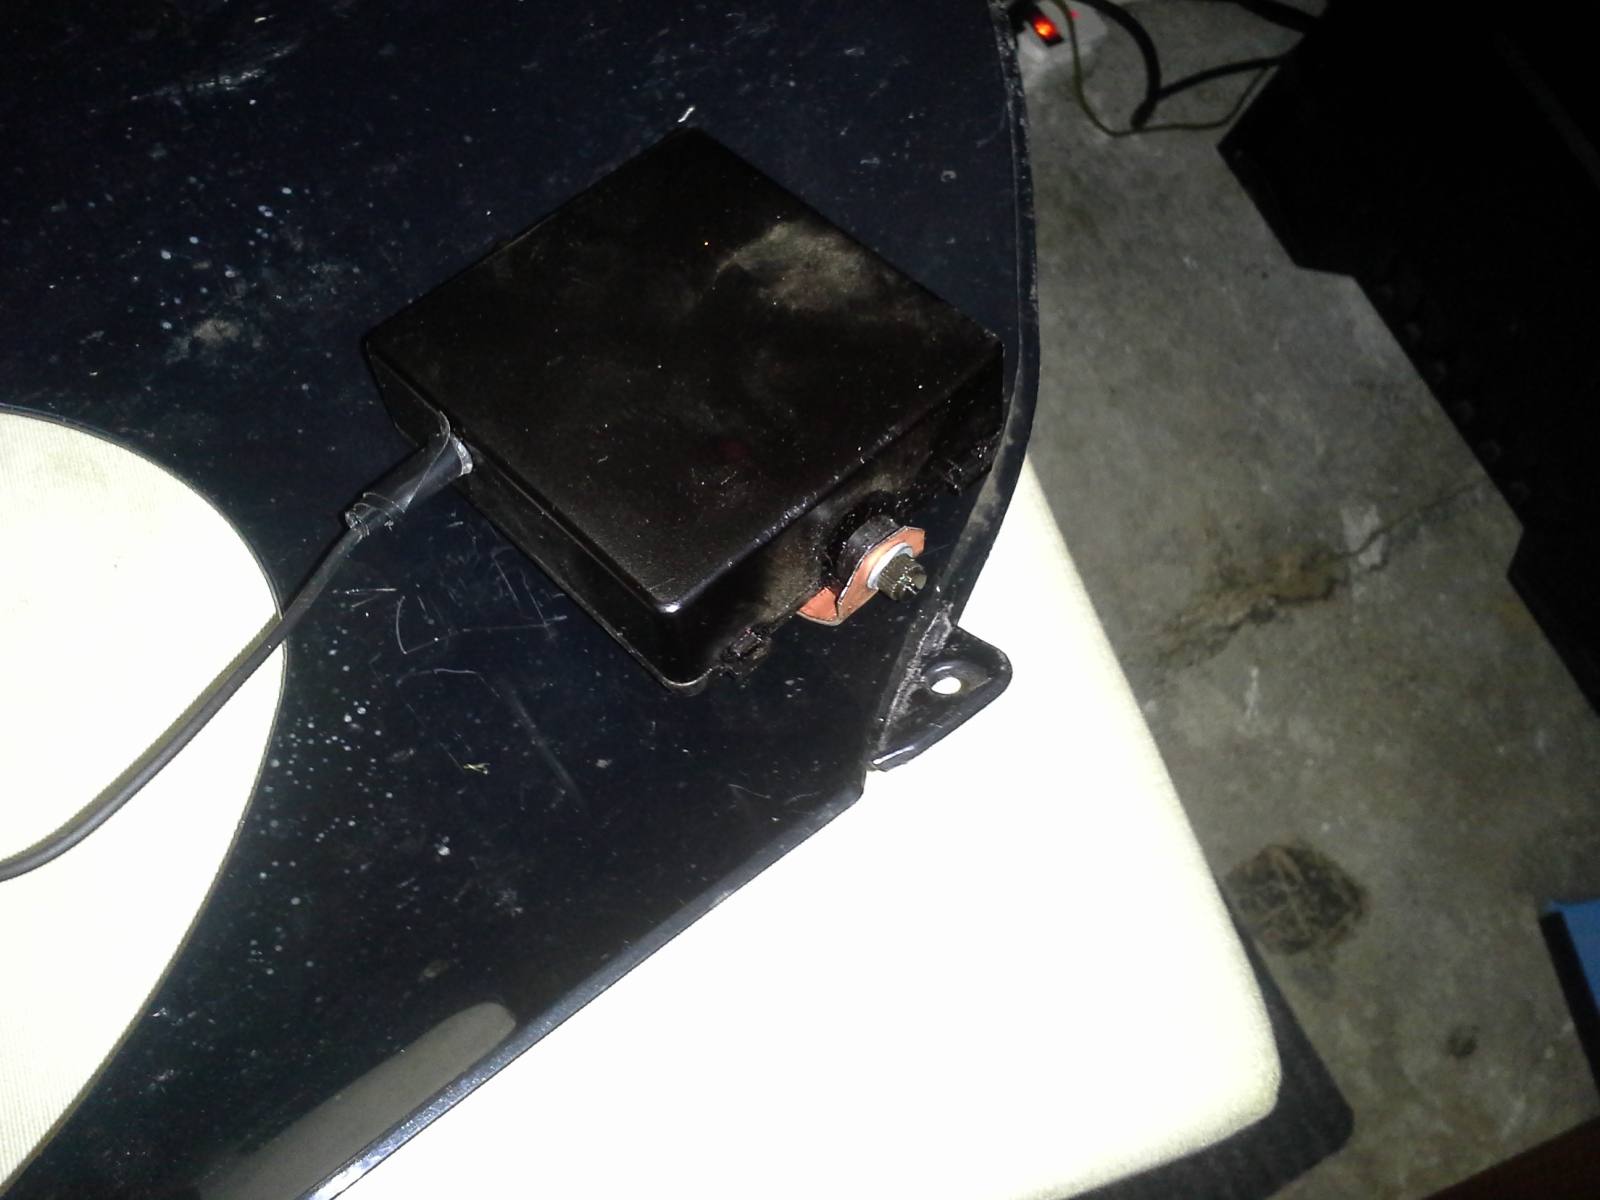
Looking at the bike from a few feet and even slightly kneeling down, the radar detector is practically not visible at all.
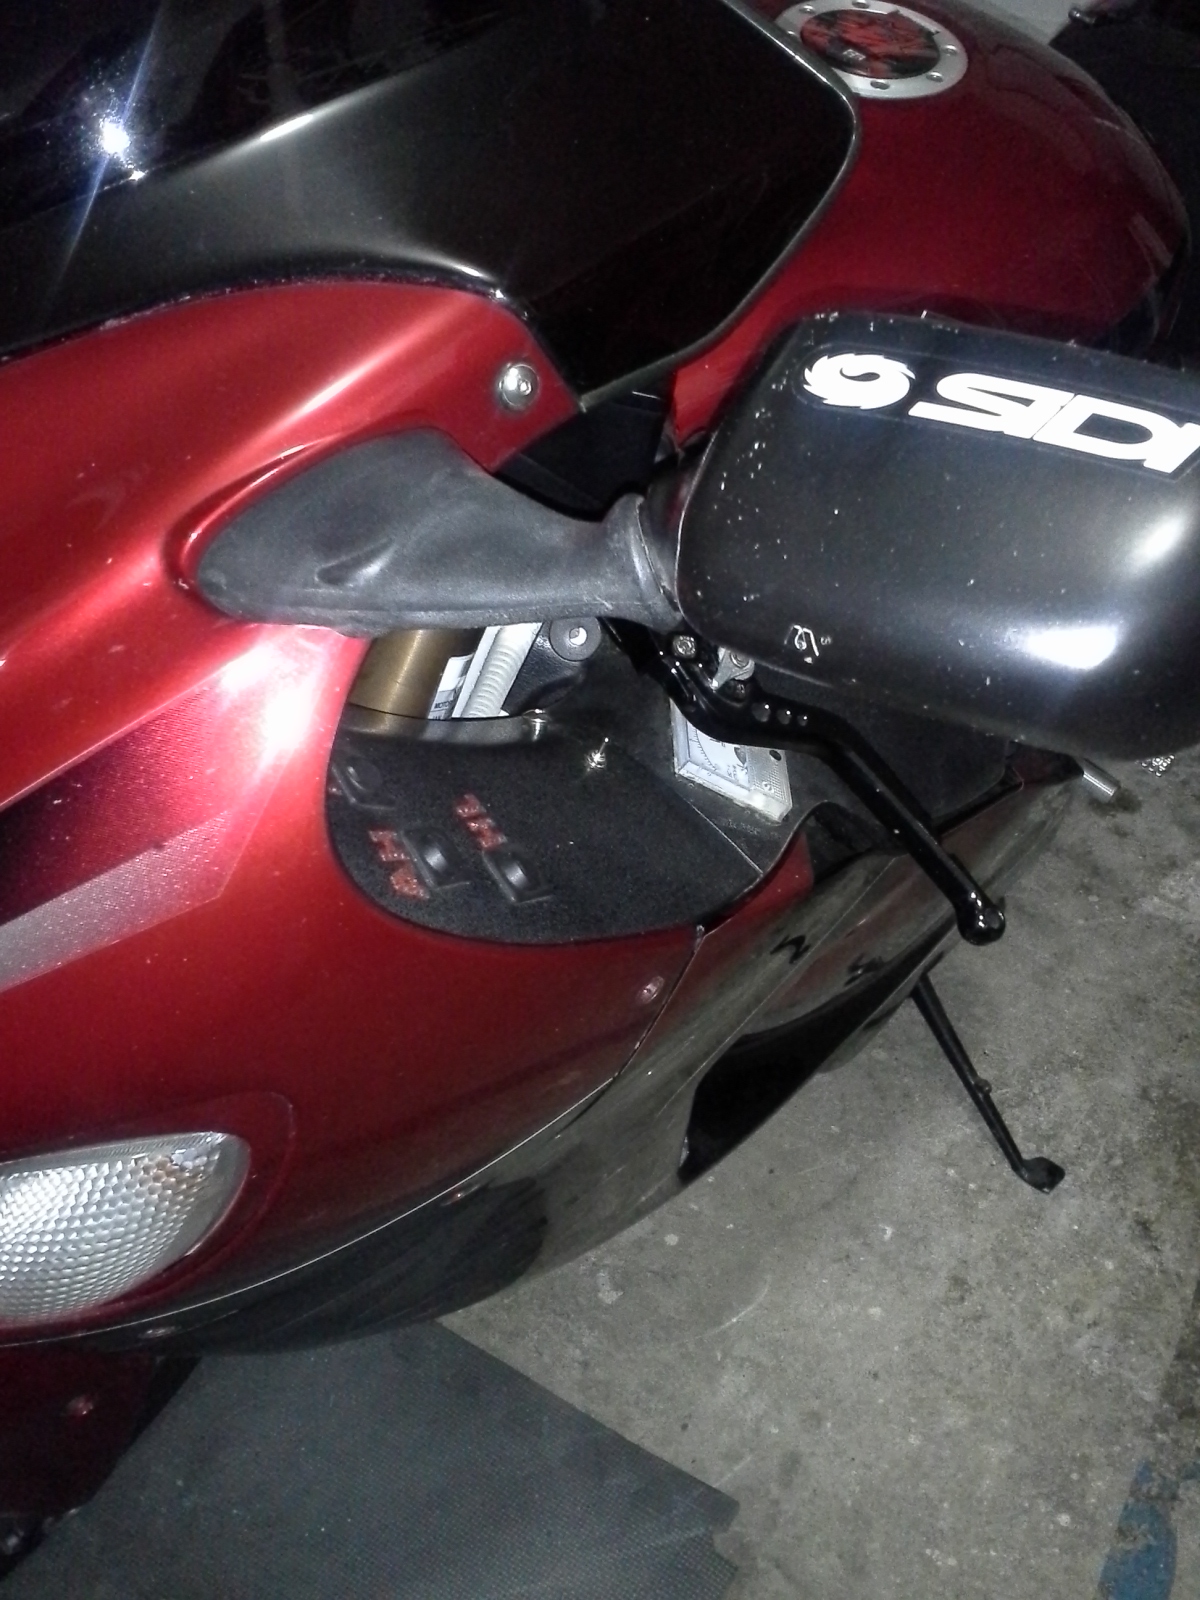
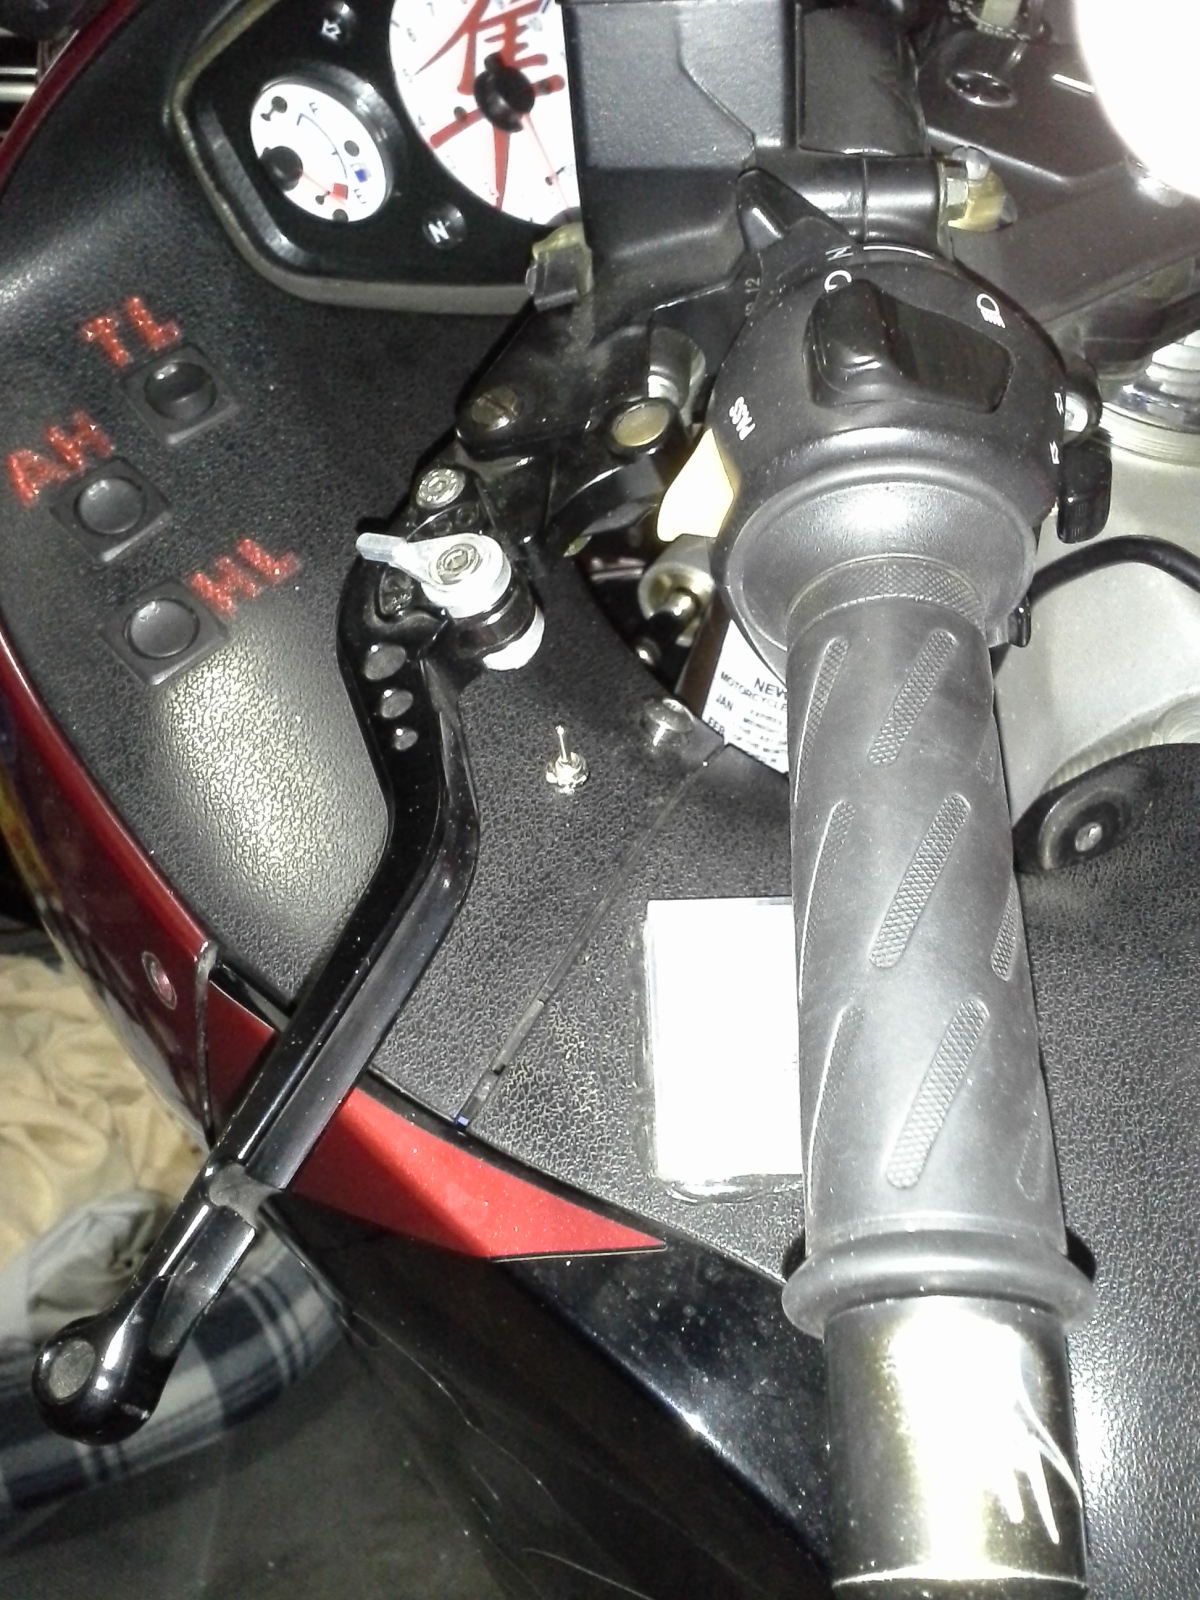
A barely visible switch was conveniently installed under the left handlebar. It is not required, however it is my personal preference to have a switch 'just in case', and be able to turn the main unit off with a barely noticeable flip of a finger. For example, if I notice a police car following me, and especially in close proximity, I would prefer to turn the detector off just in case a police vehicle has a new sensitive equipment to detect radar detectors from a few feet away. I want to be perceived as benign as possible, and give no reason for a police officer to follow me, which they do on occasion with motorcycles.
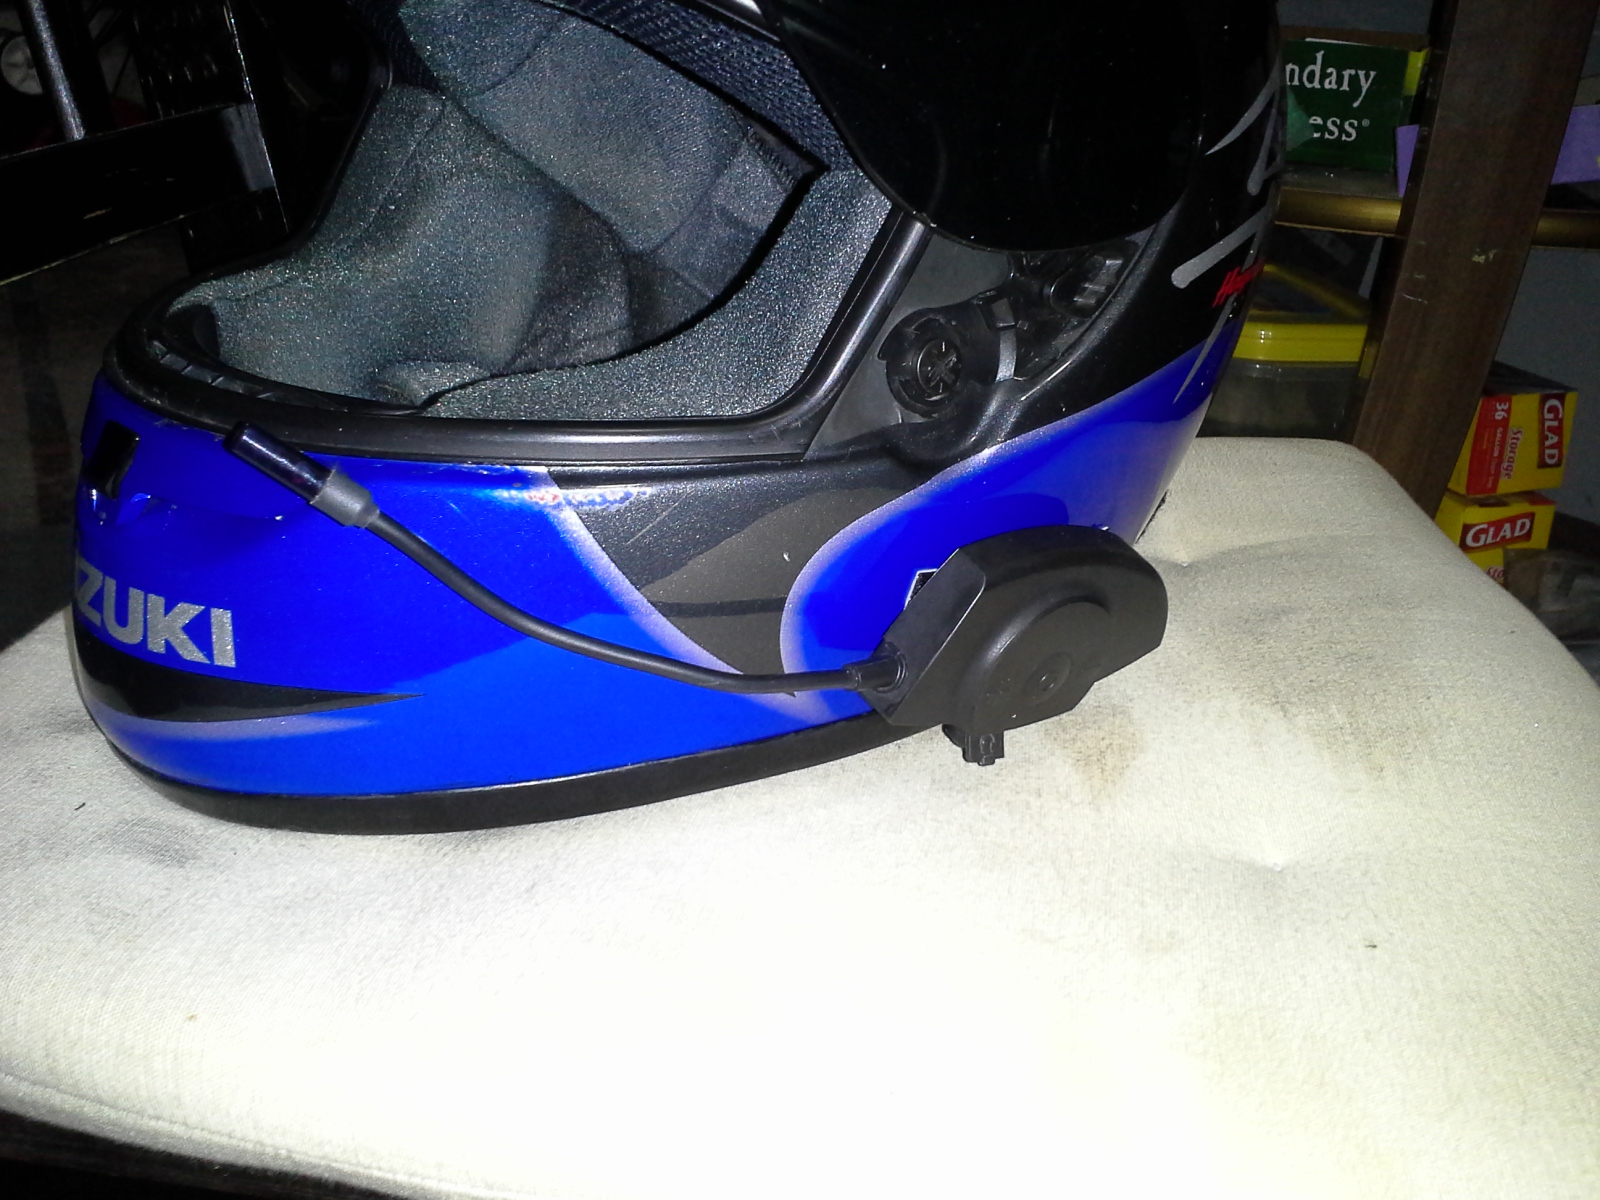
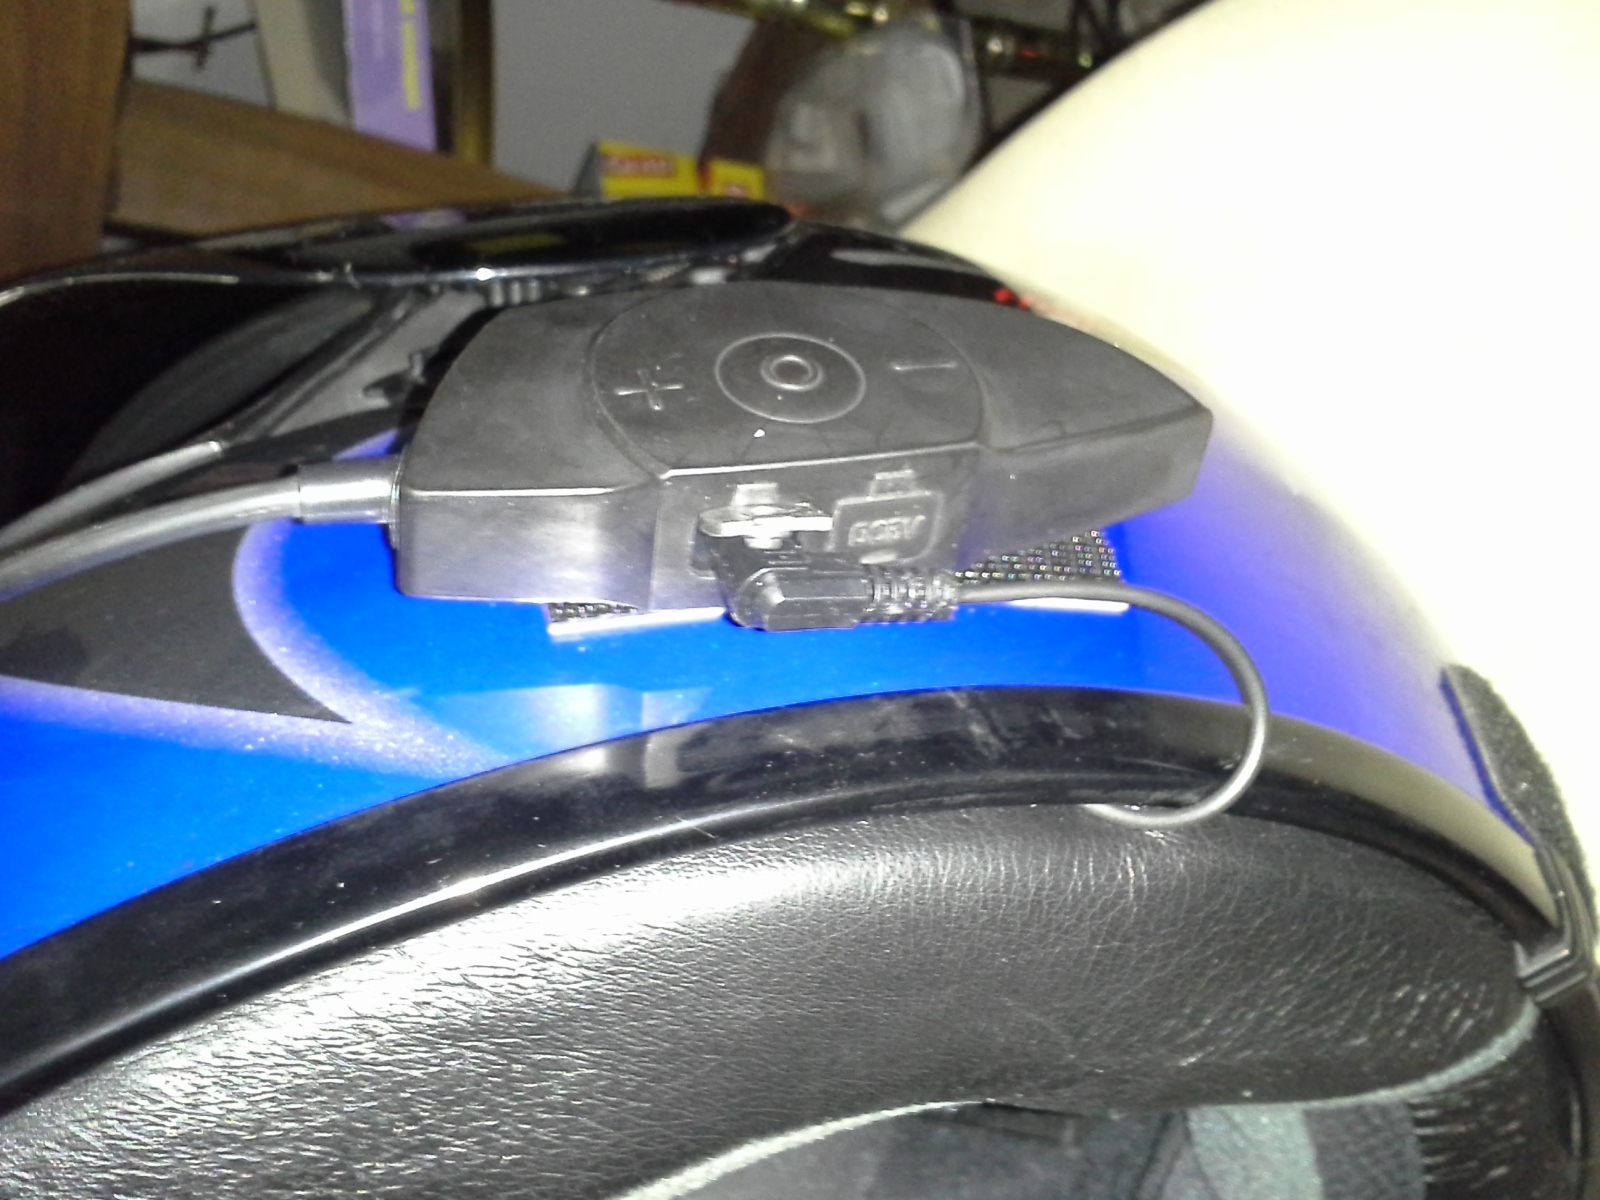
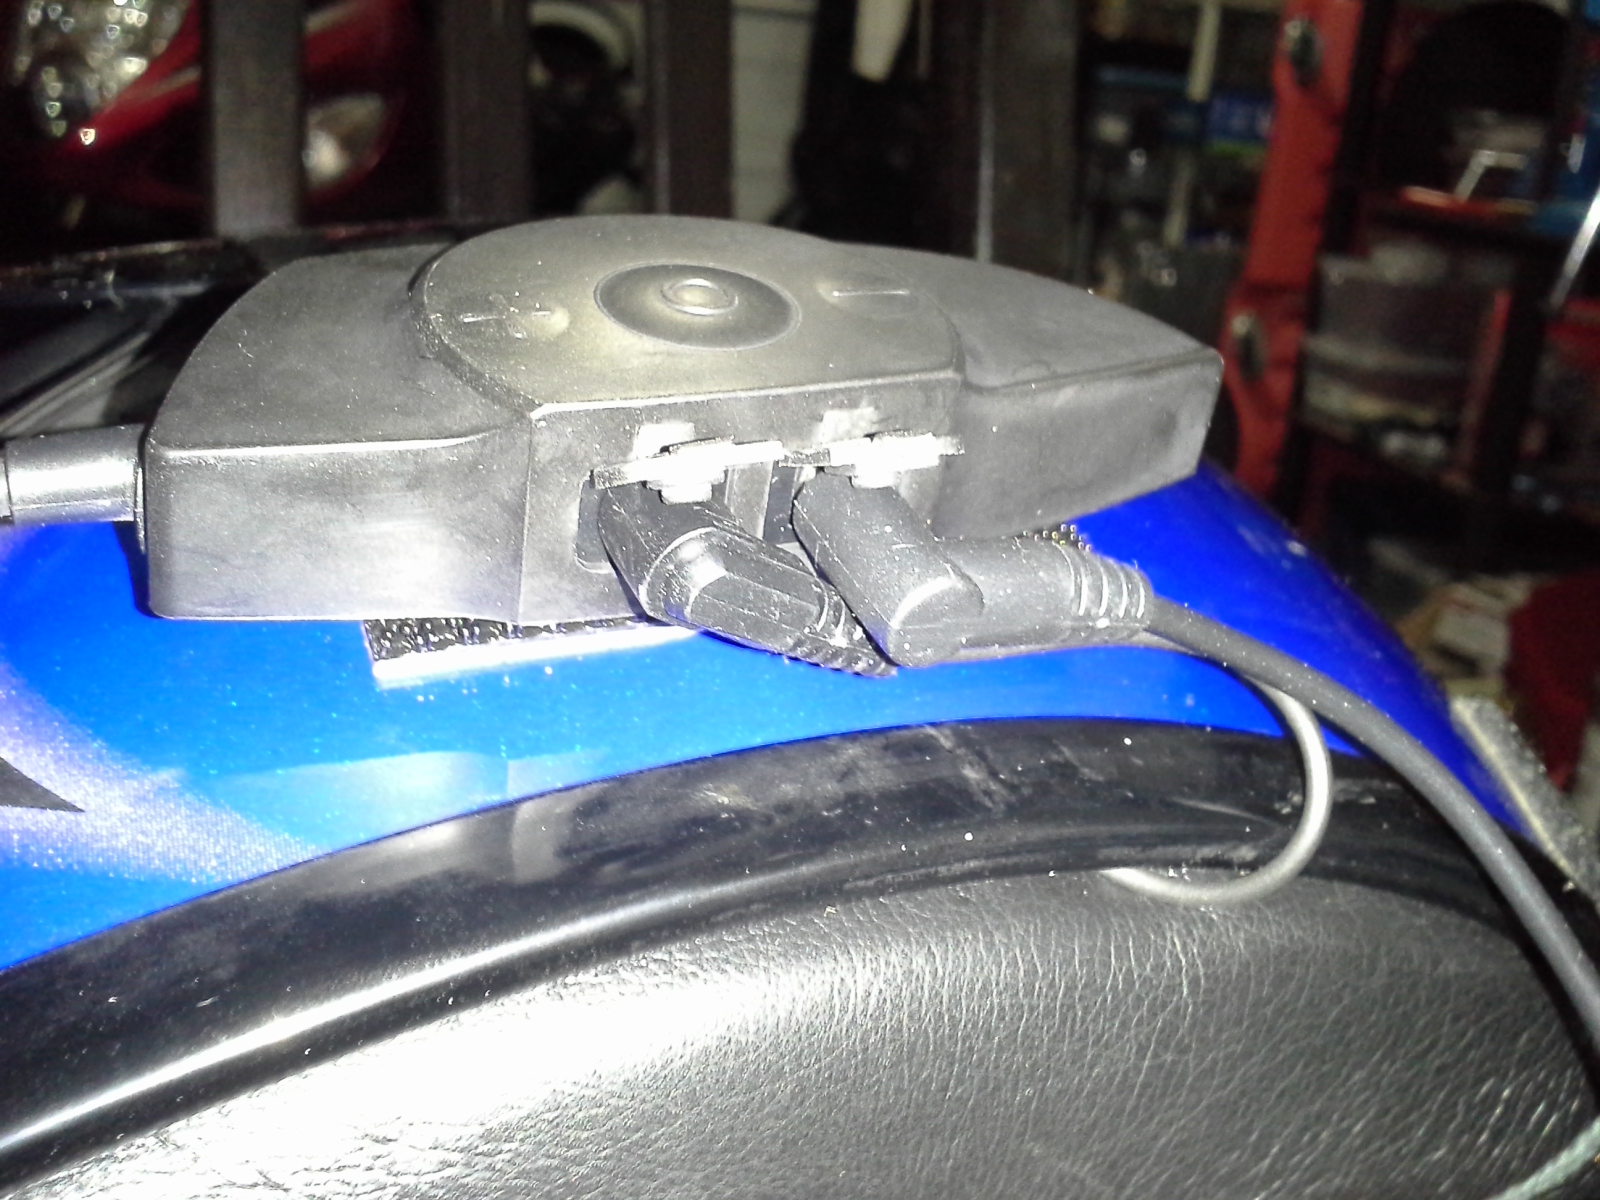
The headset is designed to be mounted on the left side of a helmet. It could be mounted on the right side as well. However, the speaker jack, and the charging jack would be on top, potentially exposed to rain, although both are reasonably sealed.
View from the bottom. The speaker is concealed inside the helmet, while the wire is routed to the headset. You can see the charging jack is completely sealed with a well fit rubber cover.
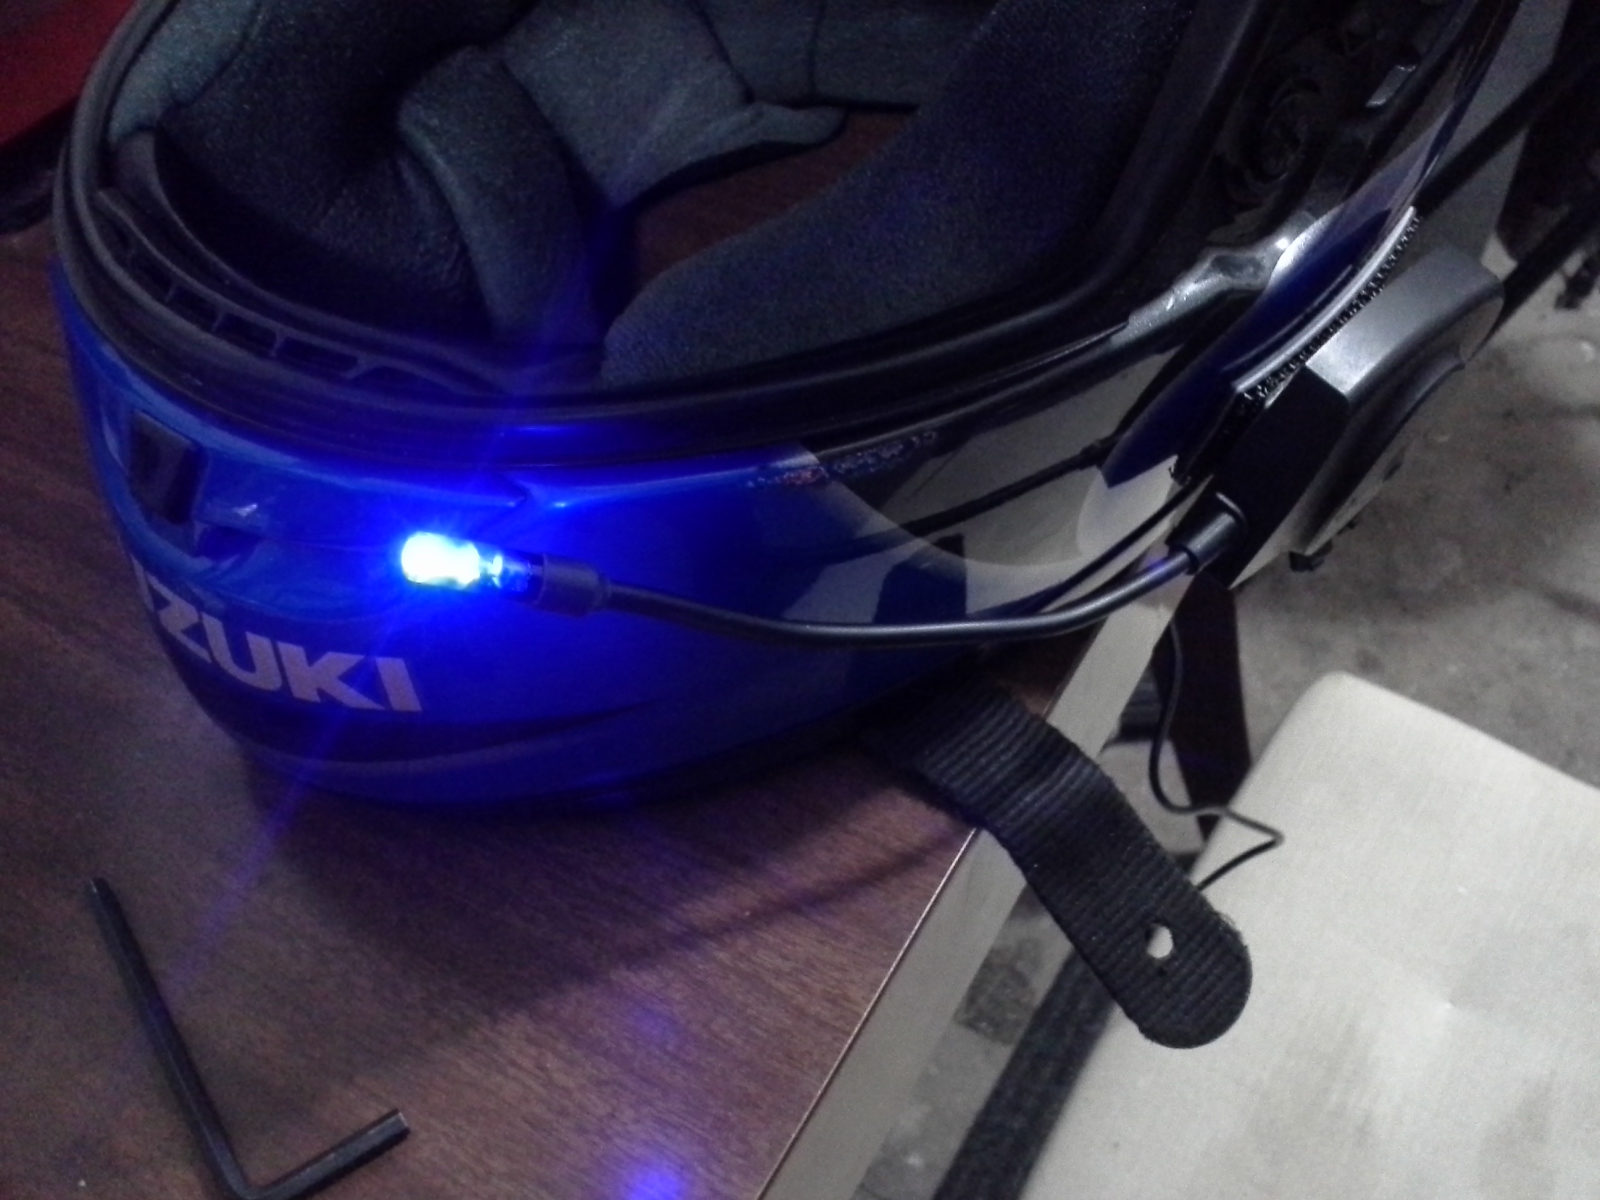
The charger is plugged in and without the need to remove the headset from the helmet.
The LED is on while charging the headset battery, and will go off when the battery is fully charged.
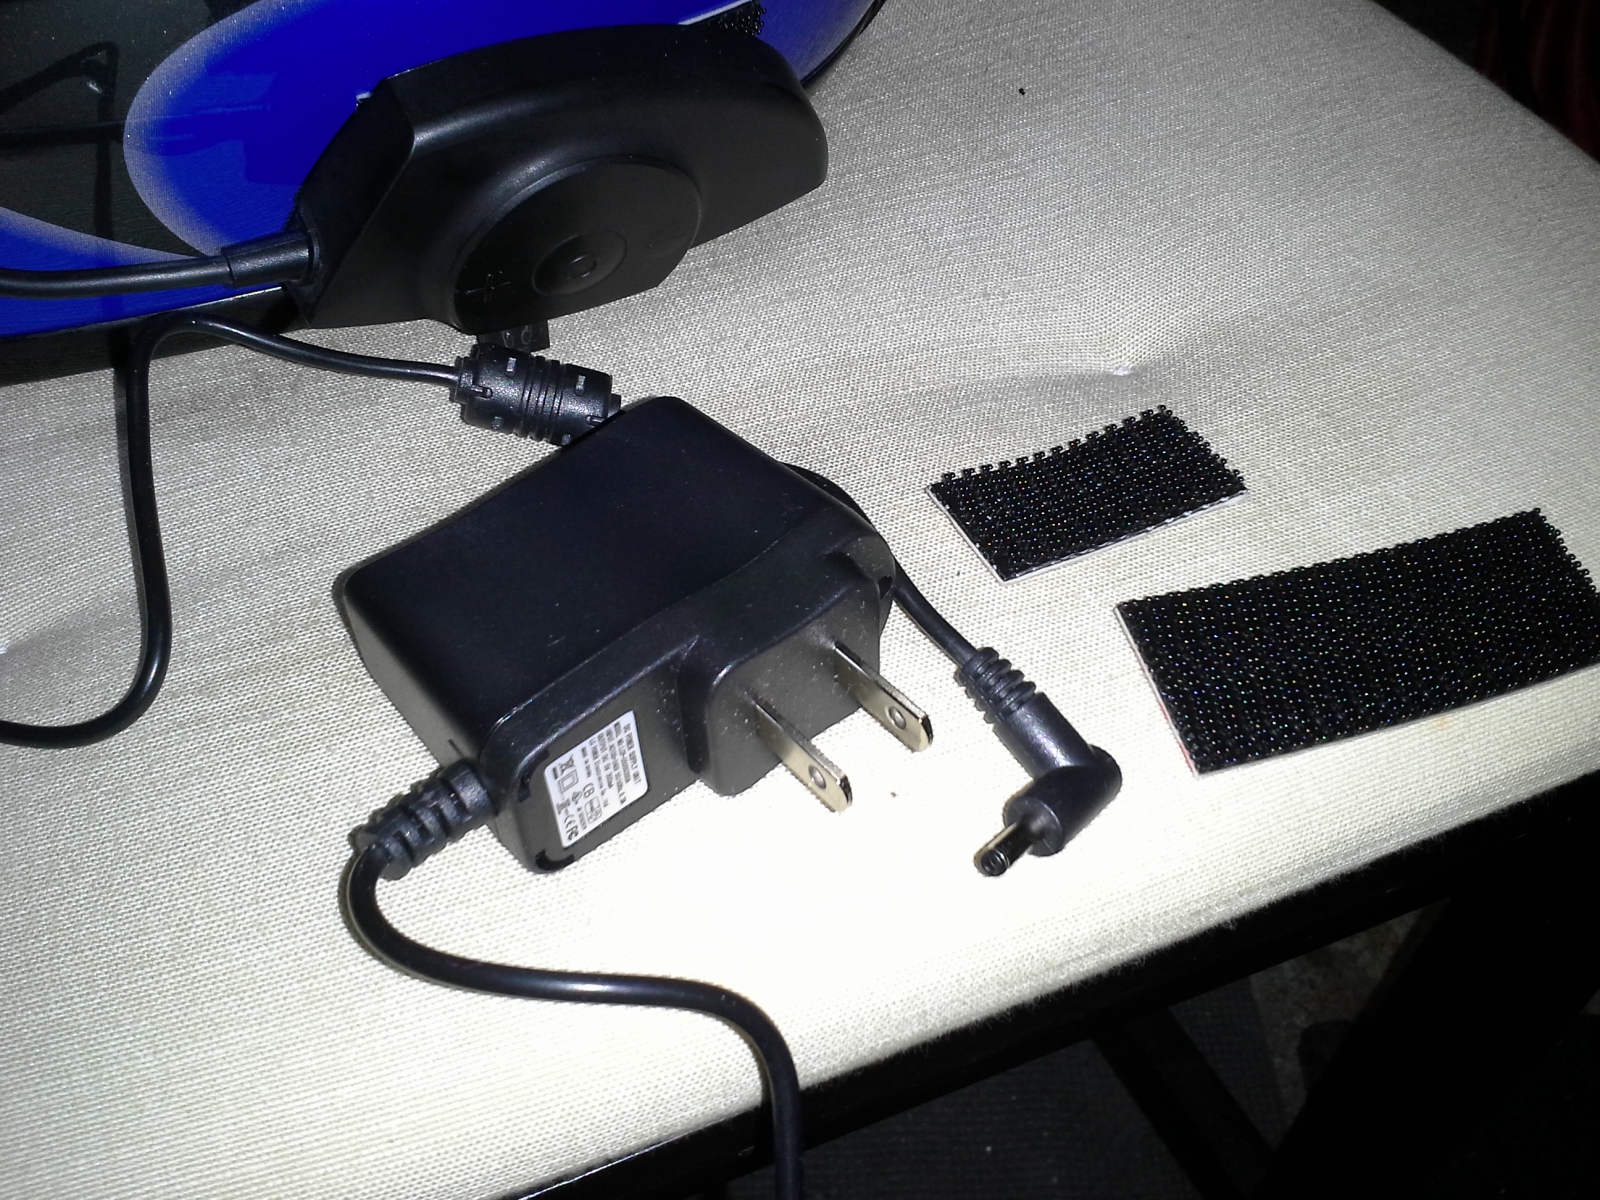
A typical high quality charger, and Velcro-like strips are part of the package. There is another set of strips not shown in the picture, so you can use the headset with two helmets if necessary (not at the same time). The Velcro-like strips are of very high quality, and I have no doubt they will hold the headset reliably at speed. The aerodynamic shape of the headset helps too. However, if you go for a LSR run, all bets are off, and you are on your own. If you don't know what LSR stands for, you are OK. LOL.
The speaker has Velcro-like material on the side which sticks to the helmet liner, and a really soft material on the side which goes against the rider's ear. The wire is routed through the helmet strap opening in the helmet liner. The excess wire is hidden between the liner and the shell so the wire is not hanging, as shown in one of the pictures above. The biggest challenge was to find suitable location for the main unit which provides detector's receiver with unobstructed view of the road ahead as well as enough clearance so that the unit does not touch the front fender under hard braking when the forks compress. Placing the unit in the center and right under the bike's nose was out of the question as the clearance issue was painfully obvious.
However, a spot to the side satisfied both requirements. In the picture above, I am holding a piece of carton parallel to the forks. That piece is exactly 3" long and it fits between the edge of the radar detector and the front fender without touching either of them, thus providing about 3 1/4" of clearance. This means that if the forks compress 3", the radar detector will not touch the front fender, and there will be about 1/4" clearance left. I got the required clearance number from my experience during track days. For different bikes, riders, and types of riding, such required clearance may be different.
The mounting bracket which comes with the unit takes up about 3/8" of clearance, so I decided to make my own bracket which adheres to the curved shape of the under nose plastic.
Copper strap or something similar from Home Depot or hardware store of your choice proved to be a very suitable material.
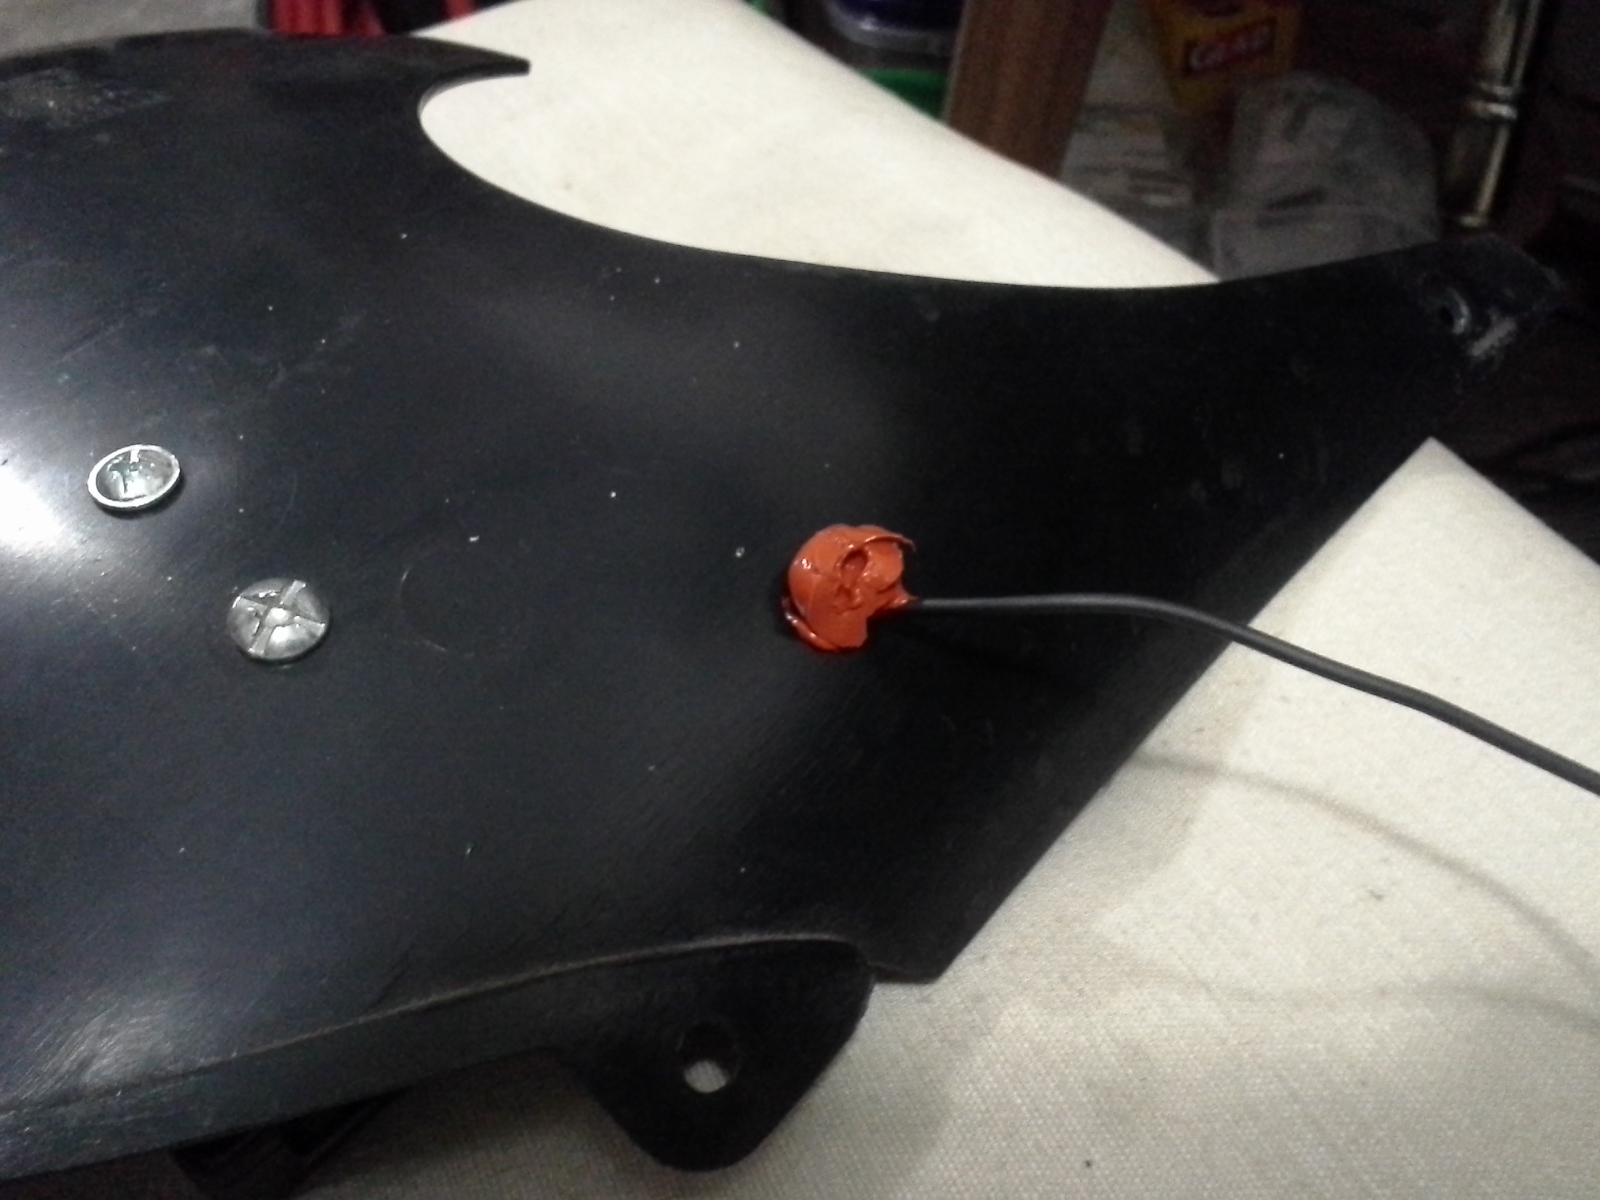
I drilled the hole in the under-nose plastic, and routed the power cord through it.
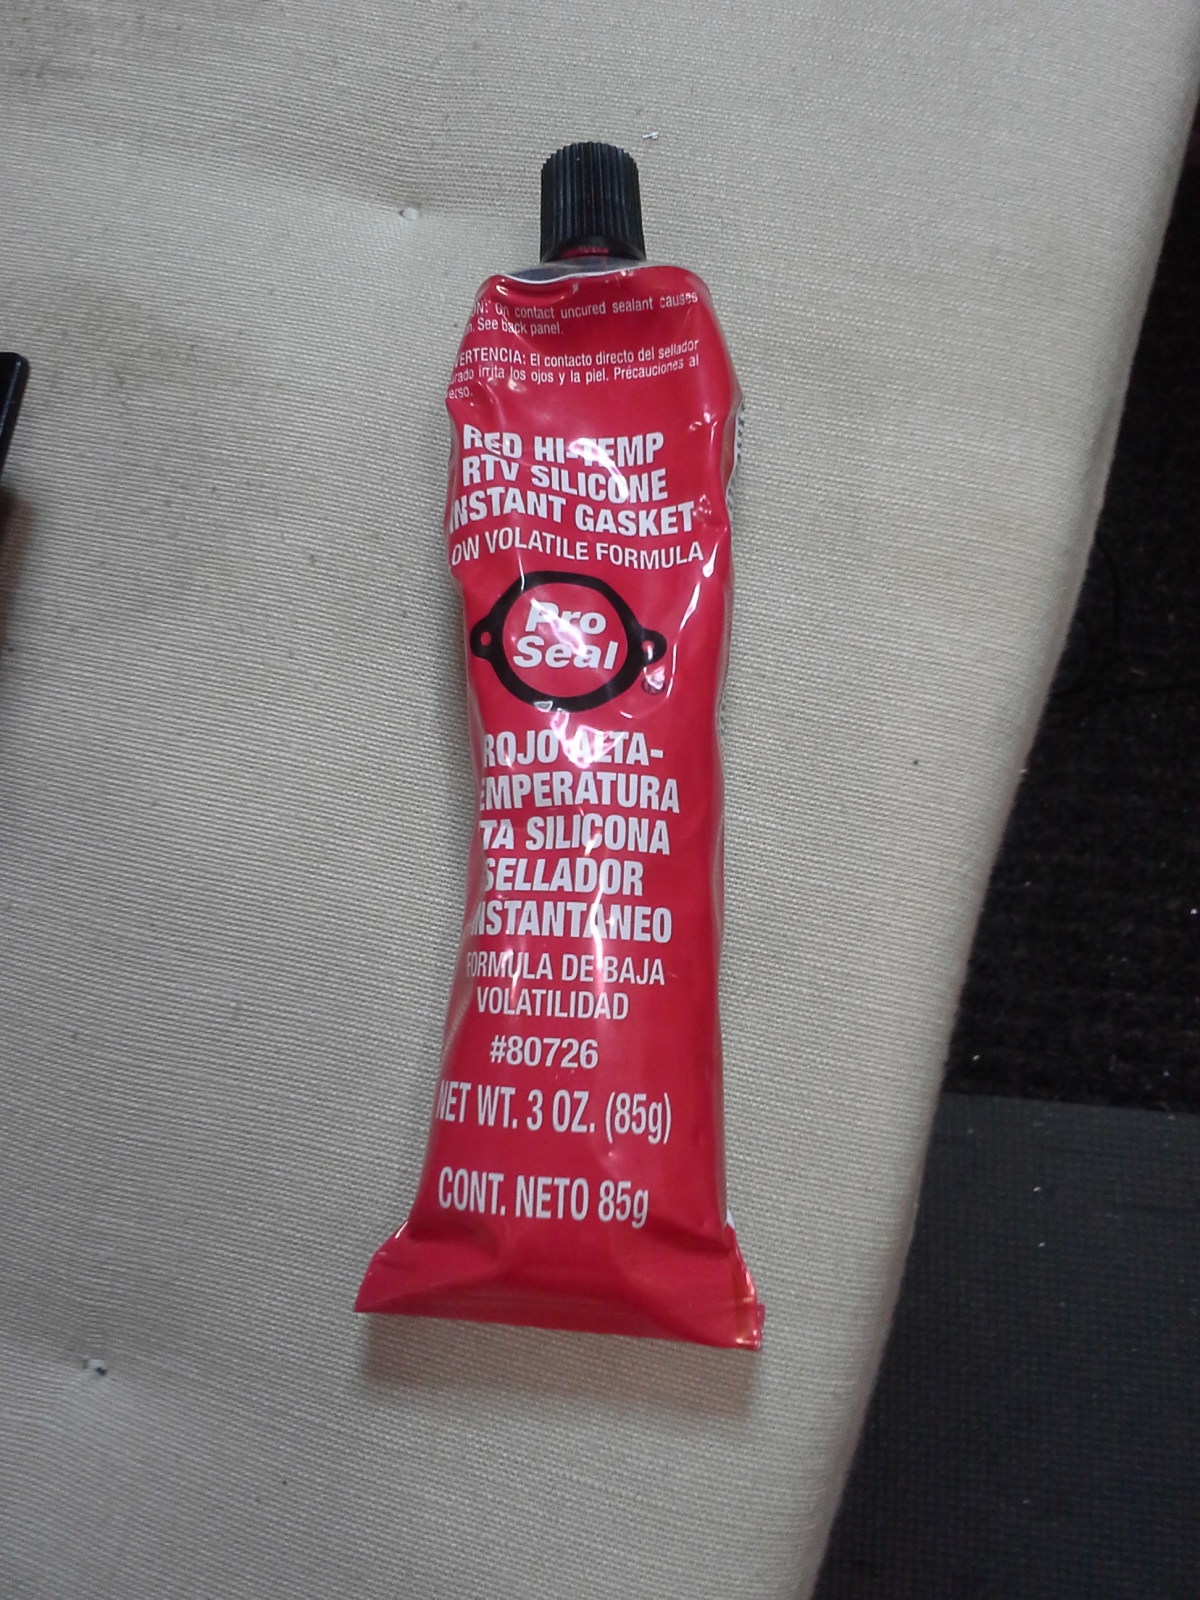
I sealed the hole with a high temperature silicon gasket maker (I had a tube handy) so that the wire doesn't move.
That's the tube I've had for years. Always a good thing to have this in your toolbox for any unpredictable repairs.
Notice the precise placement of the main unit. It faces exactly forward while the side screw is exactly opposite the hole in the under-nose plastic where the plastic clip goes (which holds the under-nose plastic to the bike). Ideally, the screw could be very close to the hole, however there should be enough clearance so that you are able to put in the plastic clip when re-installing the under-nose plastic back on the bike.
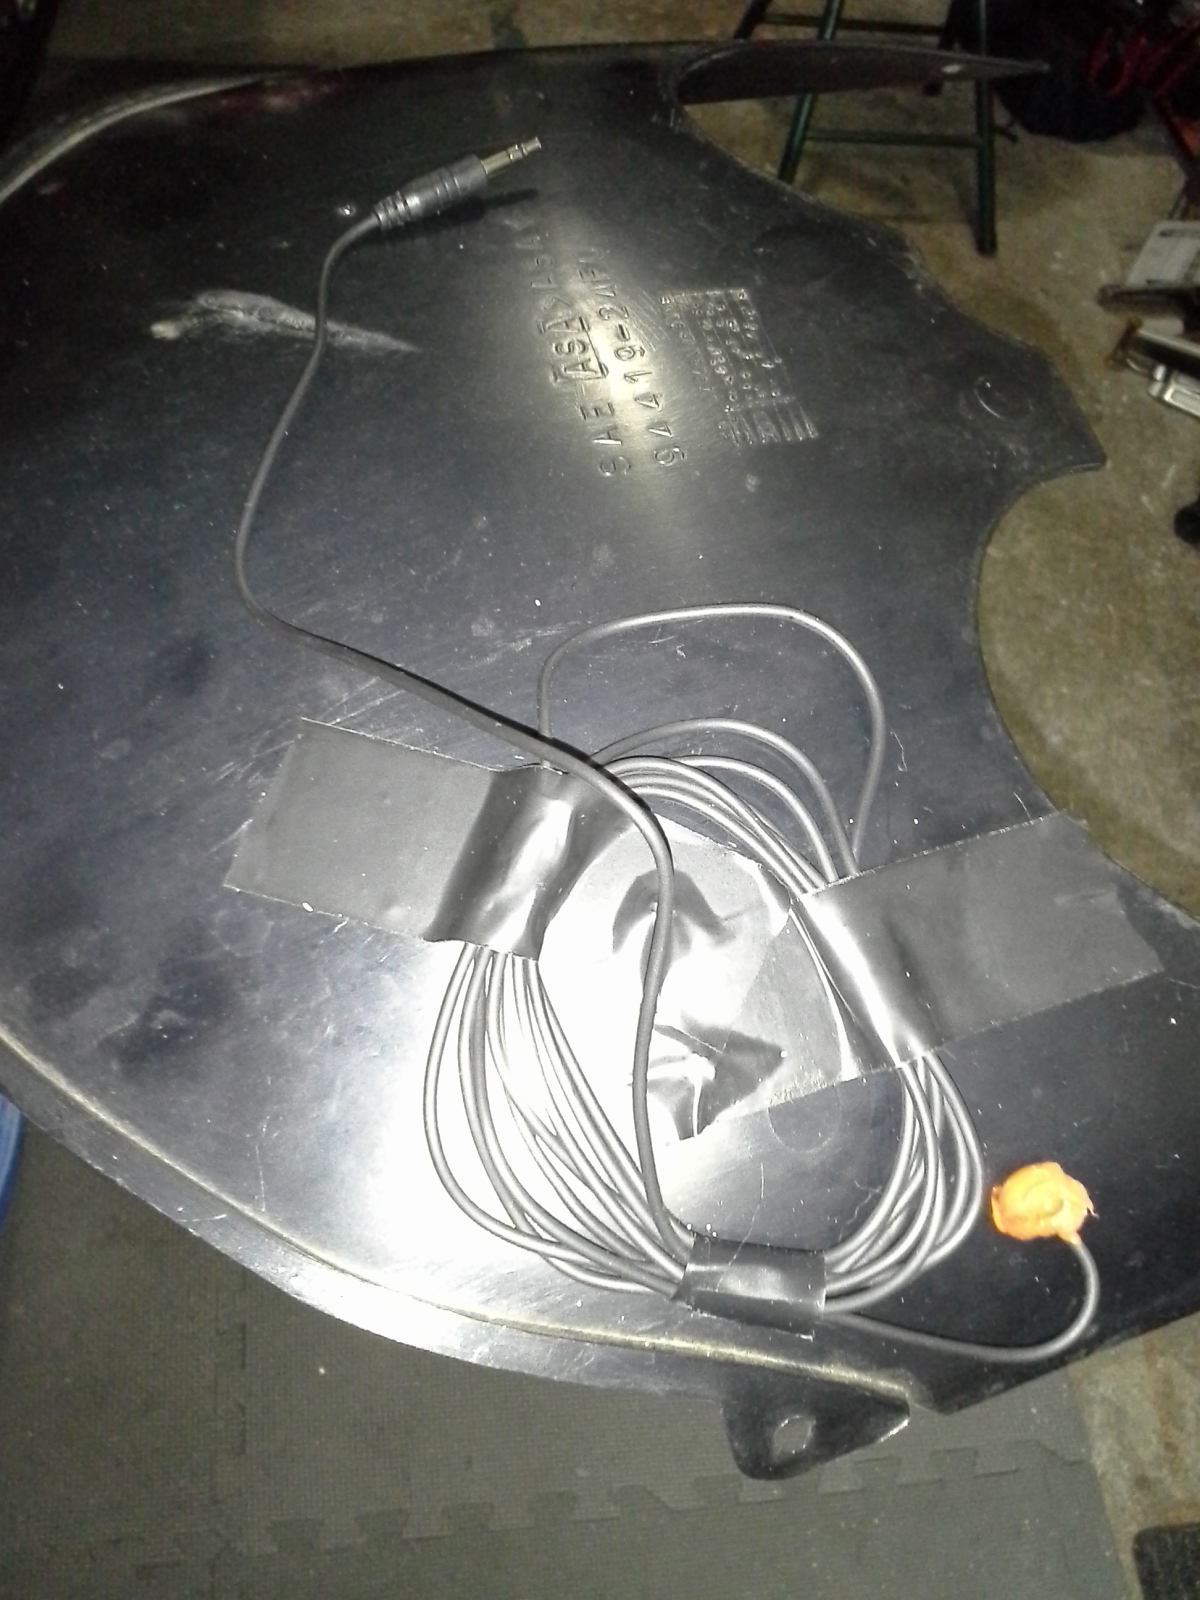
Excess wiring on the other side is secured with a very sticky electric tape, and in multiple points in order to provide just enough length for power connection. This length allows me to carefully remove the under-nose plastic by a few inches first, then stick my hand in there, disconnect the connector, and then remove the plastic completely. I purposefully avoided using zip ties. While they would provide a stronger hold of the wires, in the event they fail (which does happen), the wire would fly straight to the radiator, forks, and the steering damper, which would result in nothing good. I couldn't just cut the excess wire because it deploys a headphone style connector, and it wouldn't be easy to reconnect it back. Although I agree that this would be a better alternative. Maybe one day I will do that. I'd like to point out that utilizing a headphone connector seemed like not the best design choice. However, once plugged in, I tried to shake the wires pretty badly, but the connection was solid, and the plug didn't move out of the jack at all.
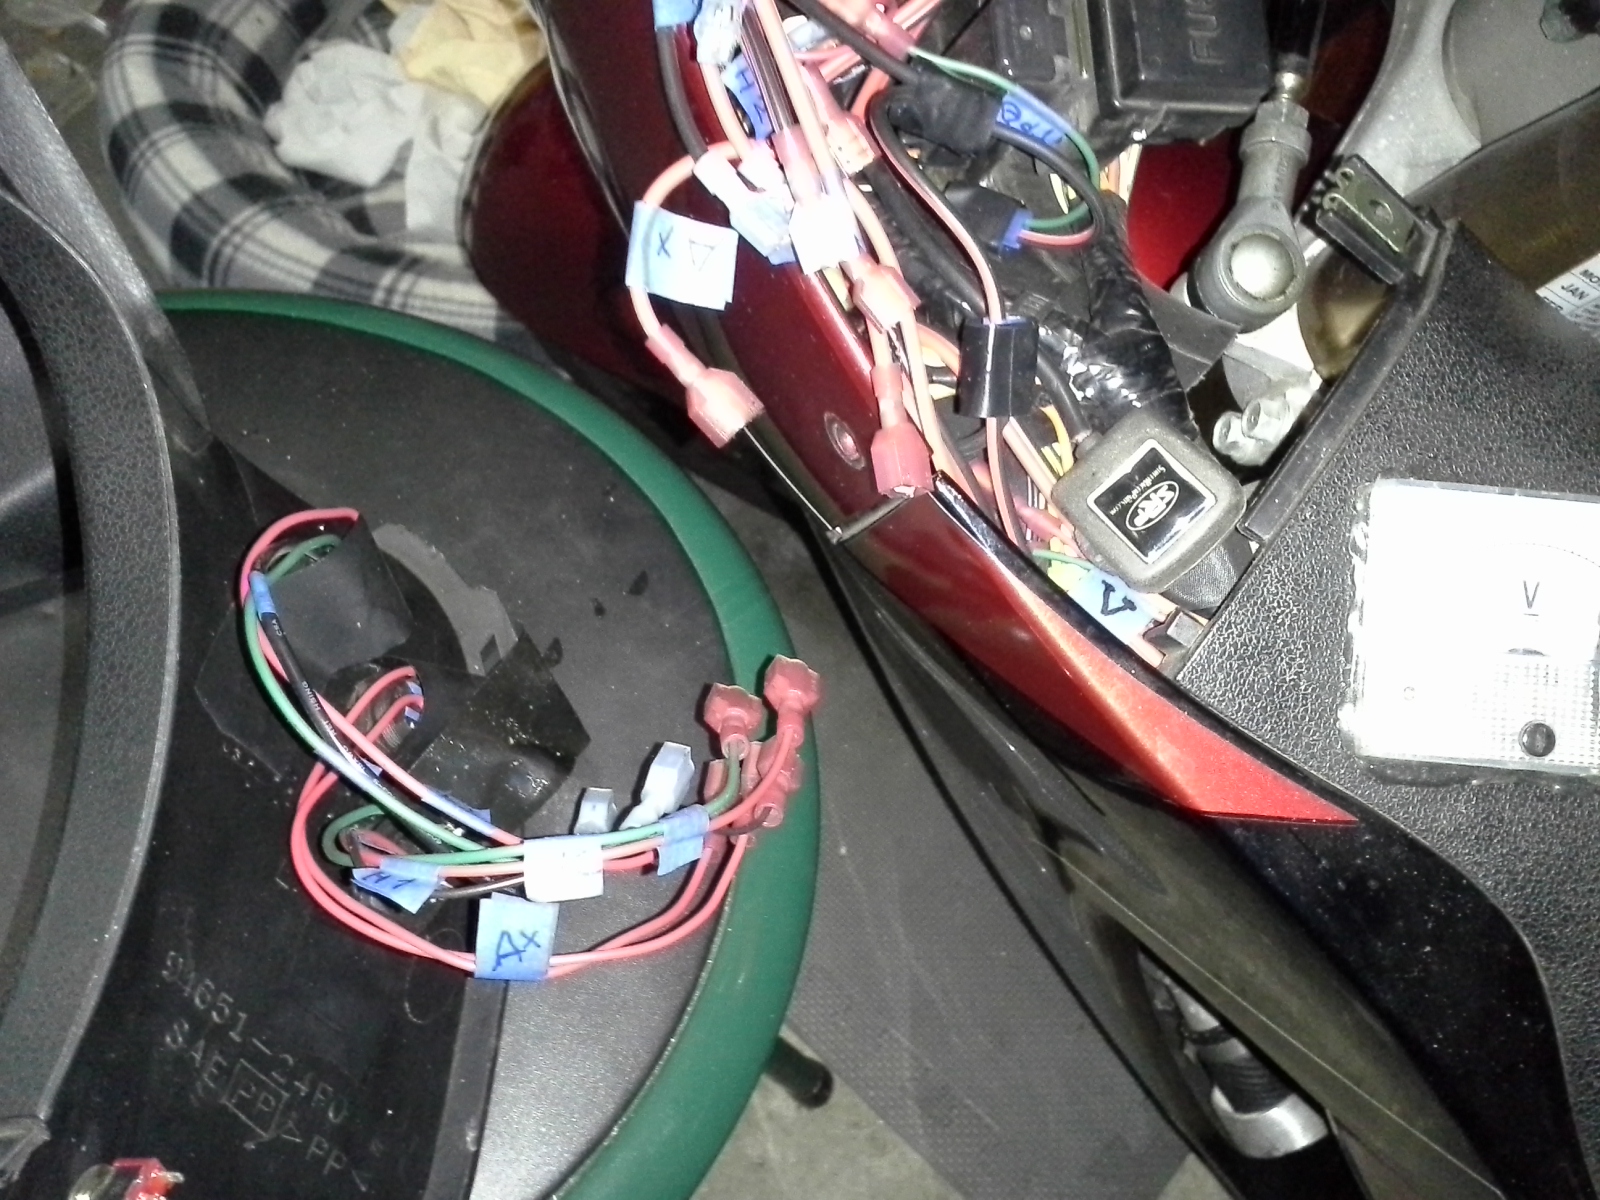
As you can see, I already have some extensive auxiliary wiring on the left side for the headlight switch, the tail light switch, and the air horn. All connectors are labeled, so it's easy to disconnect and reconnect them. Therefore, I removed the left upper black plastic piece in order to install a separate switch for the radar detector. I used the power from the headlight in order to supply power to the unit as the power comes ON only when the ignition key is ON. Powering the unit via a switched by an ignition key power source is recommended by the installation instructions.
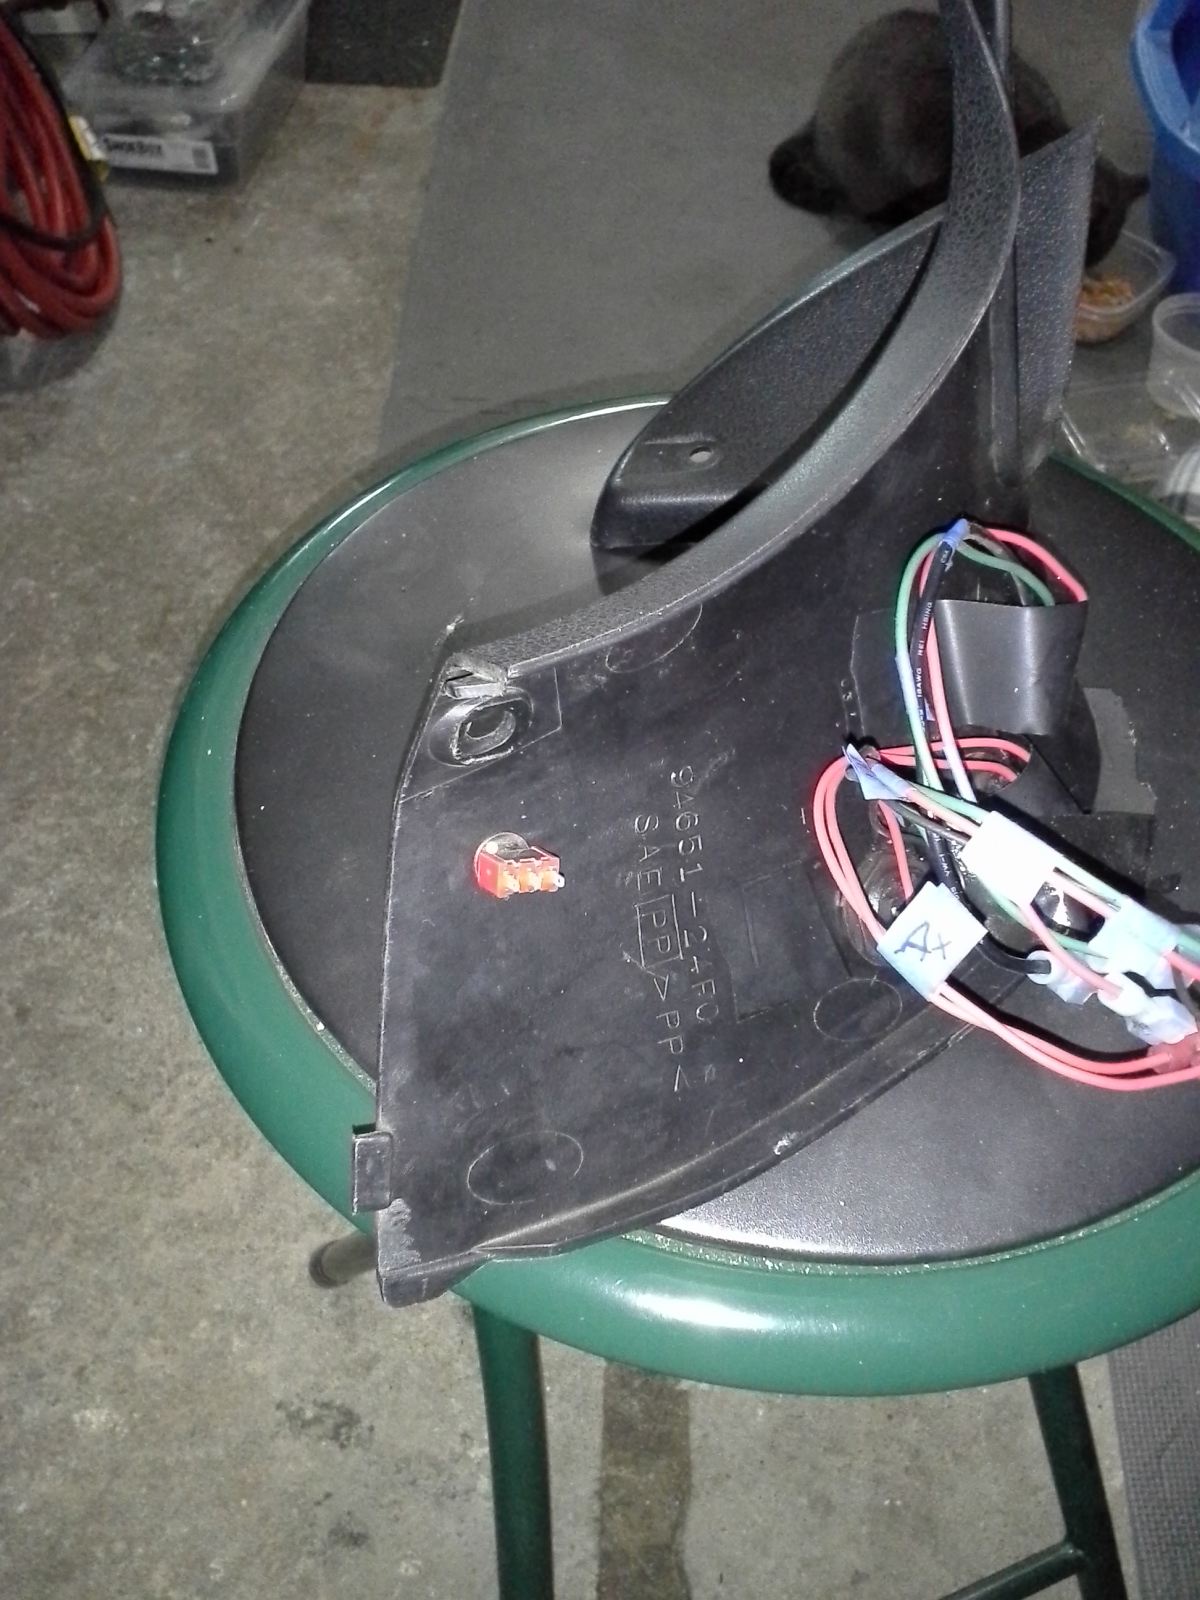
Here is a small switch installed in the upper plastic, but not yet wired. I put a small amount of silicone around the hole prior to inserting the switch so that rain water can't get inside.
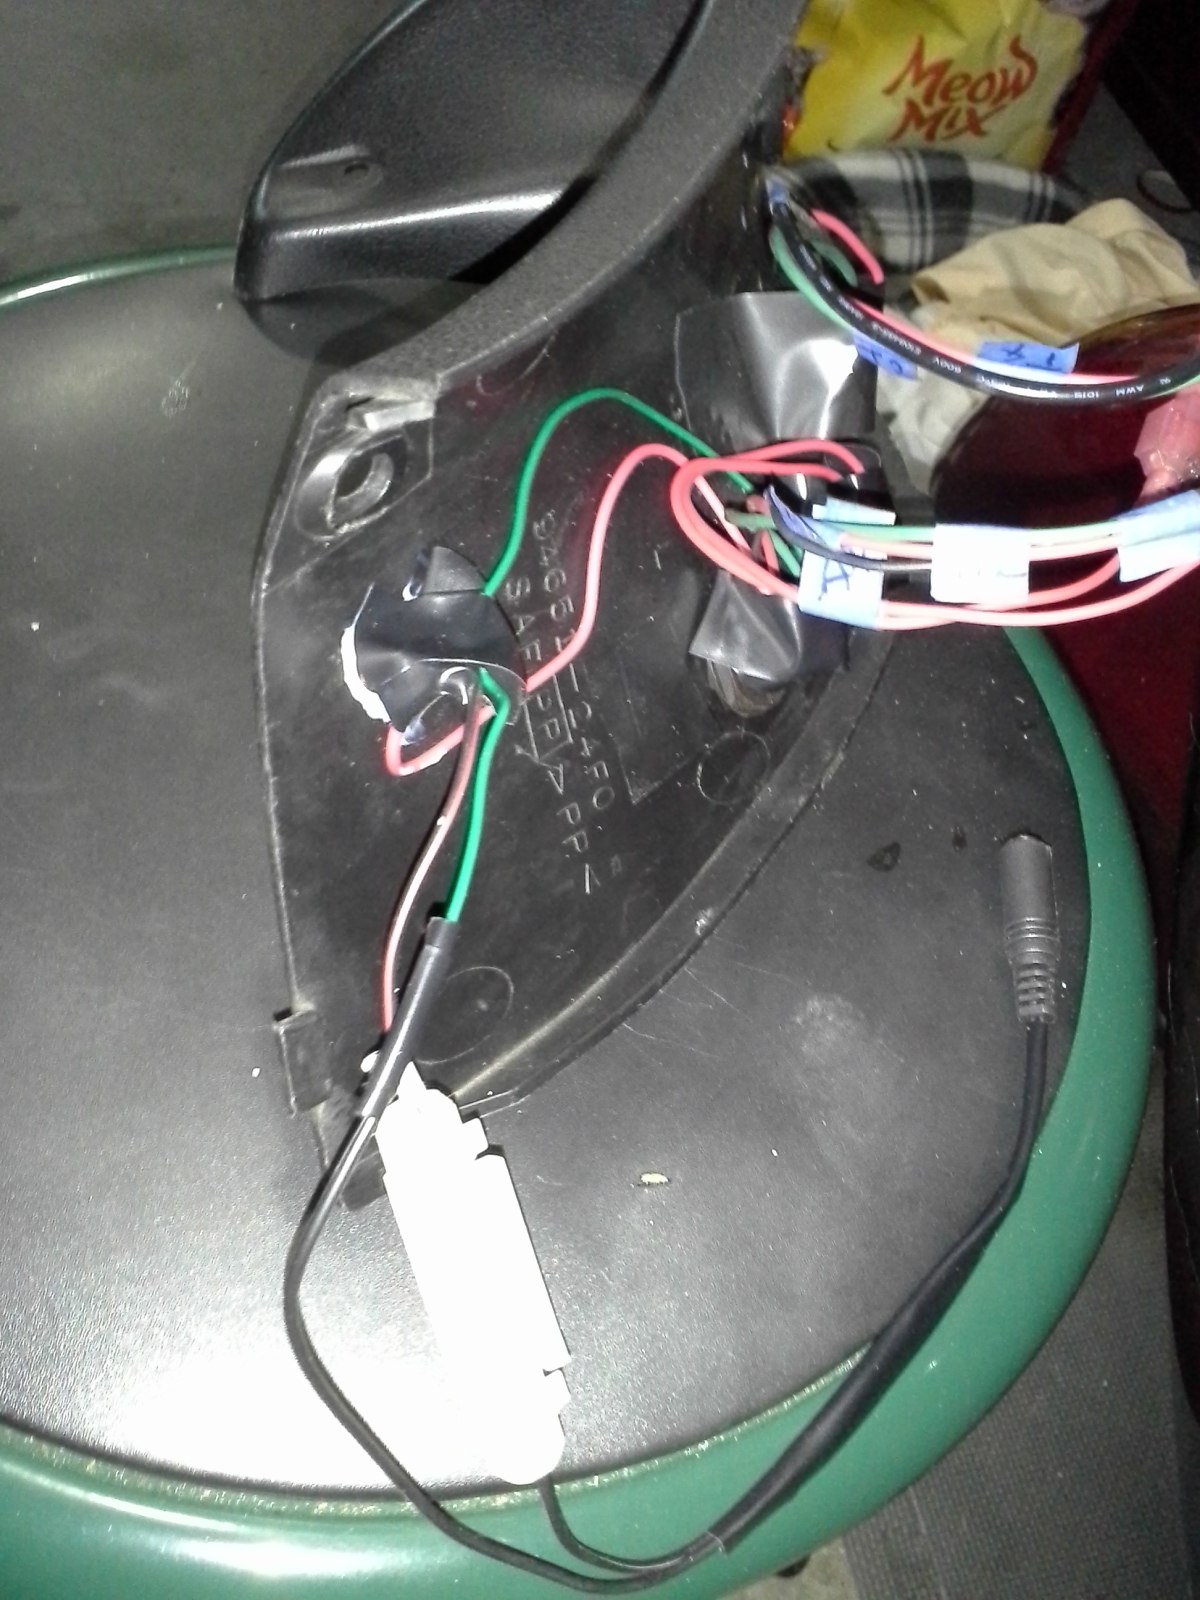
In the picture above, ground wire (green) was soldered to one outer contact of the switch, headlight positive wire (red) was soldered to another outer contact. The power jack negative wire (also green) was soldered to the ground wire, while the power jack's positive wire (red with black) was soldered to the middle contact of the switch. Taped everything, double checked and triple checked to avoid accidental shorts. When the upper plastic was being installed back, I routed the power cord between the fuse box and the gauges so that the power jack hangs down, and then taped the power jack to the ram air duct so that it doesn't interfere with forks or the steering damper.
In the picture above, the upper left black plastic is re-installed, and the only visible thing is a tiny switch. There will be no sign or letters around that switch. You and I know what is it for, and that's where it ends, LOL. Safe and enjoyable riding, everyone!
|